Operation Manual - Carbon Gateway
The Carbon gateway provides an embedded HTTP server through which all operational settings, network parameters and system adjustments are made, accessible from a web browser. This manual describes each screen of the v2.1 configuration interface.
To access the configuration you must switch the gateway into Configuration mode (press and hold the MODE button for 6 seconds), connect to the Wi-Fi network it creates (SSID carbon followed by an identification code of the gateway, e.g., carbon7512208F) and point the browser to 192.168.4.1. The step by step is in the Installation Manual.
Carbon is an SLT gateway (Tag Reading System). It connects over TCP/IP to a third-party SLT server (for example, from a toll system) and forwards the received vehicle tags to the Iongrade access controllers, organized by vehicle lane (up to 16 lanes). Forwarding to the controllers can be done by cable (Wiegand/Abatrack or serial) or over the network (UDP: IP, port and channel). The tags forwarded to the controllers are handled as if they had been read locally by them.
Login
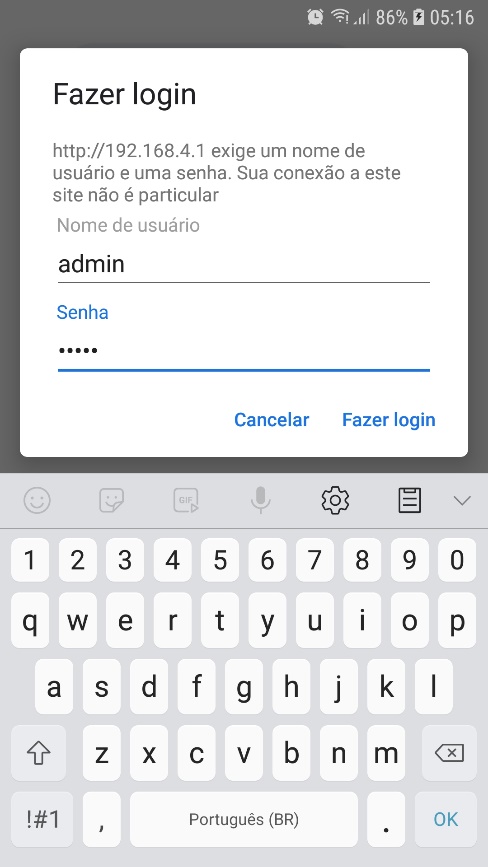
When you connect the browser to the gateway, a username and password will be requested. The default values are:
- Usuário (Username):
admin - Senha (Password):
carbonpwd
Main Menu
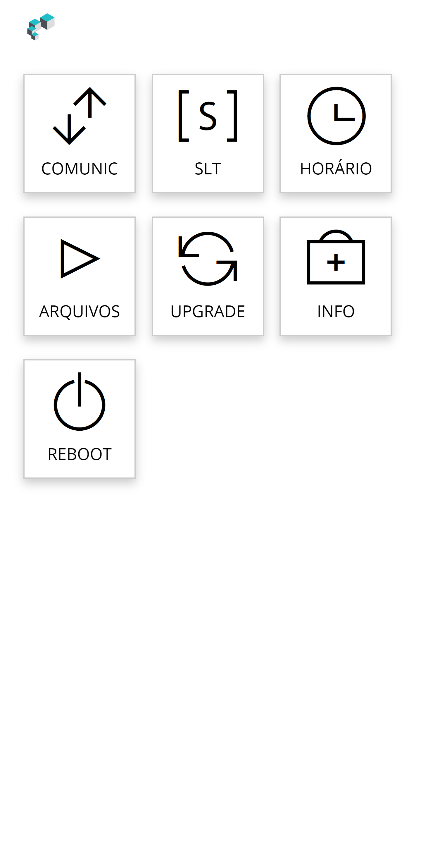
The initial configuration screen presents the following options:
- Comunic (Comm) — network communication parameter configuration functions.
- SLT — configuration functions for the integration with the SLT System.
- Horário (Time) — configuration functions for the gateway's internal clock.
- Arquivos (Files) — file functions (backup/restore).
- Upgrade — access to the gateway firmware update screen.
- Info — access to general information about the gateway.
- Reboot — restarts the equipment.
Communication
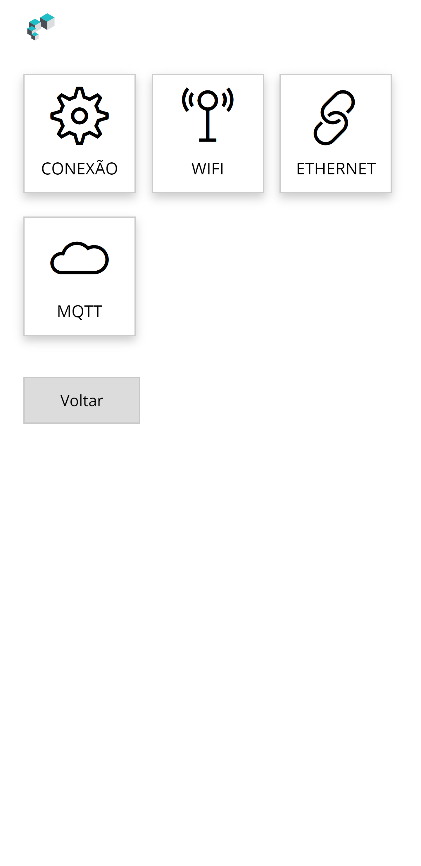
The Comunic menu gives access to the following screens:
- Conexão (Connection) — defines the media type (Wi-Fi or Ethernet) used to connect the gateway to the communication network while in operation.
- WiFi — Wi-Fi network parameters, in case the gateway is going to use a wireless connection.
- Ethernet — wired network parameters (RJ45 connector).
Besides the network options above, Carbon can connect to an MQTT broker (including the Accelero Cloud option). The configuration of this integration has separate documentation and is not detailed in this manual.
Connection
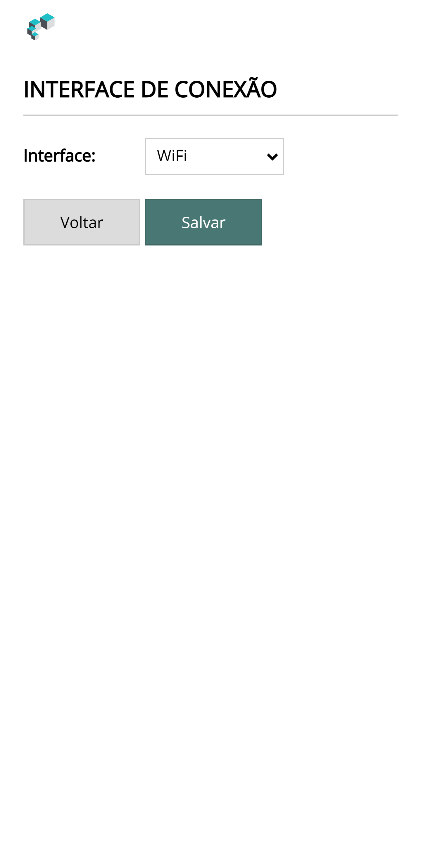
On this screen you define the media type the gateway will use to connect to the communication network while in operation mode. The options are:
- WiFi (Wireless)
- Ethernet (RJ45)
Make the necessary changes and click Salvar (Save) to confirm.
WiFi
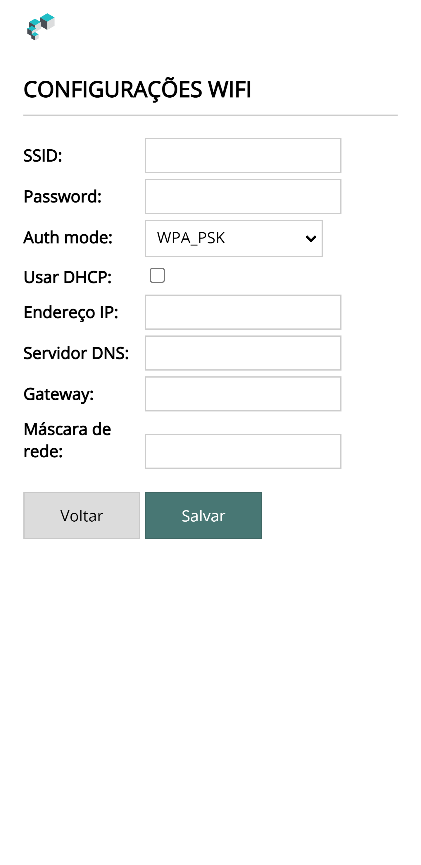
Use this screen to enter the data and access parameters of the Wi-Fi network that will be used in operation mode.
Make the necessary changes and click Salvar to confirm.
Ethernet
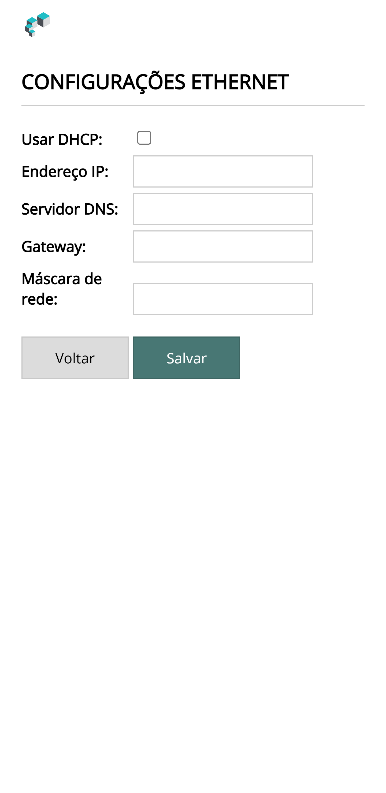
Use this screen to enter the data and access parameters of the Ethernet network (RJ45) that will be used in operation mode.
Make the necessary changes and click Salvar to confirm.
SLT System
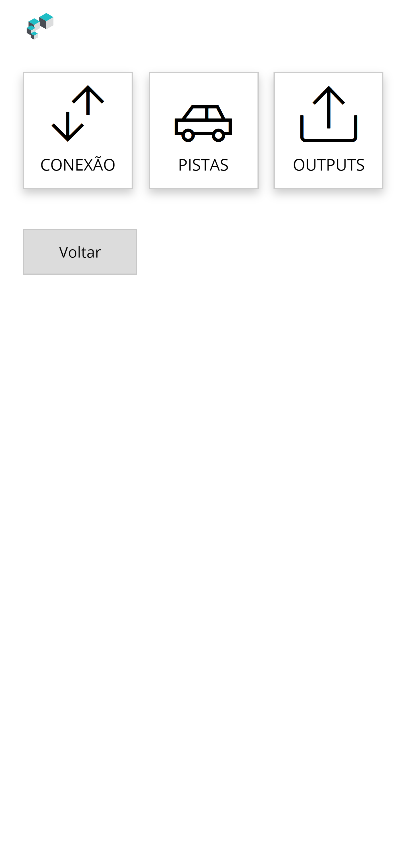
This screen presents the configuration functions of the gateway and its integration with the SLT System:
- Conexão — communication parameters with the SLT server.
- Pistas (Lanes) — configuration menu for the vehicle lanes of the SLT System.
- Outputs — configuration of the Wiegand/Abatrack and RS232 serial output interfaces.
Select one of the options or click Voltar (Back) to return to the previous screen.
Connection with the SLT server
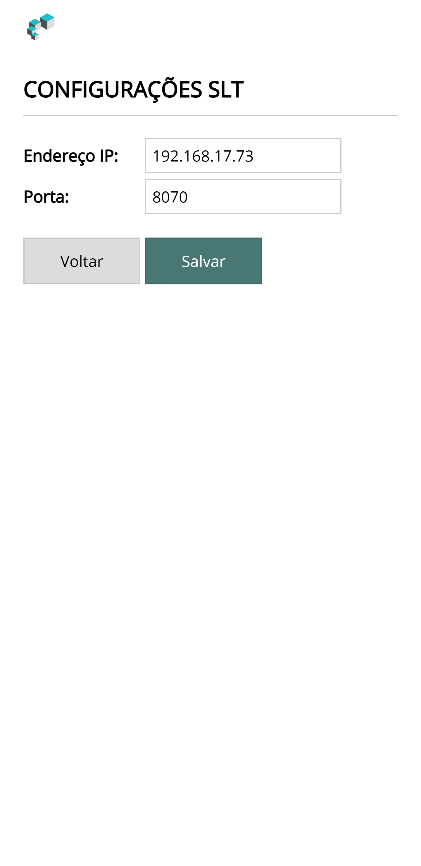
On this screen you enter the communication parameters with the SLT System. Communication is done through a TCP connection created by the gateway (client) with the SLT server.
| Field | Description |
|---|---|
| Endereço IP (IP address) | IP address of the SLT server. |
| Porta (Port) | Server port number for the connection. |
Make the necessary changes and click Salvar to confirm.
Lanes
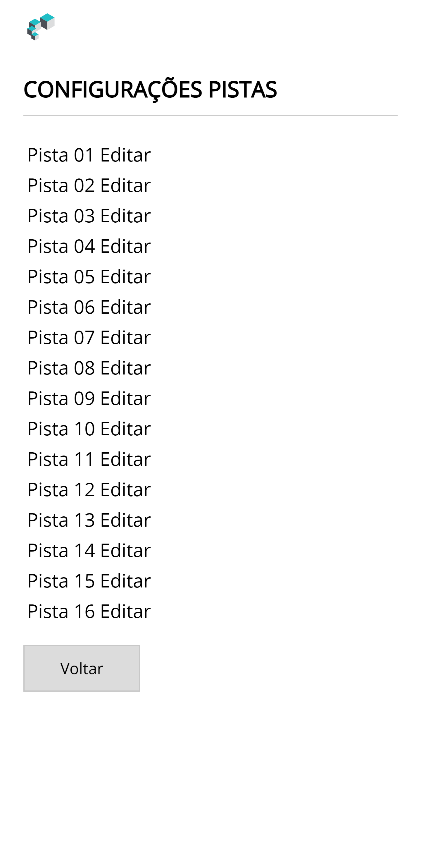
On this screen you select one of the monitored lanes for configuration.
Click Editar (Edit) on the lane you want to configure or click Voltar to return to the previous screen.
Configuring a lane
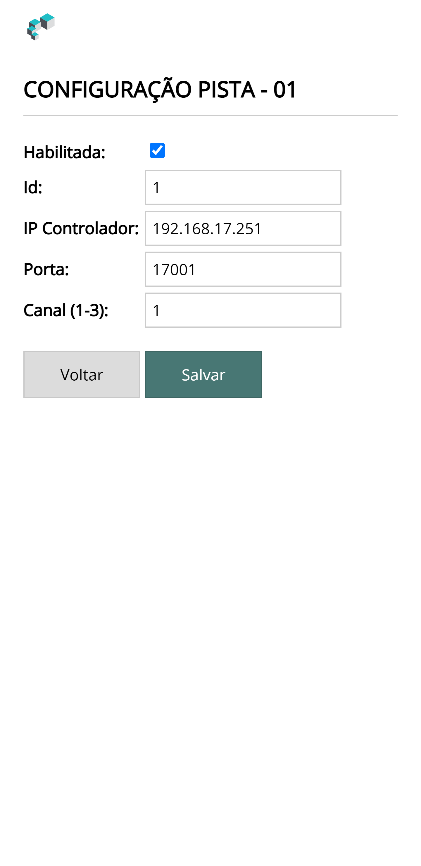
On this screen you enter the parameters the gateway must consider for each of the 16 vehicle lanes of the SLT System.
| Field | Description |
|---|---|
| Habilitada (Enabled) | When checked, the gateway considers the information received from the SLT System regarding this lane. |
| Id | Lane number, as configured in the SLT System. |
| IP Controlador (Controller IP) | IP address of the Iongrade access controller (Aurum, Neon, Indium or Titanium) that will perform the access control of this lane. |
| Porta | Communication port number used to communicate with the access controller. Check the UDP communication configuration of the controller. |
| Canal (Channel) | Channel number of the access controller where the information will be processed. On Aurum controllers the channel can have values from 1 to 3; on Indium and Neon, values 1 and 2; on Titanium, use only channel 1. |
The tags received by the gateway from the SLT System and sent to the controllers are handled as if they had been read locally by the access controllers.
Make the necessary changes and click Salvar to confirm.
Outputs
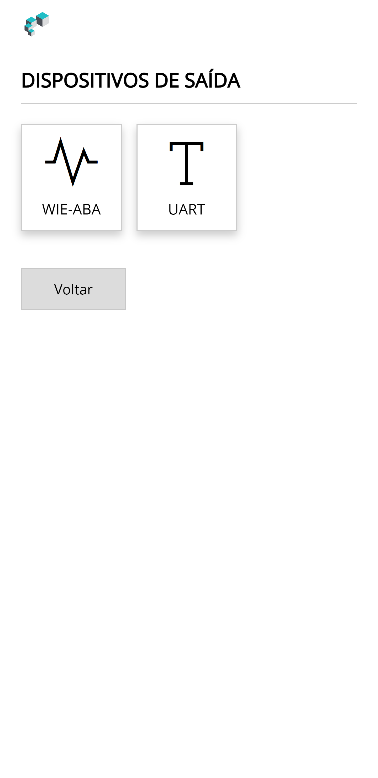
The detected tags can be transmitted to other systems through the Wiegand/Abatrack and RS232 serial output interfaces.
Select on this screen the interface you want to configure. Click Voltar to return to the previous menu.
Wiegand-Abatrack Output
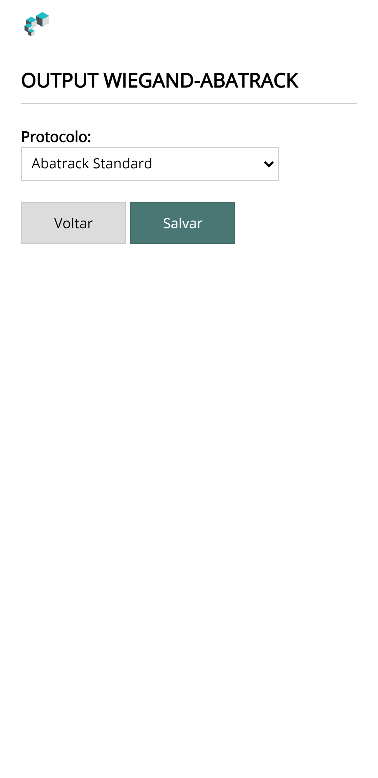
On this screen you select the transmission protocol for the data of the detected tags.
| Field | Description |
|---|---|
| Protocolo (Protocol) | Select the protocol from the available list. |
The chosen protocol must be able to carry the tag identification (OBUID). There are protocols with value limitations that cannot hold the tag values. The most common protocol to transmit the OBUID is Abatrack Standard.
Make the necessary changes and click Salvar to confirm.
UART Output
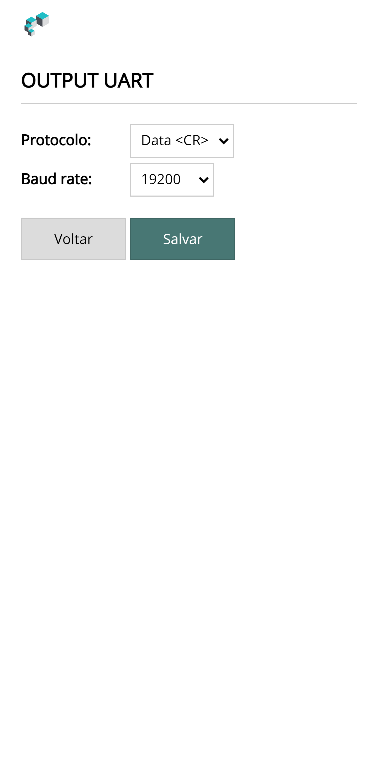
On this screen you select the transmission protocol for the data of the tags detected, through the serial interface.
| Field | Description |
|---|---|
| Protocolo | Select the DATA<CR> protocol or state that this interface will be inactive. |
Make the necessary changes and click Salvar to confirm.
Time
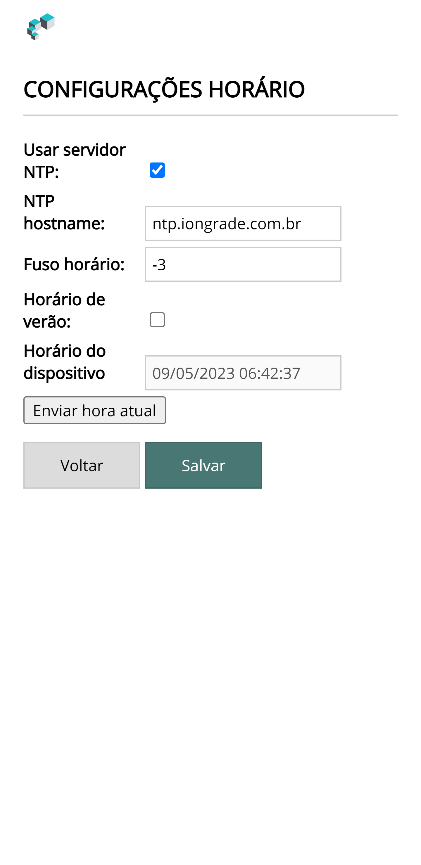
On this screen you can set the gateway to keep its internal clock synchronized with an external date/time server (NTP Server).
| Field | Description |
|---|---|
| Usar servidor NTP (Use NTP server) | When checked, the gateway queries an NTP server and adjusts its local clock automatically. |
| NTP hostname | URL of the NTP server. |
| Fuso horário (Time zone) | Time zone of the location where the gateway is installed. |
| Horário de verão (Daylight saving time) | Automatically adjusts the clock for daylight saving time. |
| Horário do dispositivo (Device time) | Current date and time of the gateway. |
| Enviar hora local (Send local time) | Sends the date and time of your computer to the gateway. |
Make the necessary changes and click Salvar to confirm.
Files
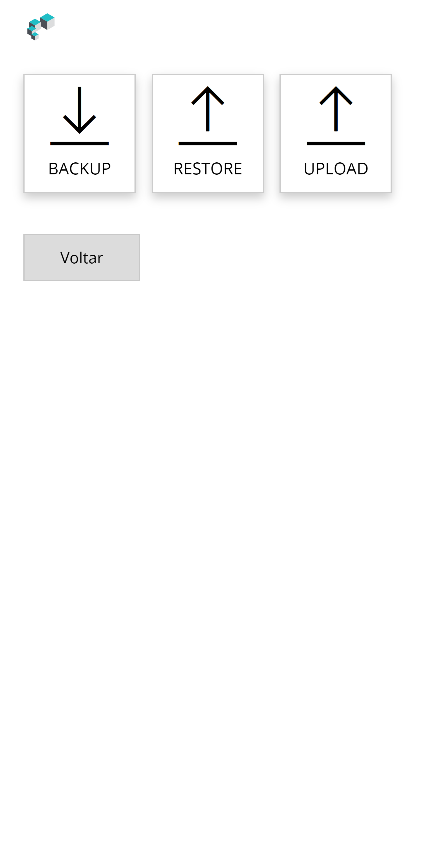
The Arquivos menu gives access to the following screens:
- Backup — creates and downloads a file with all the configuration data of the gateway.
- Restore — uploads a backup file to restore the settings.
- Upload — sends a specific file to the gateway.
Backup
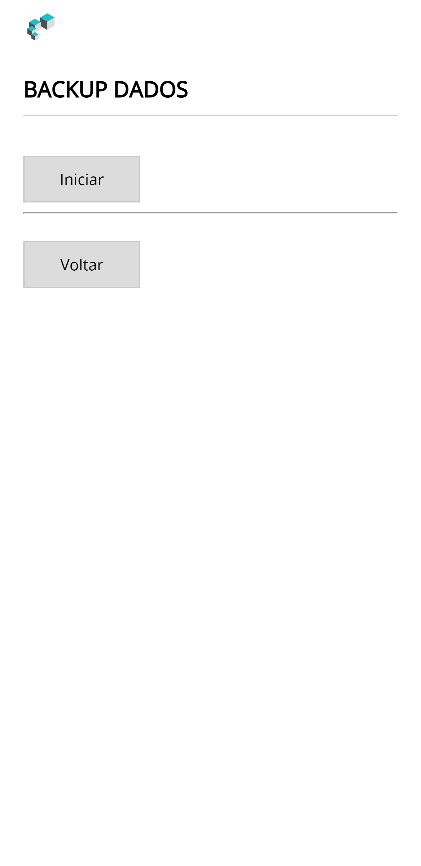
Use this screen to download a file with all the configuration data of the gateway.
Click Iniciar (Start) to download the file. A window will open asking where to save it. This file can be used in the Restore function when you want to restore the configuration. Click Voltar to return to the previous menu.
Restore
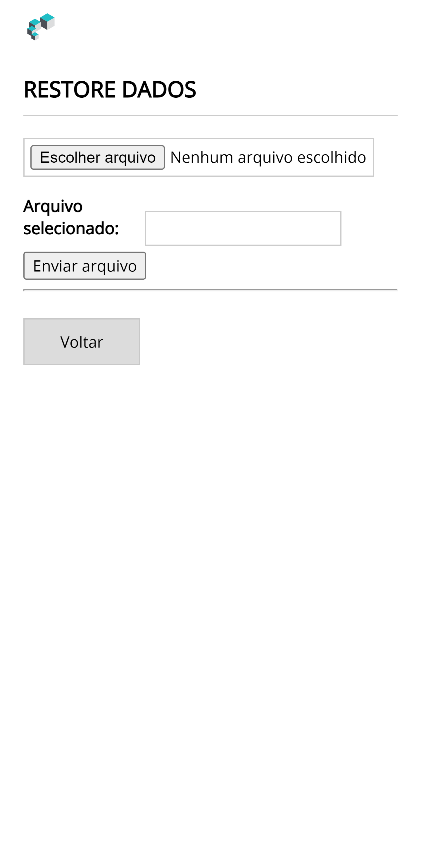
Use this screen to upload a file with the configuration data of the gateway. The file must be in the proper format, as created by the Backup function.
Click Escolher arquivo (Choose file) to select it and Enviar arquivo (Upload file) to start the transfer. Click Voltar to return to the previous menu.
Upload
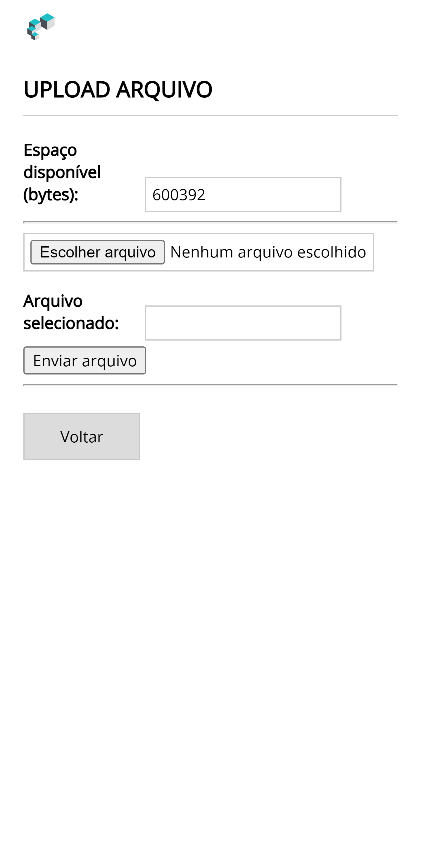
Use this screen to send a specific file to the gateway. The files must be in the proper format. The screen shows the space currently available in the gateway's memory.
Click Escolher arquivo to select it and Enviar arquivo to start the transfer. Click Voltar to return to the previous menu.
Upgrade
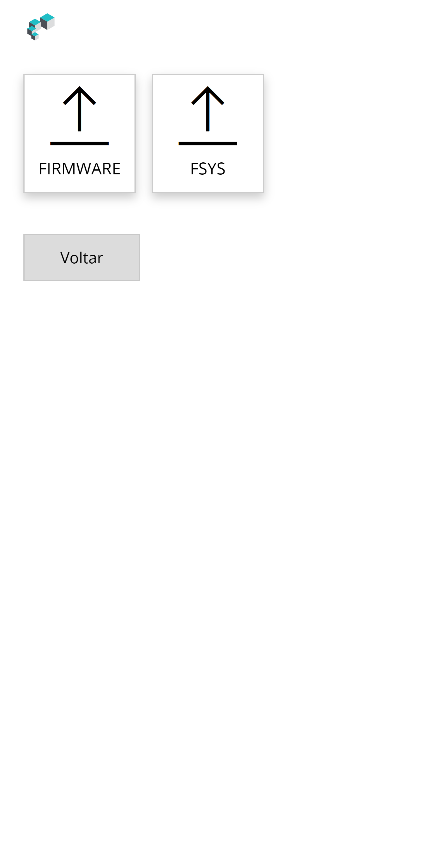
This function lets you send a new firmware version to the equipment when necessary. There are two types of update:
- FIRMWARE — update of the executable code.
- FSYS — update of the file system.
In some situations both updates are required. Choose the type by clicking the specific button or click Voltar to return to the initial menu.
FIRMWARE Upgrade
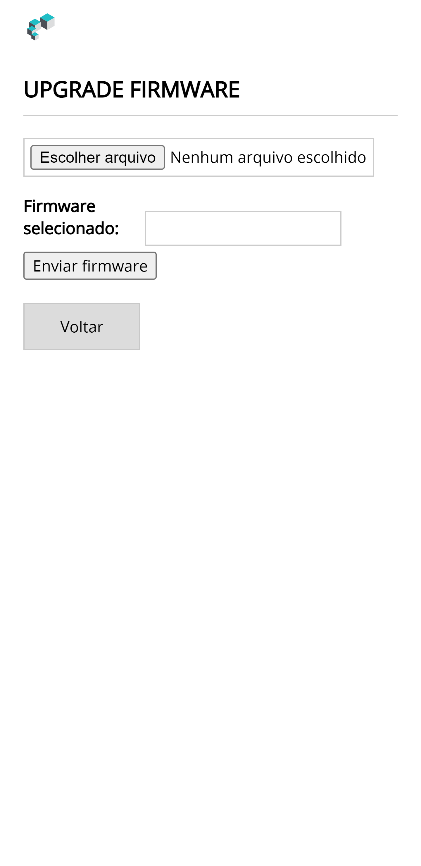
Through this screen you select a file with a new firmware version to update the device.
Click Escolher arquivo to select the file and then Enviar novo firmware (Send new firmware) to start the upload.
At the end of the update, the equipment will restart automatically. Since it will go back to operating in normal operation mode, the Access Point will be deactivated. To return to configuration mode, press and hold the MODE button for 6 seconds again (see the Installation Manual).
FSYS Upgrade
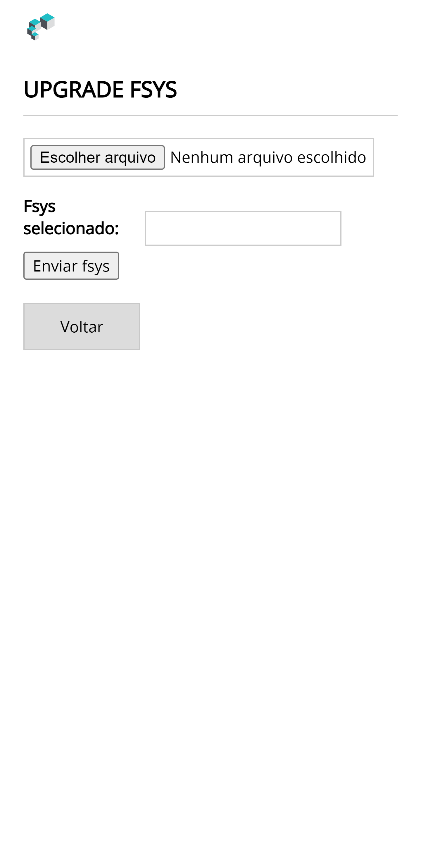
Through this screen you select a file with a new version of the file system (FSYS) to update the device.
Click Escolher arquivo to select the file and then Enviar novo fsys (Send new fsys) to start the upload.
At the end of the update, the equipment will restart automatically. Since it will go back to operating in normal operation mode, the Access Point will be deactivated. To return to configuration mode, press and hold the MODE button for 6 seconds again (see the Installation Manual).
Info
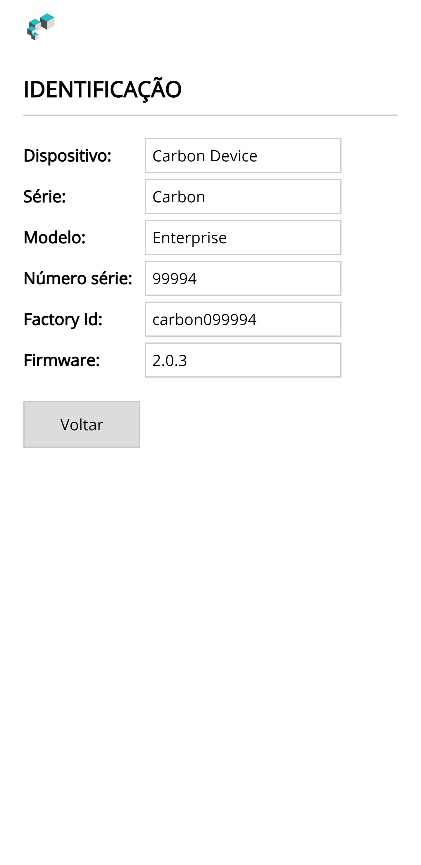
This page presents technical information about the gateway:
| Field | Description |
|---|---|
| Dispositivo (Device) | Device type. |
| Série (Series) | Device series. |
| Modelo (Model) | Device model. |
| Número de série (Serial number) | Manufacturing serial number. |
| Factory ID | Factory identification. |
| Firmware | Firmware version. |
Reboot
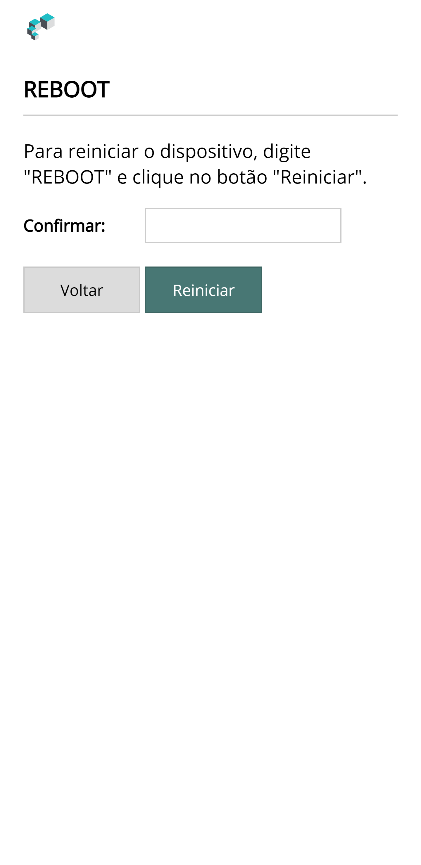
Use this function to restart the Carbon gateway remotely.
Type REBOOT in uppercase letters in the confirmation field and click the Reiniciar (Restart) button.
Next Steps
- Installation Manual — power supply, connections (Ethernet, Wiegand/Abatrack, RS232 serial), status relay and configuration mode.