Operation Manual - IRIDIUM I/O Module
The IRIDIUM I/O module has an internal HTTP server and all of its configuration is done through a browser. This manual describes each screen of the web configuration interface.
To access the configuration you must put the I/O module into Configuration mode, connect to the WiFi network it generates and point the browser to 192.168.4.1. The step-by-step is in the Installation Manual.
Login
When you connect the browser to the I/O module, a username and password will be requested. The default values are:
- Username:
admin - Password:
iridiumpwd
Main Menu
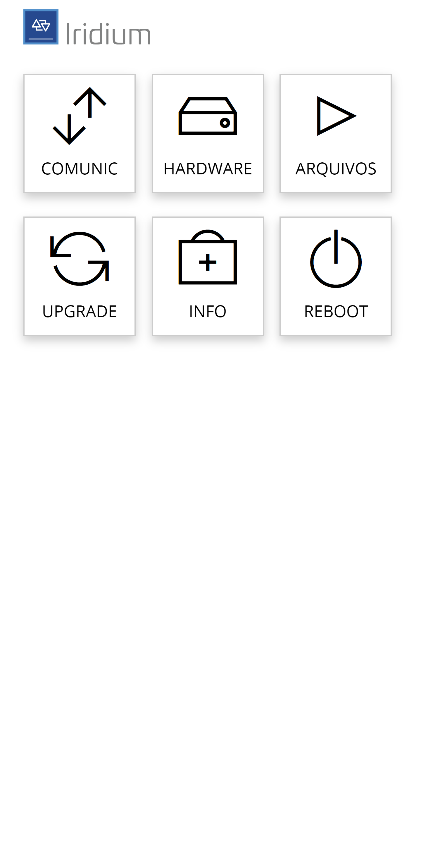
The configuration home screen presents the following options:
- Comunic (Communication) — configuration of the network communication parameters.
- Hardware — configuration of the I/O module inputs and outputs.
- Arquivos (Files) — backup and restore functions.
- Upgrade — update of the I/O module firmware.
- Info — general information about the I/O module.
- Reboot — restarts the device.
Communication
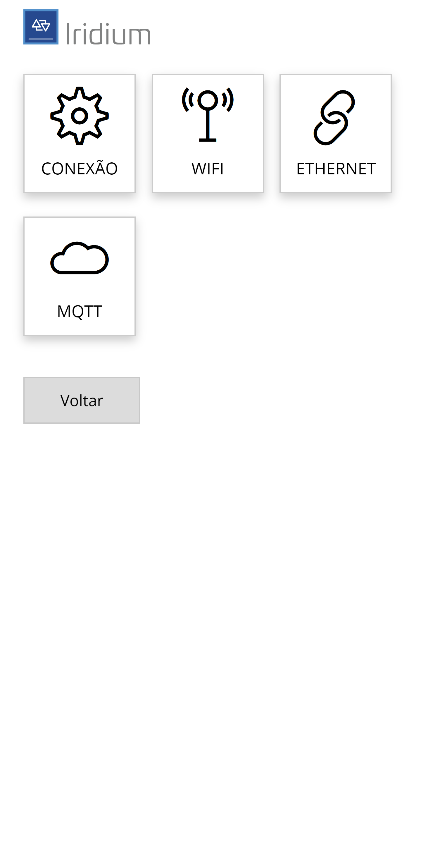
The Comunic menu gives access to the following screens:
- Conexão (Connection) — defines the media type (WiFi or Ethernet) used to connect the I/O module to the network while in operation.
- WiFi — WiFi network parameters, in case the I/O module is going to use a wireless connection.
- Ethernet — wired network parameters (RJ45 connector).
- MQTT — parameters to access the MQTT communication server (Broker).
Connection
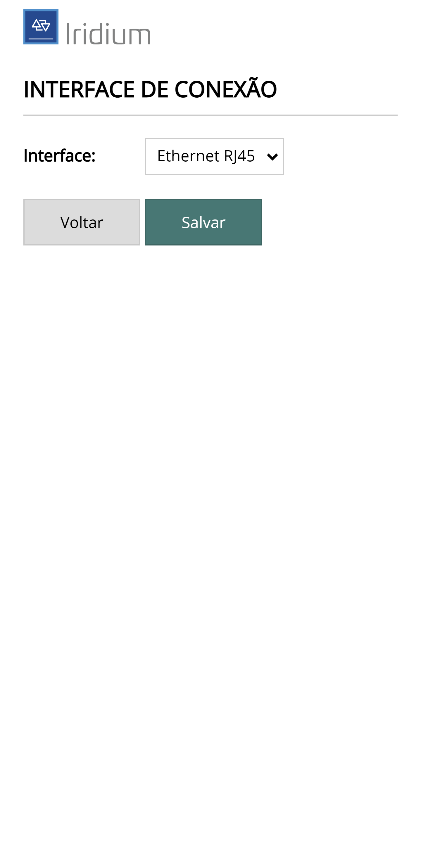
On this screen you define the media type that the I/O module will use to connect to the communication network while in operation mode. The options are:
- WiFi (Wireless)
- Ethernet (RJ45)
Make the necessary changes and click Salvar (Save) to confirm.
WiFi
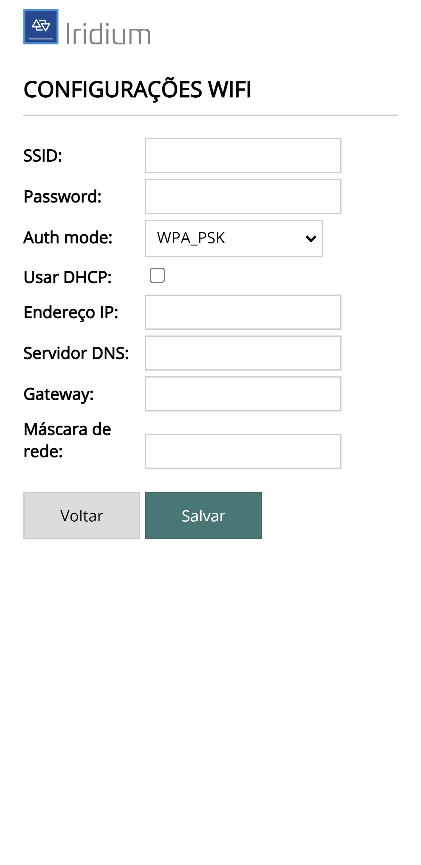
Use this screen to enter the data and access parameters of the WiFi network that will be used in operation mode.
Make the necessary changes and click Salvar to confirm.
Ethernet
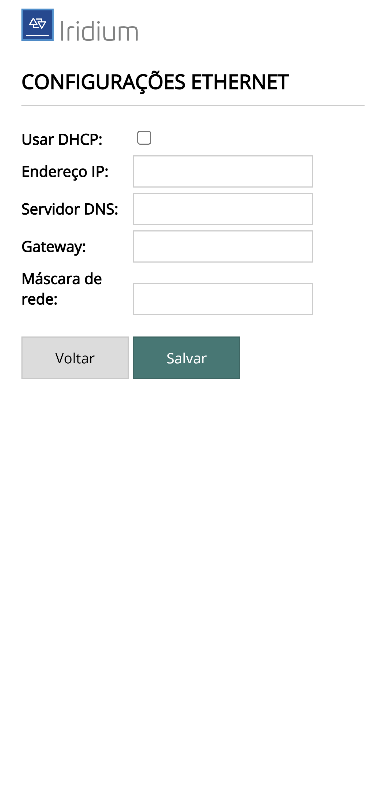
Use this screen to enter the data and access parameters of the Ethernet (RJ45) network that will be used in operation mode.
Make the necessary changes and click Salvar to confirm.
MQTT
The Comunic menu also has an MQTT screen, where you enter the parameters to establish the connection with the MQTT communication server (Broker) and the identification data of the I/O module's physical installation.
The details of the protocol and of the parameters on this screen are documented separately — see MQTT integration (internal use).
Hardware
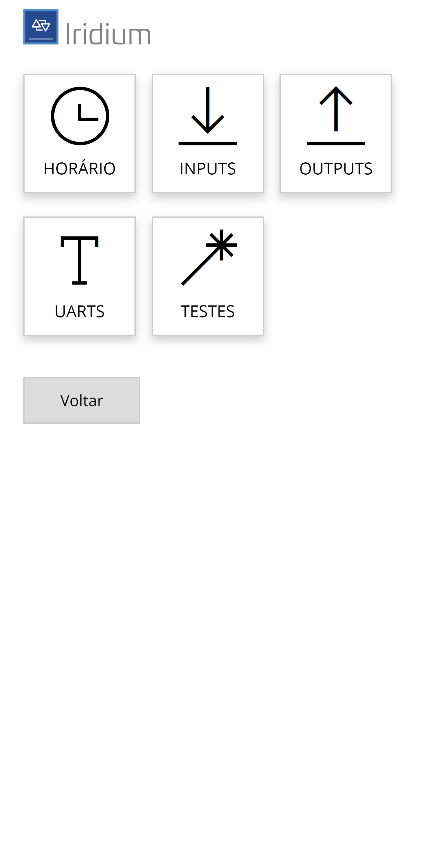
The Hardware menu gives access to the following screens:
- Horário (Time) — adjustment of the I/O module time and NTP server parameters.
- Inputs — configuration of the signal inputs.
- Outputs — configuration of the signal outputs.
- UARTS — types of devices connected to the serial ports.
- Testes (Tests) — hardware operation tests.
Time
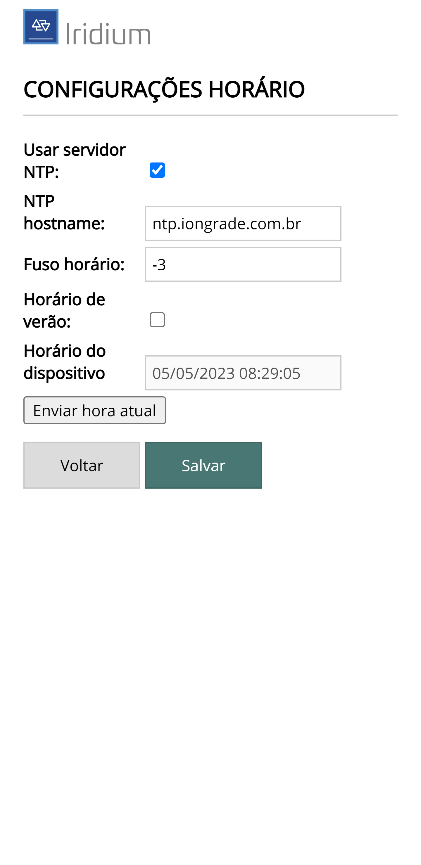
On this screen you can set the I/O module to keep its internal clock synchronized with an external date/time server (NTP Server):
- Usar servidor NTP (Use NTP server) — when checked, the I/O module uses an NTP server to adjust its local clock automatically.
- NTP hostname — URL of the NTP server.
- Fuso horário (Time zone) — time zone of the place where the I/O module is installed.
- Horário de verão (Daylight saving time) — automatically adjusts for daylight saving time.
- Horário do dispositivo (Device time) — current date and time of the I/O module.
- Enviar hora local (Send local time) — sends the date/time of your computer or phone to the I/O module.
Make the necessary changes and click Salvar to confirm.
Inputs
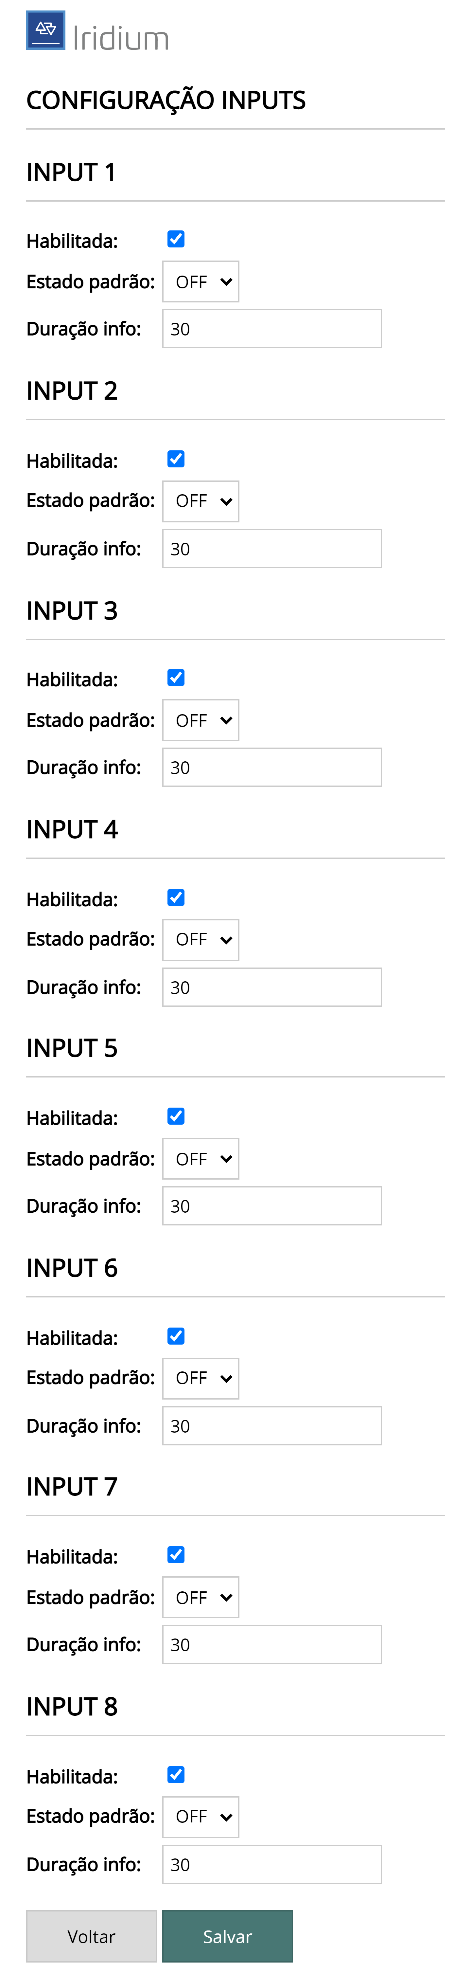
On this screen you configure the default state of the signal inputs and the validity time of the information:
- Habilitada (Enabled) — indicates whether the input should be handled.
- Estado Padrão (Default state) — default state of each input: OFF or ON.
- Duração da informação (Information duration) — validity time (in seconds) of the information, useful when the I/O module is connected to a server through an MQTT broker.
The Duração da informação can be configured with two types of values:
- Duration = 0 — the I/O module sends the new state information to the server whenever there is a state transition on the input.
- Duration = 30 or greater — the I/O module sends the new state information to the server whenever there is a state transition and, cyclically, 5 (five) seconds before the duration expires.
Make the necessary changes and click Salvar to confirm.
Outputs
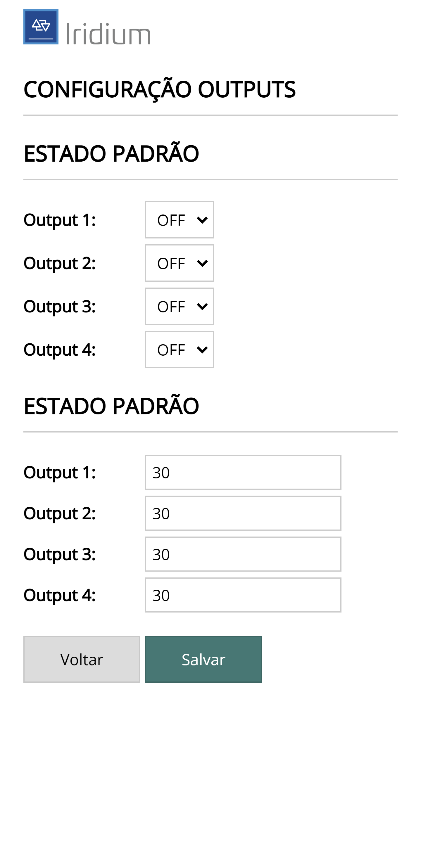
On this screen you configure the default state of the signal outputs and the validity time of the information:
- Estado Padrão — default state of each output: OFF or ON.
- Duração da informação — validity time (in seconds) of the information, useful when the I/O module is connected to a server through an MQTT broker.
The Duração da informação follows the same logic as the inputs (0 to notify only on transitions; 30 or greater to notify on transitions and cyclically before the duration expires).
Make the necessary changes and click Salvar to confirm.
UARTs
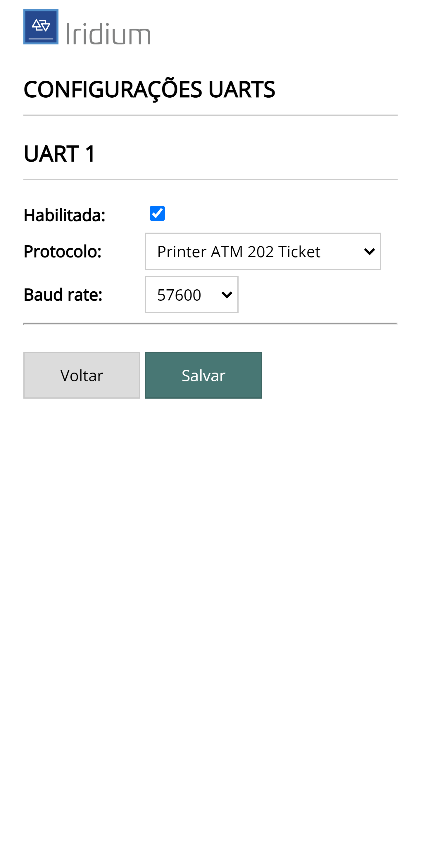
The IRIDIUM I/O module has a communication port (UART) for connecting various types of devices, such as printers.
On this screen, enter the type of device that will be connected to the UART and click Salvar to confirm.
Tests
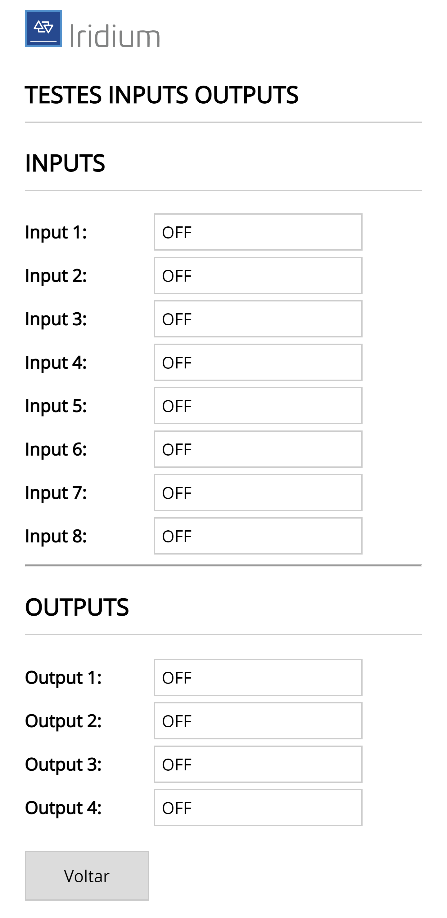
On this screen you can check the state of the I/O module inputs and outputs in real time.
Click Voltar (Back) to return to the previous menu.
Files
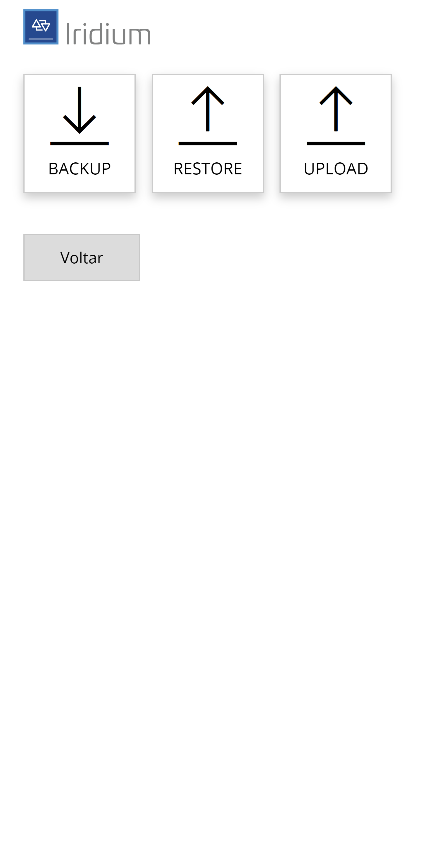
The Arquivos menu gives access to the following screens:
- Backup — creates and downloads a file with all the I/O module configuration data.
- Restore — uploads a backup file to restore the settings.
- Upload — sends a specific file to the I/O module.
Backup
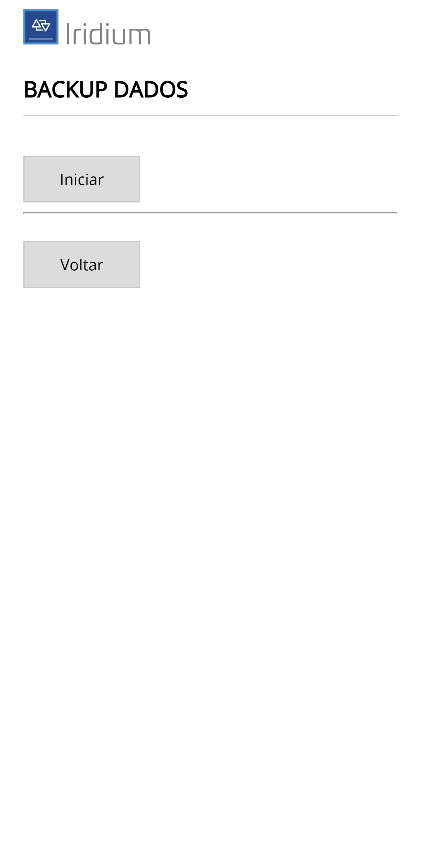
Use this screen to download a file with all the I/O module configuration data.
Click Iniciar (Start) to download the file. A window will open asking where to save it. This file can be used in the Restore function whenever you want to restore the configuration. Click Voltar to return to the previous menu.
Restore
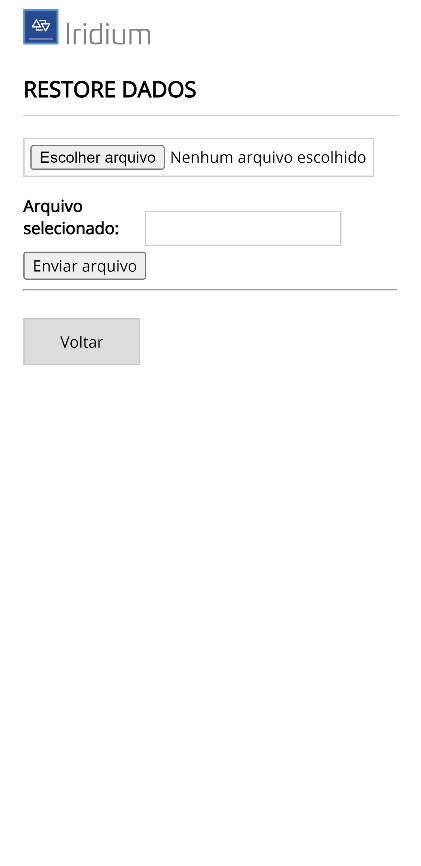
Use this screen to upload a file with the I/O module configuration data. The file must be in the proper format, as created by the Backup function.
Click Escolher arquivo (Choose file) to select it and Enviar arquivo (Send file) to start the transfer. Click Voltar to return to the previous menu.
Upload
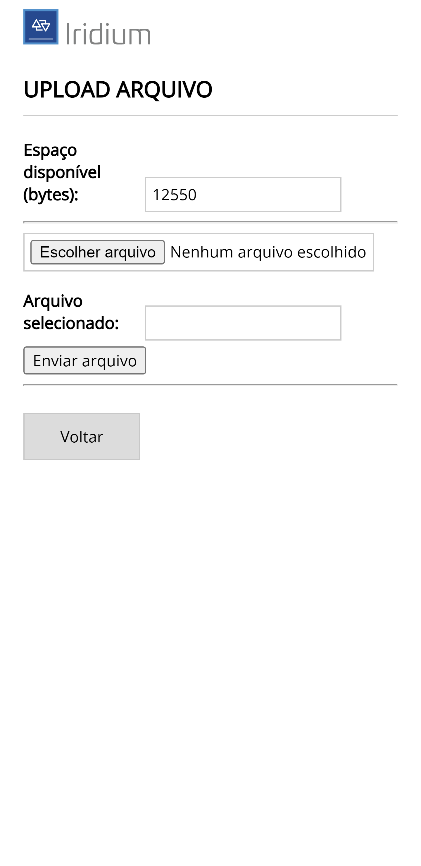
Use this screen to send a specific file to the I/O module. The files must be in the proper format. The screen shows the space currently available in the I/O module memory.
Click Escolher arquivo to select it and Enviar arquivo to start the transfer. Click Voltar to return to the previous menu.
Upgrade
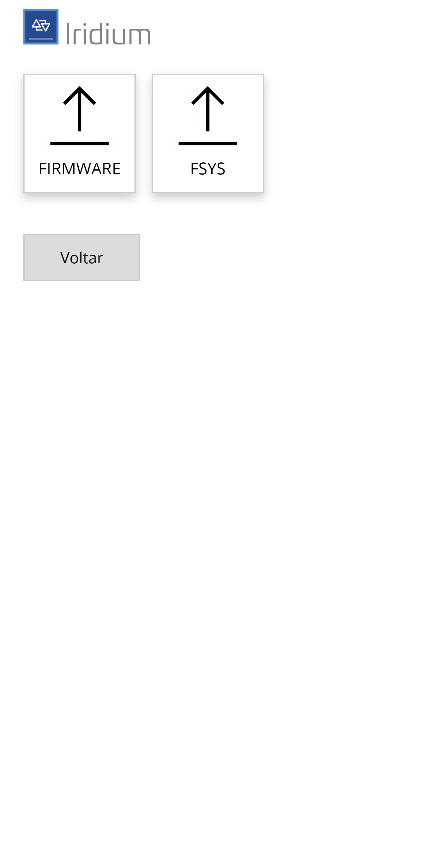
This function allows you to send a new firmware version to the device when needed. There are two types of update:
- FIRMWARE — update of the executable code.
- FSYS — update of the file system.
In some situations it is necessary to perform both updates. Choose the type by clicking the specific button or click Voltar to return to the home menu.
FIRMWARE Upgrade
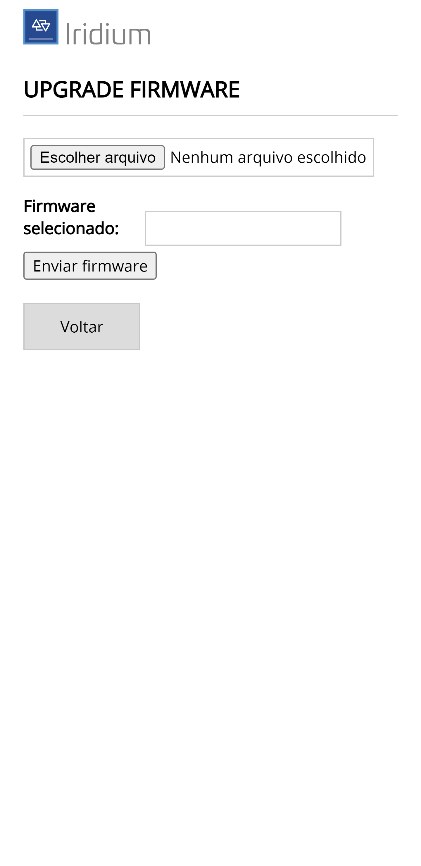
Through this screen you select a file with a new firmware version to update the device.
Click Escolher arquivo to select the file and then Enviar novo firmware to start the upload.
At the end of the update, the device will restart automatically. Since it will return to normal operation mode, the Access Point will be disabled. To go back to configuration mode, repeat the procedure described in Activating Configuration mode.
FSYS Upgrade
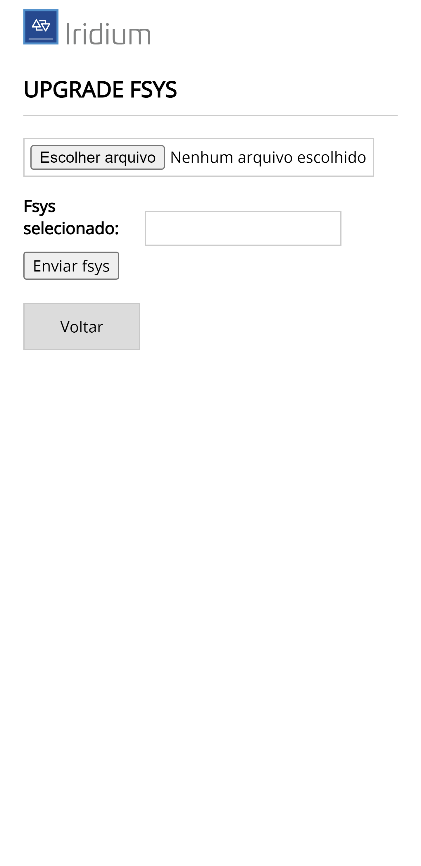
Through this screen you select a file with a new version of the file system (FSYS) to update the device.
Click Escolher arquivo to select the file and then Enviar novo fsys to start the upload.
At the end of the update, the device will restart automatically. Since it will return to normal operation mode, the Access Point will be disabled. To go back to configuration mode, repeat the procedure described in Activating Configuration mode.
Info
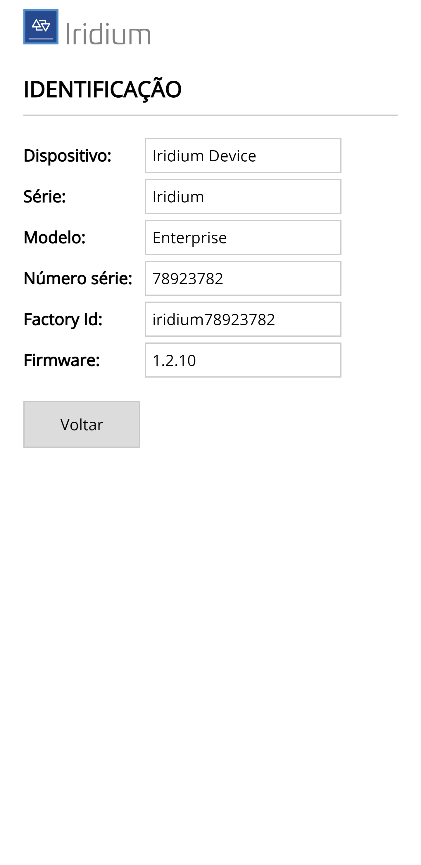
This page presents technical information about the I/O module:
- Dispositivo (Device) — device type.
- Série (Series) — device series.
- Modelo (Model) — device model.
- Número de série (Serial number) — manufacturing serial number.
- Factory ID — factory identification.
- Firmware — firmware version.
Reboot
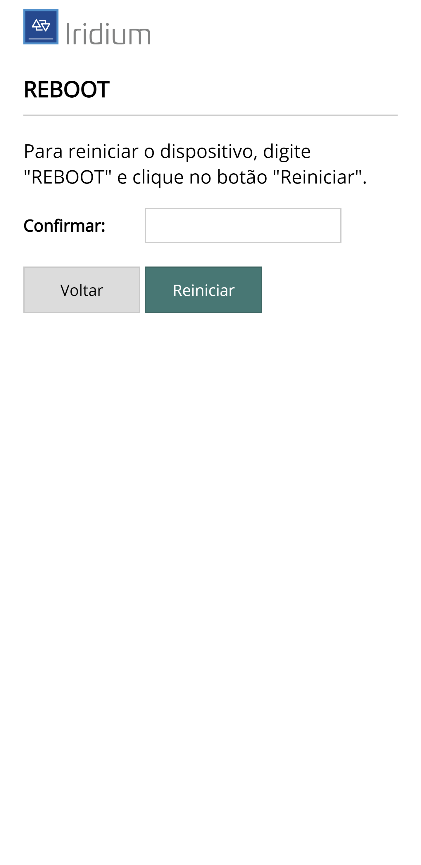
On this page you can restart the IRIDIUM remotely.
Type REBOOT in uppercase in the confirmation field and click the Reiniciar (Restart) button.