Operation Manual - Kalium Gateway
The Kalium has been discontinued and is no longer sold for new projects. This documentation remains available to support existing installations. For new projects or replacements, contact the Iongrade sales team.
The Kalium gateway has an embedded HTTP server through which all operational settings, network parameters, and system adjustments are performed, accessible through a web browser. This manual describes each screen of the v1.7 configuration interface.
To access the configuration you must put the gateway into Configuration mode (press and hold the MODE button for 8 seconds), connect to the Wi-Fi network it creates (SSID kalium followed by the six-digit serial number, e.g.: kalium025003) and point the browser to 192.168.4.1. Button details are in the Installation Manual.
The Kalium is the root node of a mesh network formed by the Scandium detection antennas, and communicates with the management system via Ethernet. The Scandium antennas detect the beacons in their coverage area and report this information over the mesh network to the gateway, which forwards the data to the system server. Each node of the mesh network must be configured to join it.
Login
When you connect the browser to the gateway, you are prompted for a user name and password. The default values are:
- User:
admin - Password:
kaliumpwd
Configuration Menu
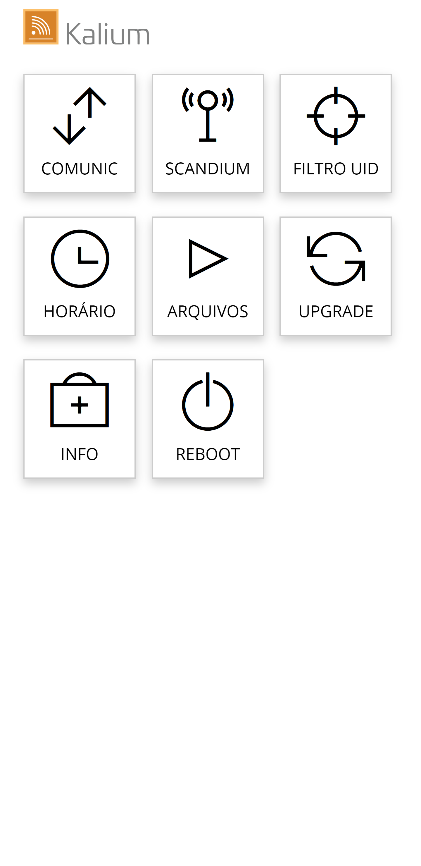
The initial configuration screen offers the following options:
- Comunic (Communication) — access to the communication parameters configuration.
- Scandium — access to the Scandium antennas configuration.
- Filtro UID (UID Filter) — access to the configuration of the UIDs valid for the installation.
- Horário (Time) — configuration of the gateway clock.
- Arquivos (Files) — access to the file functions (backup/restore).
- Upgrade — access to the firmware update screen.
- Info — access to general information about the device.
- Reboot — restarts the device.
Communication
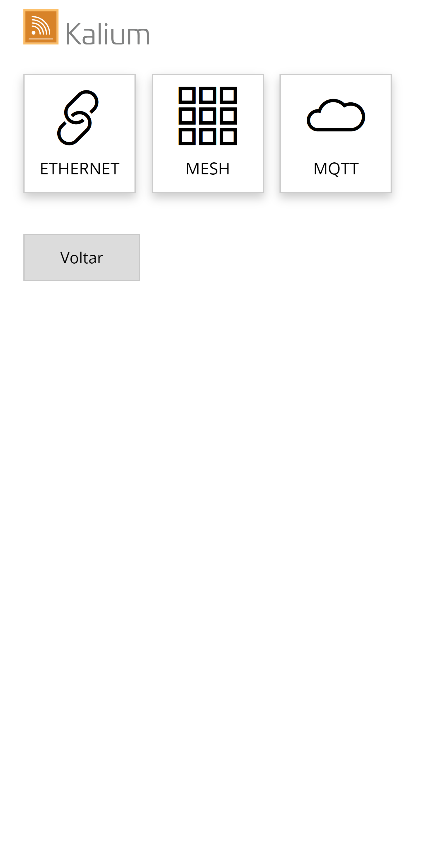
The Comunic (Communication) menu gives access to the following screens:
- Ethernet — parameters of the wired network (RJ45 connector) the gateway connects to.
- MESH — parameters of the mesh network used to communicate with the Scandium antennas.
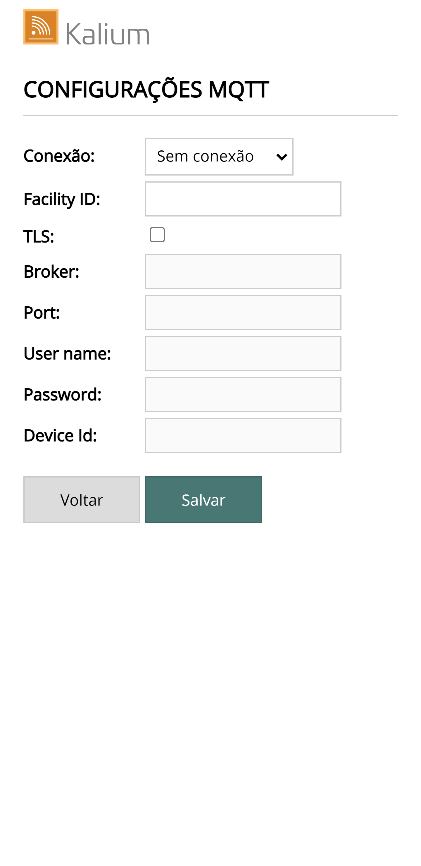
- MQTT — parameters of the MQTT communication server.
The MQTT screen defines how the gateway connects to the MQTT broker (including the Accelero Cloud option). This integration is configured in separate documentation and is not detailed in this manual.
Ethernet
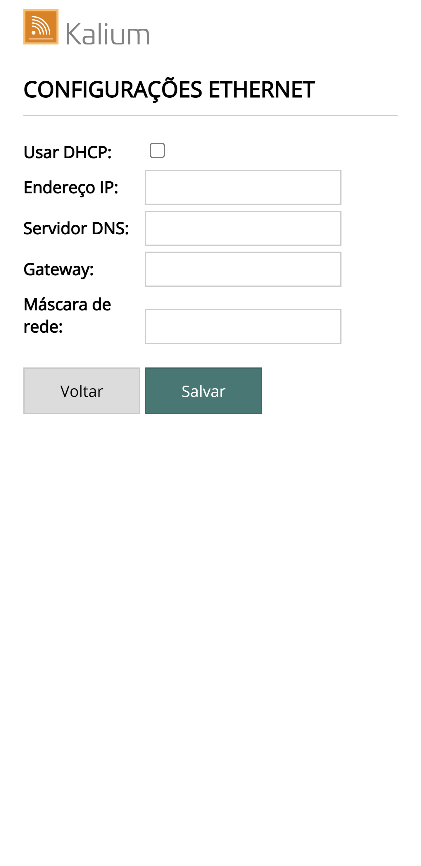
Use this screen to enter the data and access parameters of the Ethernet network (RJ45) the gateway will connect to.
Make the necessary changes and click Salvar (Save) to confirm.
Mesh Network
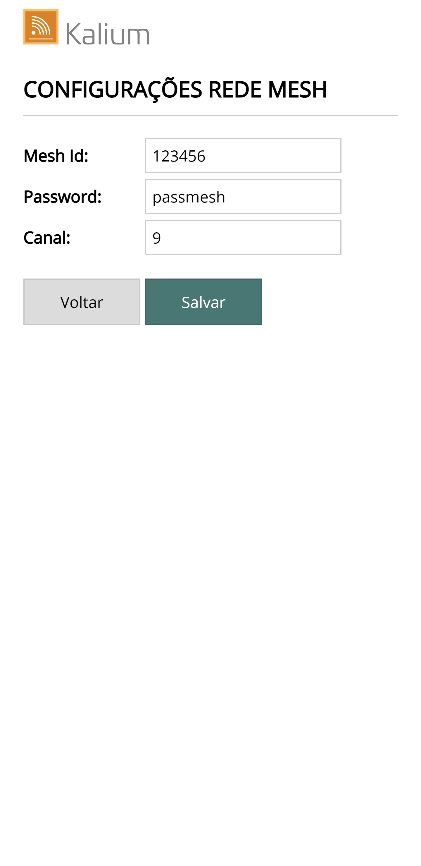
Use this screen to enter the communication parameters of the mesh network. It is through this network that the gateway communicates with the Scandium antennas. The configuration data of the antennas that will be part of the network must be identical to what is defined here.
| Field | Description |
|---|---|
| Mesh Id | Network name. Use 6 characters with numbers from 0 to 9 or letters from A to Z. Do not use spaces or special characters. Two networks with the same name cannot exist in the same installation. |
| Password | Mesh network password. Use 8 characters with numbers from 0 to 9 or letters from A to Z. Do not use spaces or special characters. |
| Canal (Channel) | Valid only when the gateway uses communication over an Ethernet cable. If the gateway is connected to a Wi-Fi router, the channel is determined by the router. |
Make the necessary changes and click Salvar (Save) to confirm.
Scandium
This screen lets you select one of the Scandium antennas you want to configure. The gateway manages up to 8 Scandium antennas on the mesh network.
Click Editar (Edit) to configure each antenna; the antenna-specific parameter screen is displayed. Click Voltar (Back) to return to the previous menu.
Configuring an antenna
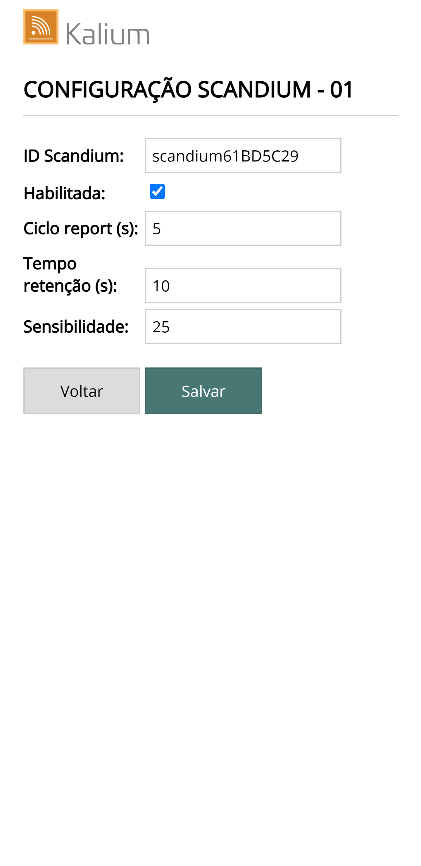
Use this screen to configure the parameters of a Scandium antenna.
| Field | Description |
|---|---|
| ID Scandium | Scandium antenna identification. You must enter the factory identification code. |
| Habilitada (Enabled) | Check this option if the gateway should communicate with this unit. |
| Ciclo report (s) (Report cycle, in seconds) | Frequency, in seconds, at which the Scandium should send the data of the detected beacons. |
| Tempo retenção (s) (Retention time, in seconds) | Time, in seconds, that the Scandium should keep the beacon in memory after detecting it. |
| Sensibilidade (Sensitivity) | Minimum distance, in meters, of the beacons to be reported. Beacons detected at a distance above this value are ignored. |
Make the necessary changes and click Salvar (Save) to confirm, or click Voltar (Back) to return to the previous menu.
UID Filter
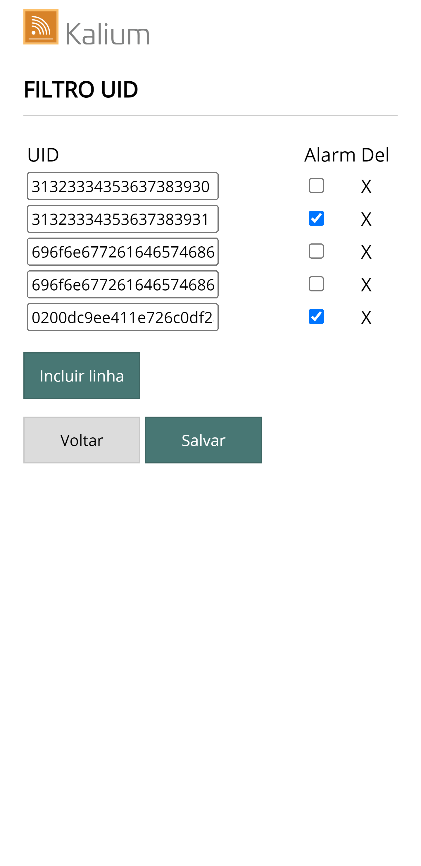
This screen lets you define the UIDs of the beacons that will be used in the installation. Beacons with UIDs other than those listed here are ignored by the Scandium antennas.
| Field | Description |
|---|---|
| UID | UID of the beacons that will be accepted. To allow detection of beacons with any UID, set the UID to 16 F characters, e.g.: FFFFFFFFFFFFFFFF. |
| Alarm | When checked, detecting a beacon with this UID triggers the Kalium alarm relay. |
| Del | Click the X to delete the row. |
| Incluir linha (Add row) | Click the button to add a row. |
Make the necessary changes and click Salvar (Save) to confirm, or click Voltar (Back) to return to the previous menu.
Time
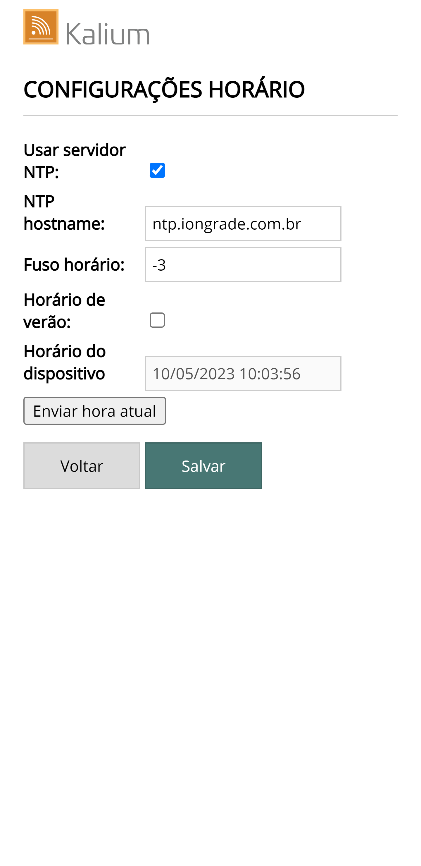
On this screen you can set the gateway to keep its internal clock synchronized with an external date/time server (NTP Server).
| Field | Description |
|---|---|
| Usar servidor NTP (Use NTP server) | When checked, the gateway queries an NTP server and adjusts its local clock automatically. |
| NTP hostname | URL of the NTP server. |
| Fuso horário (Time zone) | Time zone of the location where the gateway is installed. |
| Horário de verão (Daylight saving time) | Automatically adjusts the clock for daylight saving time. |
| Horário do dispositivo (Device time) | Current date and time of the gateway. |
| Enviar hora atual (Send current time) | Sends the date and time of your computer to the gateway. |
Make the necessary changes and click Salvar (Save) to confirm.
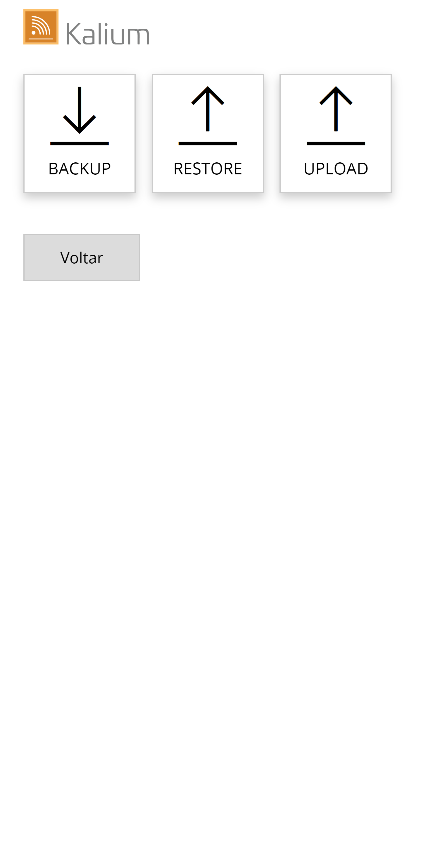
Files
The Arquivos (Files) menu gives access to the following screens:
- Backup — creates and downloads a file with all the gateway configuration data.
- Restore — uploads a backup file to restore the settings.
- Upload — sends a specific file to the gateway.
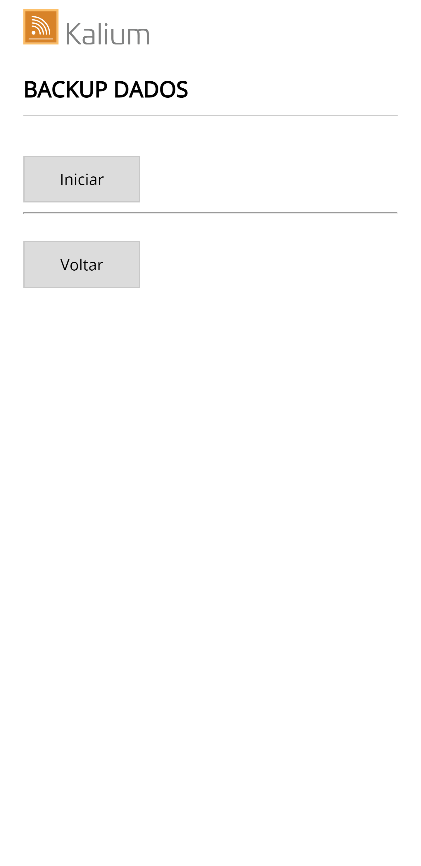
Backup
Use this screen to download a file with all the gateway configuration data.
Click Iniciar (Start) to download the file. This file can be used in the Restore function when you want to restore the configuration. Click Voltar (Back) to return to the previous menu.
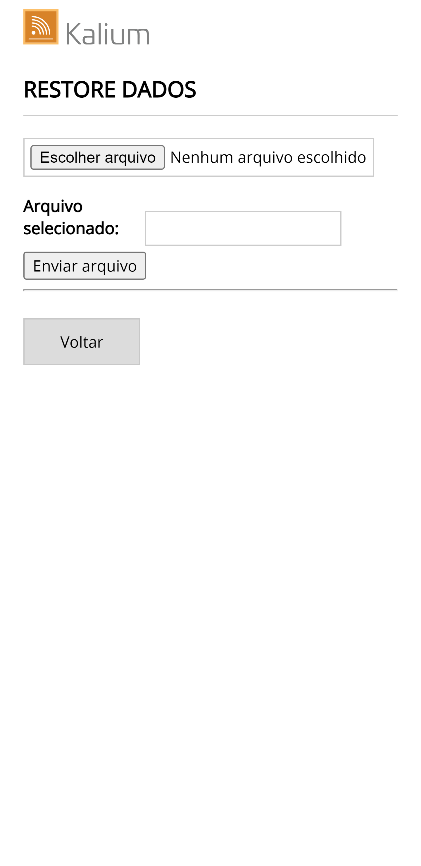
Restore
Use this screen to upload a file with the gateway configuration data. The file must be in the proper format, as created by the Backup function.
Click Escolher arquivo (Choose file) to select it and Enviar arquivo (Send file) to start the transfer. Click Voltar (Back) to return to the previous menu.
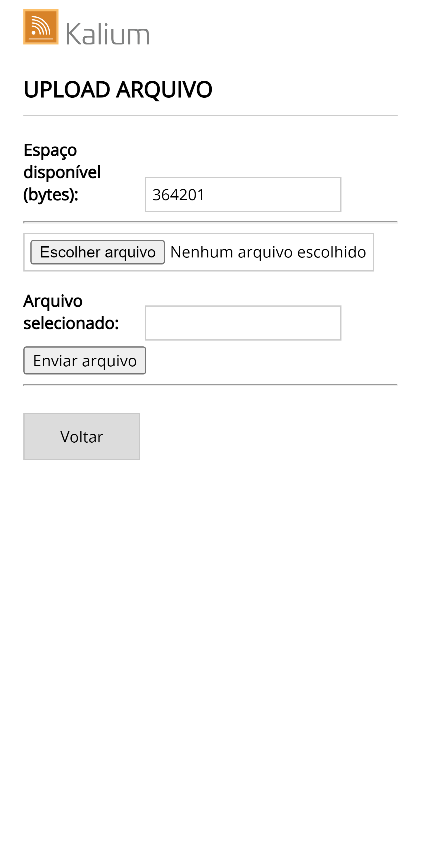
Upload
Use this screen to send a specific file to the gateway. The files must be in the proper format. The screen shows the space currently available in the gateway memory.
Click Escolher arquivo (Choose file) to select it and Enviar arquivo (Send file) to start the transfer. Click Voltar (Back) to return to the previous menu.
Upgrade
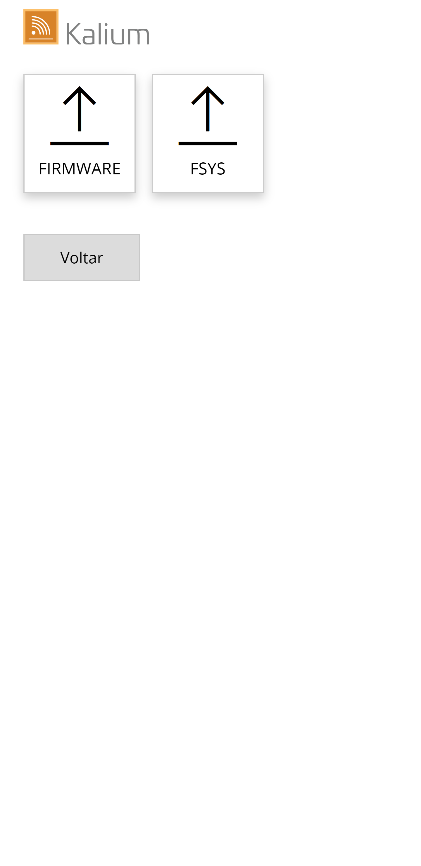
This function lets you send a new firmware version to the device when necessary. There are two types of update:
- FIRMWARE — update of the executable code.
- FSYS — update of the file system.
In some situations both updates are required. Choose the type by clicking the specific button, or click Voltar (Back) to return to the initial menu.
FIRMWARE Upgrade
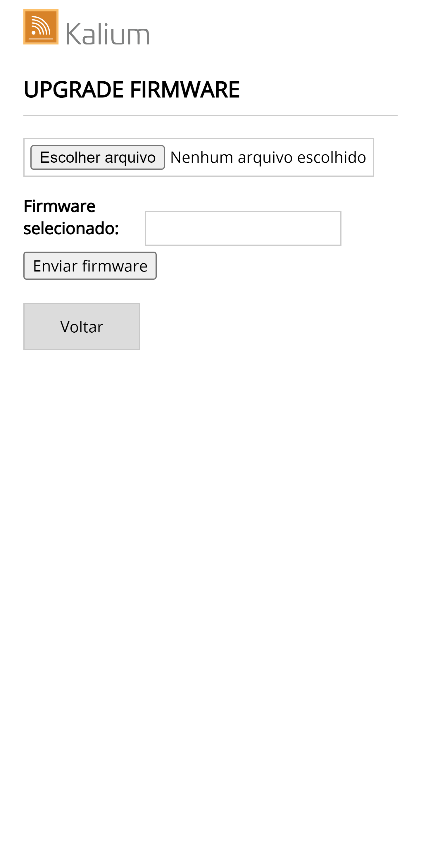
On this screen you select a file with a new firmware version to update the device.
Click Escolher arquivo (Choose file) to select the file and then Enviar novo firmware (Send new firmware) to start the upload.
At the end of the update, the device restarts automatically. Since it returns to normal operation mode, the Access Point is disabled. To return to configuration mode, press and hold the MODE button for 8 seconds again (see Buttons and LEDs).
FSYS Upgrade
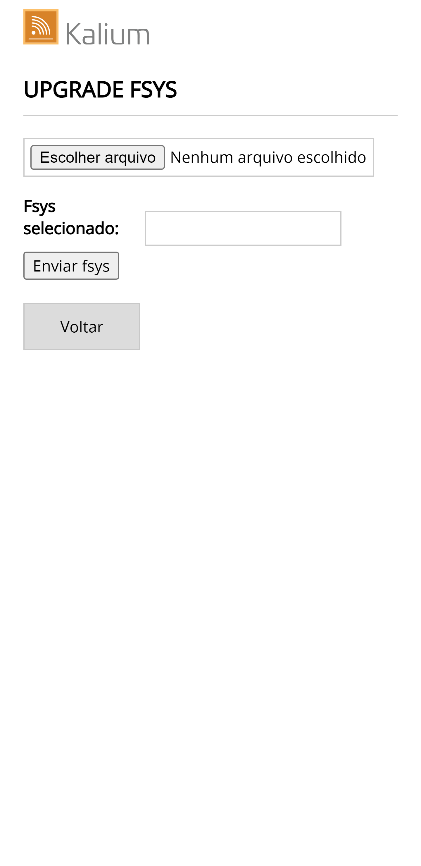
On this screen you select a file with a new file system (FSYS) version to update the device.
Click Escolher arquivo (Choose file) to select the file and then Enviar novo fsys (Send new fsys) to start the upload.
At the end of the update, the device restarts automatically. Since it returns to normal operation mode, the Access Point is disabled. To return to configuration mode, press and hold the MODE button for 8 seconds again (see Buttons and LEDs).
Info
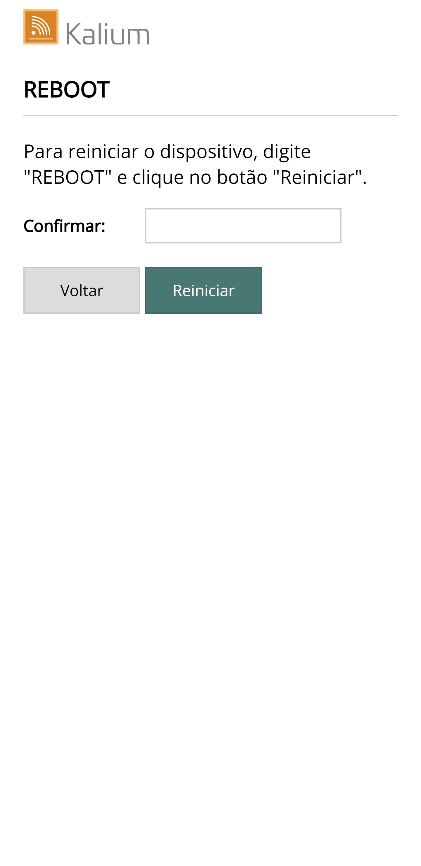
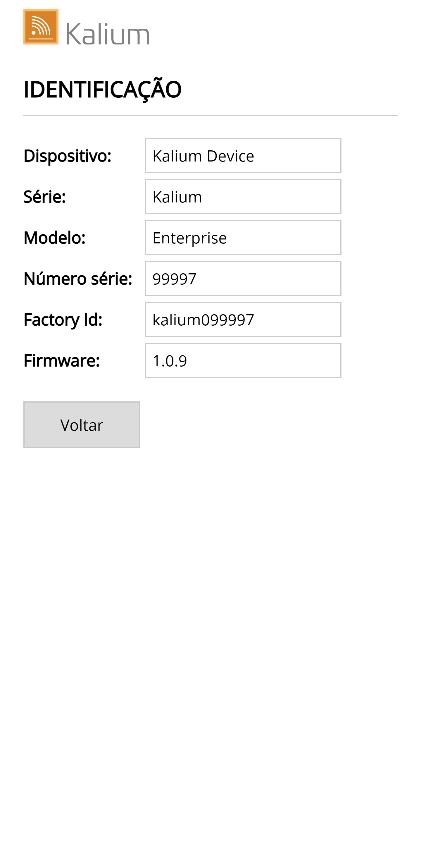
This page shows technical information about the gateway:
| Field | Description |
|---|---|
| Dispositivo (Device) | Device type. |
| Série (Series) | Production series. |
| Modelo (Model) | Production model. |
| Número de série (Serial number) | Manufacturing serial number. |
| Factory ID | Factory identification code. |
| Firmware | Firmware version. |
Click Voltar (Back) to return to the previous menu.
Reboot
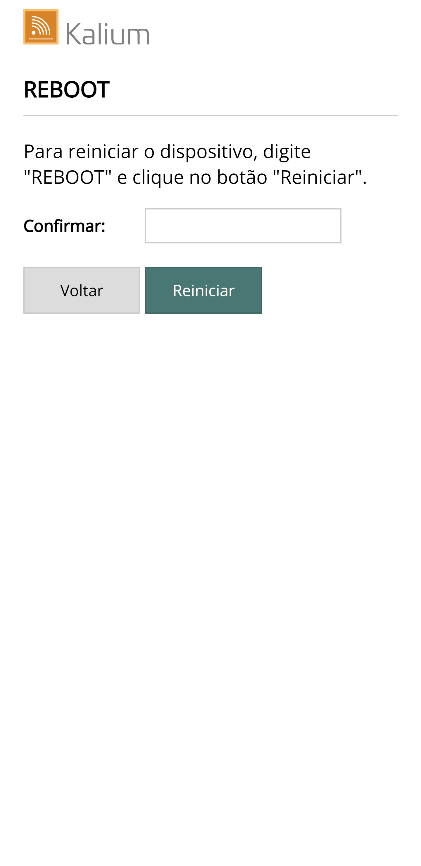
Use this function to restart the Kalium gateway remotely.
Type REBOOT in uppercase in the confirmation field and click the Reiniciar (Restart) button.
Next Steps
- Installation Manual — power supply, alarm relay, buttons and LEDs, and configuration mode.
- Overview — mesh system architecture, supported beacons, and specifications.