Operation Manual - Palladium Noise Monitor
Palladium has been discontinued and is no longer sold for new projects. This documentation remains available to support existing installations. For new projects or replacement, contact the Iongrade sales team.
Palladium has an embedded HTTP server, through which all operational settings, network parameters, measurement queries and system adjustments are performed, accessible via a web browser. This manual describes each screen of the v4.1 configuration interface.
To access the configuration you must enable the Palladium Wi-Fi network (hold the front button pressed for seven seconds until a double beep sounds), connect to the Wi-Fi network it generates (SSID palladium followed by a device identification code, e.g.: palladiumF67A) and point the browser to 192.168.4.1. The step by step is in the Installation Manual.
Palladium continuously measures the ambient sound pressure level, in dB(A), in the range of 40 to 140 dB(A). It stores in memory, every minute, the instantaneous, average, maximum and minimum values, plus the temperature, for up to 45 days. It can generate alarms when the noise exceeds the limits configured per time range on each day of the week, and integrate with Palladium Cloud for remote querying and email alerts.
Login
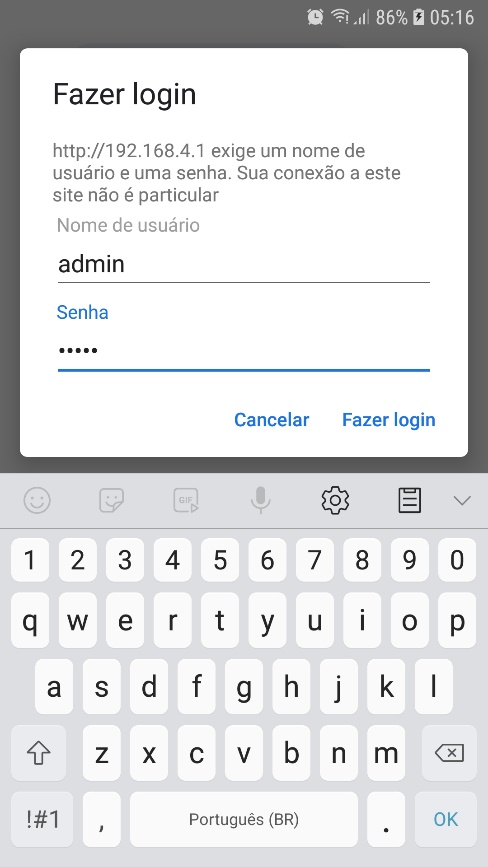
Once connected to the Palladium Wi-Fi network, open a browser and enter the address http://192.168.4.1. You will be asked for a user name and password. The default values are:
- Usuário (User):
admin - Senha (Password):
palladiumpwd
After identification, the Palladium page server presents the available functions.
Home Page
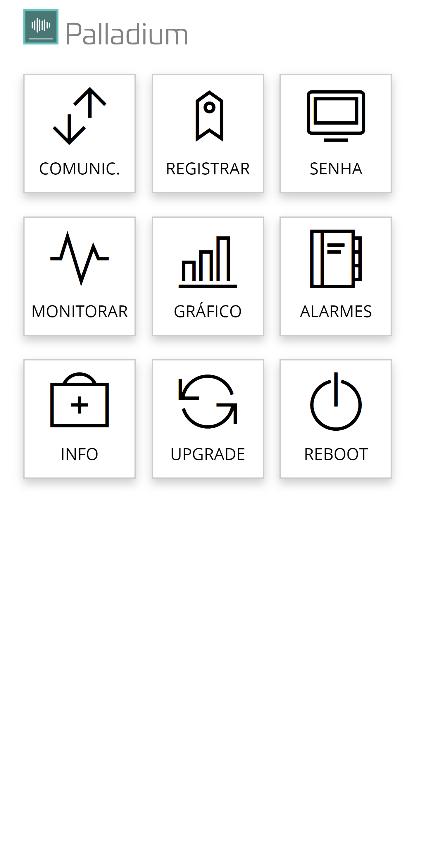
The Palladium home page presents the following functions:
- Comunic. (Comm.) — communication parameter configuration functions.
- Registrar (Register) — definition of the person responsible for the device (registration in Palladium Cloud).
- Senha — change of the Palladium access password.
- Monitorar (Monitor) — real-time view of the noise and ambient temperature.
- Gráfico (Chart) — presentation of the stored data as charts.
- Alarmes (Alarms) — configuration of the allowed noise levels for the time ranges on each day of the week.
- Info — general Palladium information.
- Upgrade — manual firmware update.
- Reboot — device restart.
Communication
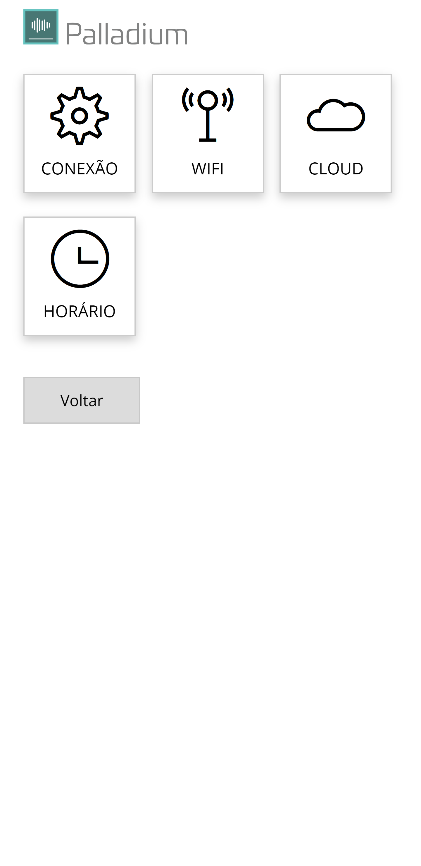
The configuration of the Palladium communication parameters is done through the following options:
- Conexão (Connection) — network media selection.
- WiFi — configuration of the Wi-Fi connection data.
- Cloud — configuration of how data is sent to the internet.
- Horário (Time) — adjustment of the device clock.
In addition to the network options above, Palladium communicates natively through the open OpenPalladium protocol (based on IoT concepts) and can be integrated by webservice with market software. The configuration of these integrations has separate documentation and is not detailed in this manual.
Connection
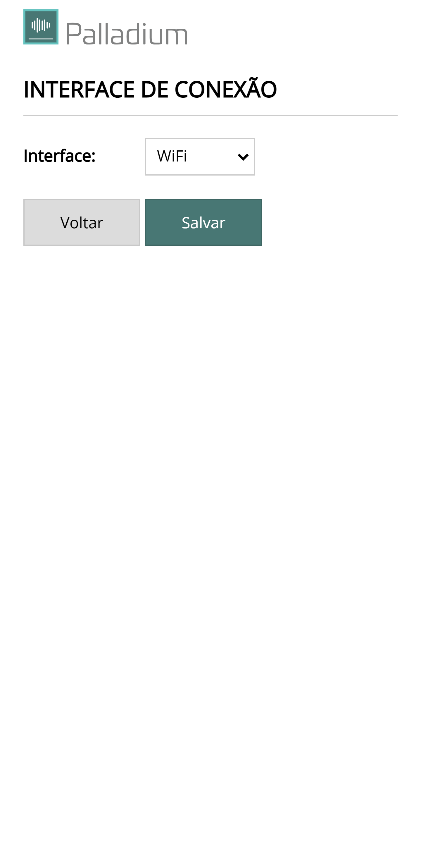
On this screen you configure the type of interface Palladium will use to connect to the communication network. The options are:
- Sem rede (No network)
- WiFi
Make the necessary changes and click Salvar (Save) to confirm.
WiFi
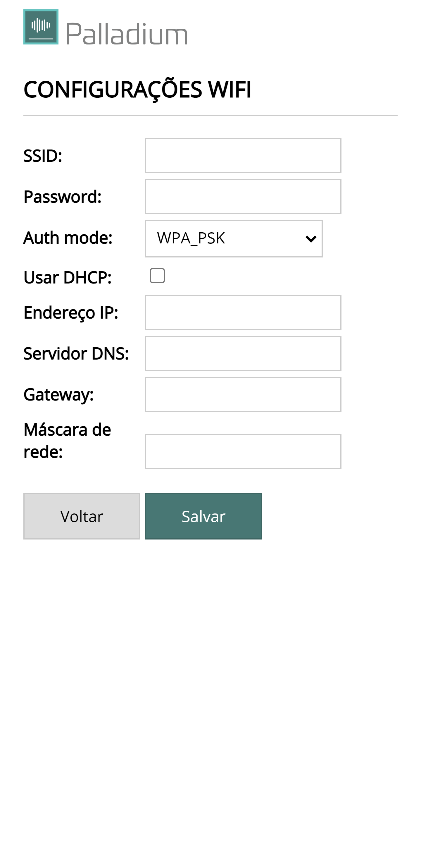
This function lets you configure the data for Palladium to connect to a Wi-Fi network.
| Field | Description |
|---|---|
| SSID | Name of the network the device should connect to. |
| Password | Wi-Fi network access password. |
| Auth mode | Encryption mode of the Wi-Fi network access password. |
| Usar DHCP (Use DHCP) | Obtain an IP address through a DHCP server (default). |
| Endereço IP (IP address) | If the Usar DHCP option is not enabled, you must enter a fixed IP address. |
| Servidor DNS (DNS server) | IP address of the DNS server, if you are using a fixed IP address. |
| Gateway | IP address of the gateway, if you are using a fixed IP address. |
| Máscara de rede (Network mask) | Network mask, if you are using a fixed IP address. |
After changing the data, use the Salvar button.
Connecting to Palladium Cloud requires a Wi-Fi network with internet access.
If this data is changed, the device must be restarted. Turn off the power supply, wait five seconds and turn it back on.
Cloud
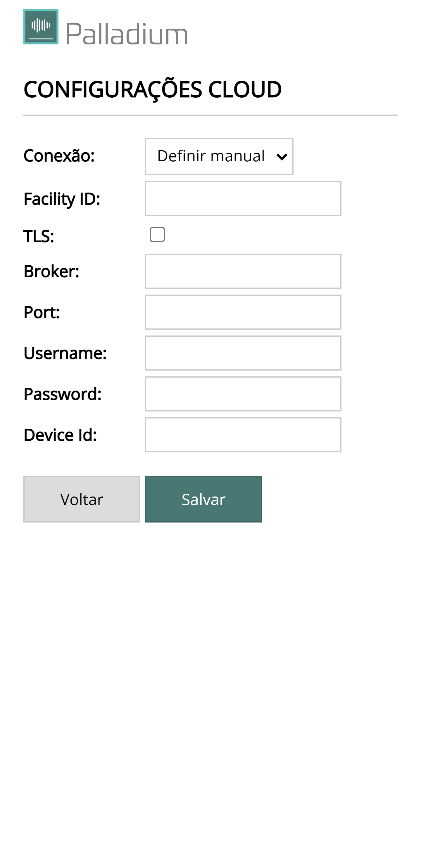
Palladium can send the collected information and measurements to special servers on the internet. This function lets you define whether that will happen and to which server the information will be sent.
The Conexão field presents three options:
- Sem conexão (No connection) — no information will be sent to external servers.
- Definir manual (Set manually) — information will be sent to a third-party server.
- Automático (Automatic) — information will be sent to Palladium Cloud.
If sending the information to Palladium Cloud is selected, no additional information is needed and the values of the other fields on the screen can be ignored.
To send the information to a special server, consult the provider to obtain the following configuration data:
| Field | Description |
|---|---|
| Facility ID | Installation identification. |
| TLS | Whether Palladium should use a TLS connection with the server. |
| Broker | URL address of the MQTT server. |
| Port | Port number of the MQTT server communication. |
| Username | User name for access to the broker. |
| Password | Broker access password. |
| Device id | Unique Palladium identification. |
Time
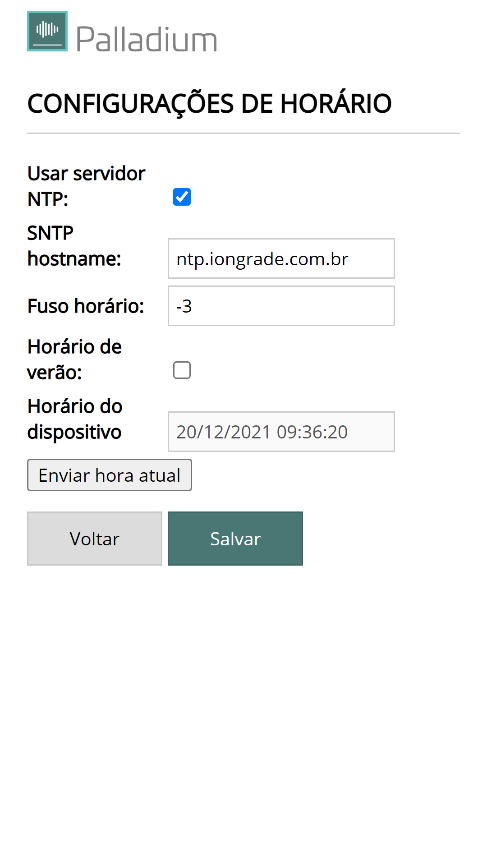
Palladium has an extremely high precision internal clock, backed by a battery with a 5-year life, which keeps running even with the device turned off. The device can also be synchronized with a date and time server on the internet (NTP server).
| Field | Description |
|---|---|
| Usar servidor NTP (Use NTP server) | Whether the device should obtain the date/time automatically from an NTP server (requires an internet connection). |
| SNTP hostname | Address of the NTP server. |
| Fuso horário (Time zone) | Time zone of the place where the device is installed. In Brasília time, the time zone is -3. |
| Horário de verão (Daylight saving time) | Enable it if Palladium should adjust to daylight saving time automatically. |
| Horário do dispositivo (Device time) | Current date and time of Palladium. This information is refreshed on the screen every second. |
| Enviar hora local (Send local time) | Sends the date/time of your laptop/smartphone to Palladium. |
Use the Salvar button to save the information.
Register
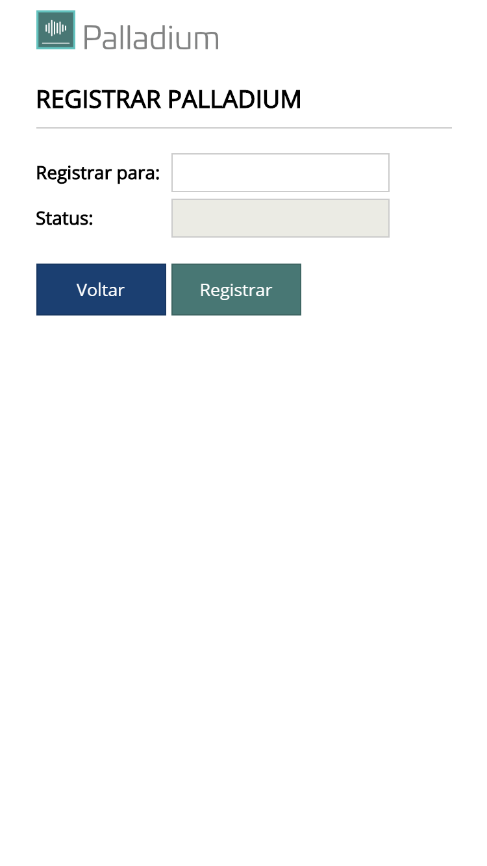
Palladium can be managed through Palladium Cloud. To do this, you need an account in the system and to associate the device with that account.
Creating the account in Palladium Cloud is free and can be done through the link https://palladium.iongrade.com.br/. After creating your account, you must associate Palladium with your user. This screen lets you make that association.
| Field | Description |
|---|---|
| Registrar para (Register to) | Enter the email address associated with your Palladium Cloud account. |
| Status | Shows the result of the registration operation. |
Use the Registrar button to send the information.
Palladium must be connected to a Wi-Fi network with internet access for the registration to be performed.
Password
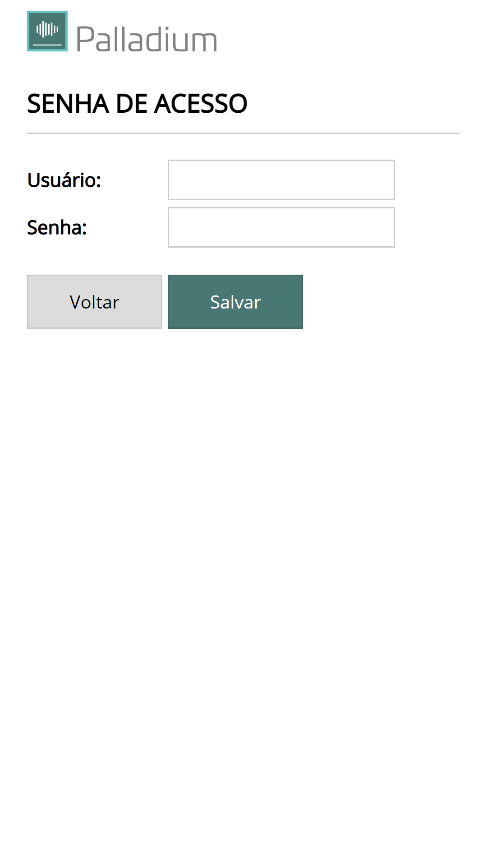
On this page you can change the Palladium access password.
Enter the new values for Usuário and Senha and click Salvar to confirm the change. The new values take effect the next time the device is started.
Write down the password and keep it in a safe place. This information cannot be recovered.
Monitor
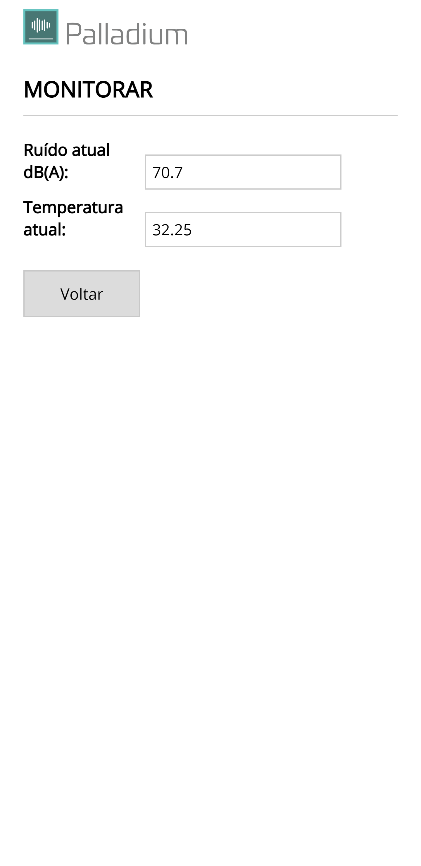
This screen shows, in real time, the measurements taken by Palladium.
| Information | Description |
|---|---|
| Ruído atual dB(A) (Current noise dB(A)) | Ambient sound signal level, in decibels. |
| Temperatura atual (Current temperature) | Value, in degrees Celsius, of the temperature inside the device. |
Chart
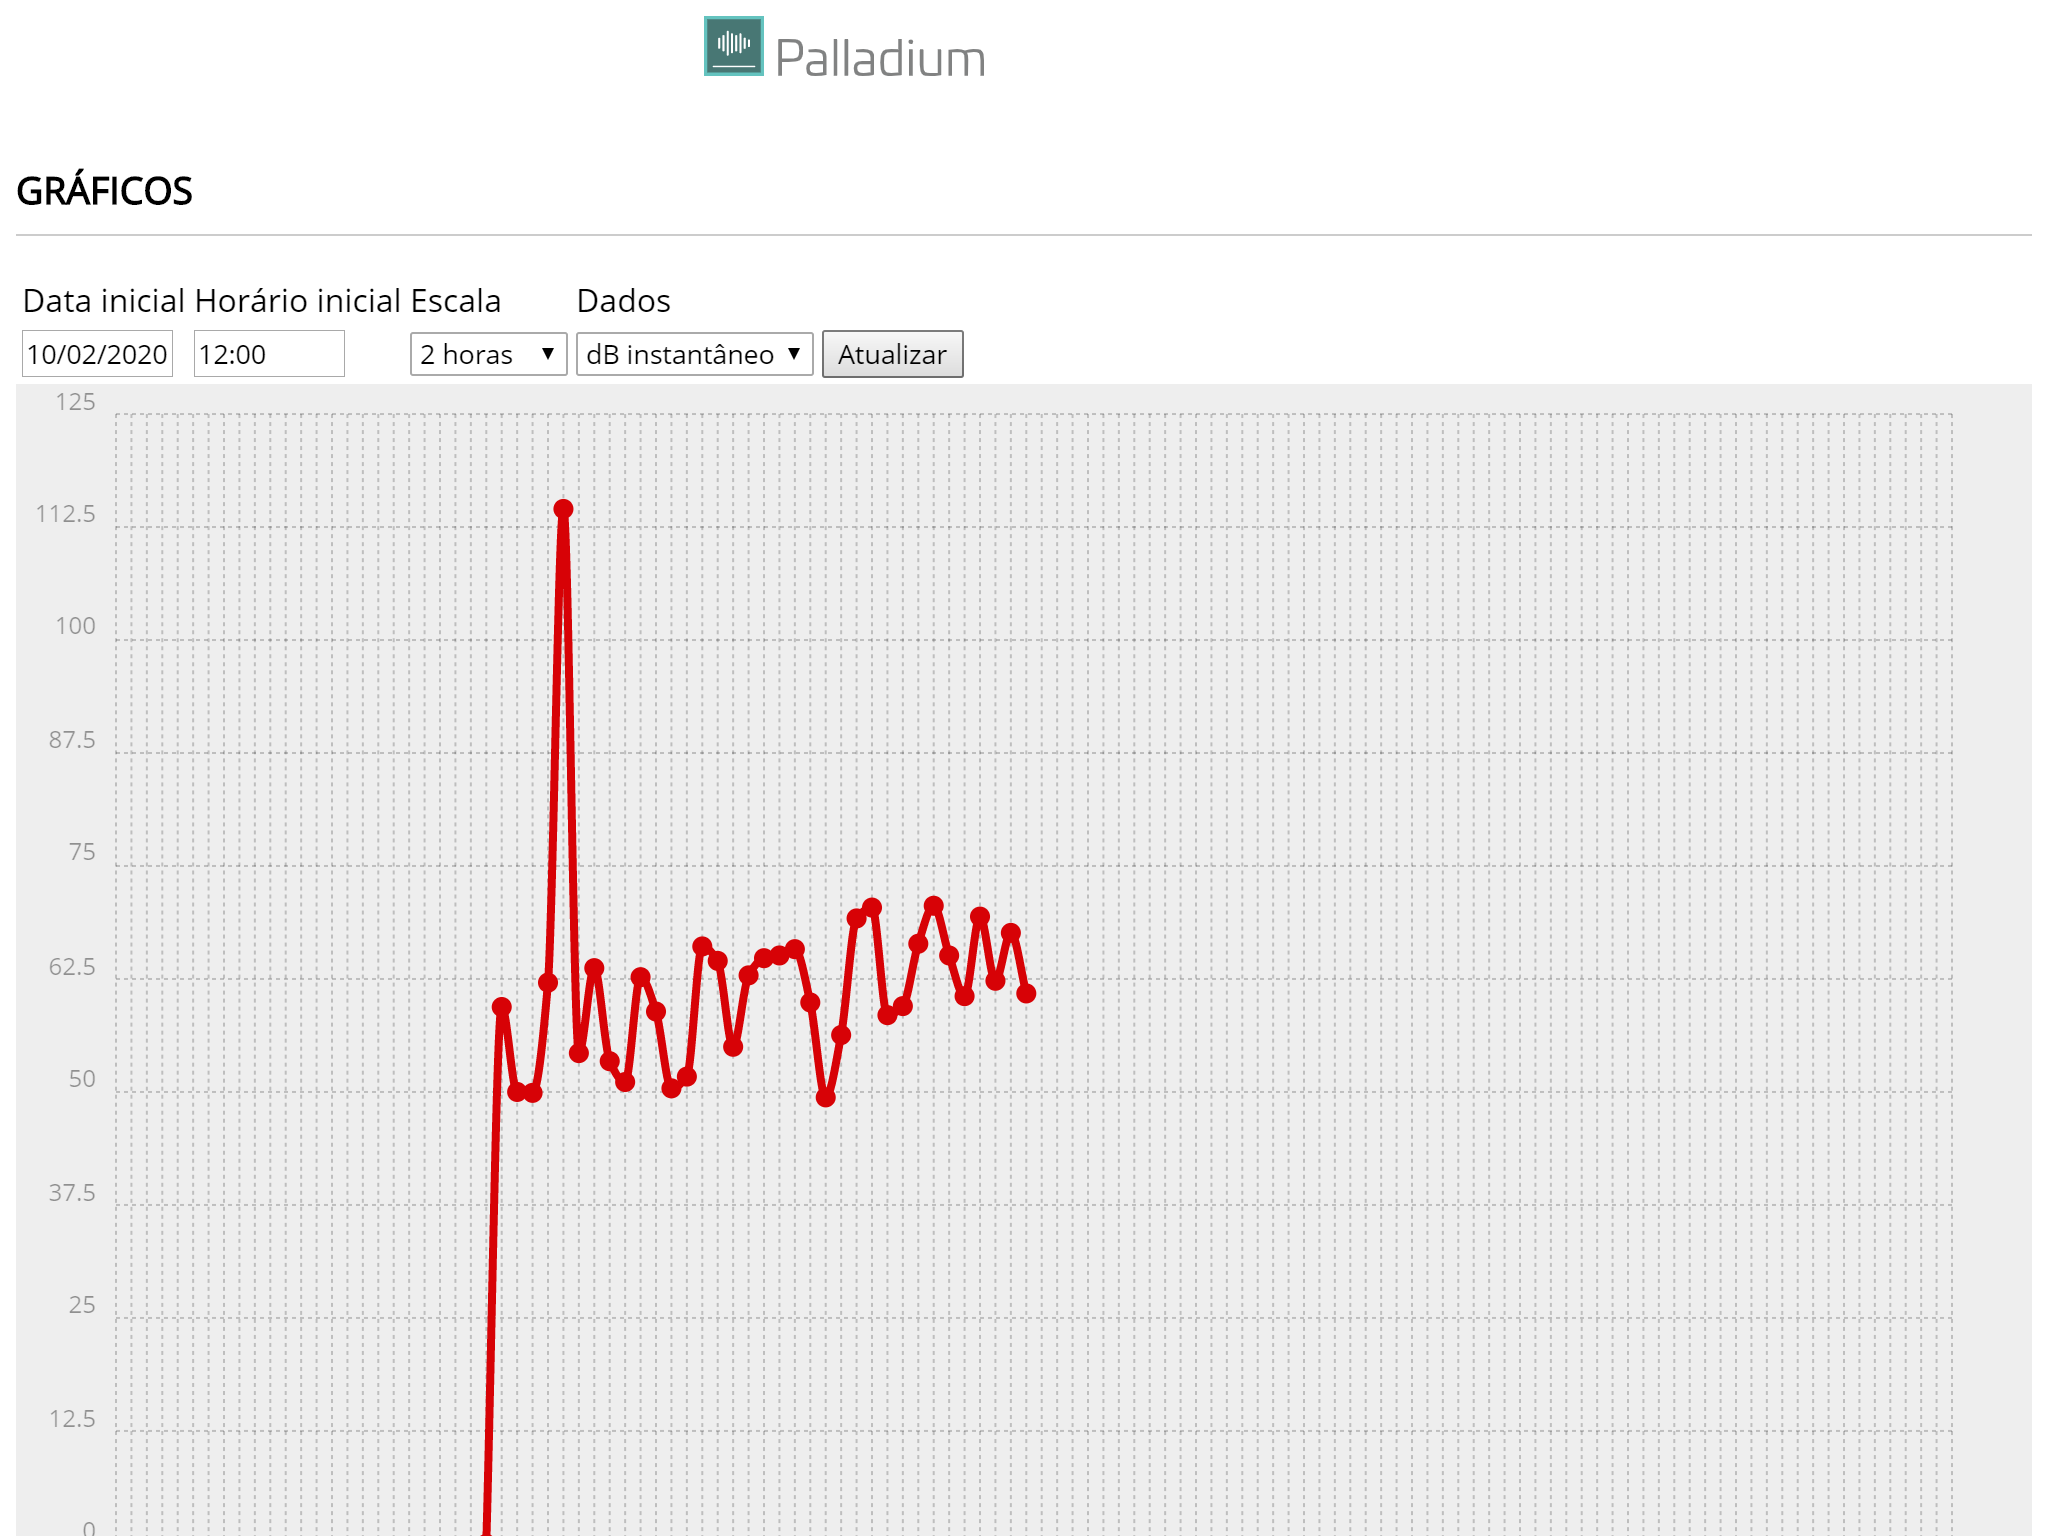
Palladium provides, as charts, the measurement values stored in its memory. Values from the last 45 days can be queried.
On this screen, enter the start date, the start time and the time scale of the samples. The Dados (Data) field lets you define which information will be shown in the chart:
| Data | Description |
|---|---|
| dB instantâneo (Instantaneous dB) | Instantaneous value at the moment of recording. |
| dB médio (Average dB) | Average of the values of the last minute. |
| dB máximo (Maximum dB) | Maximum value in the last minute. |
| dB mínimo (Minimum dB) | Lowest value measured in the last minute. |
| Temperatura (Temperature) | Temperature value in the last minute. |
After filling in the fields, click the Atualizar (Refresh) button and the chart with the requested information will be shown.
Alarms
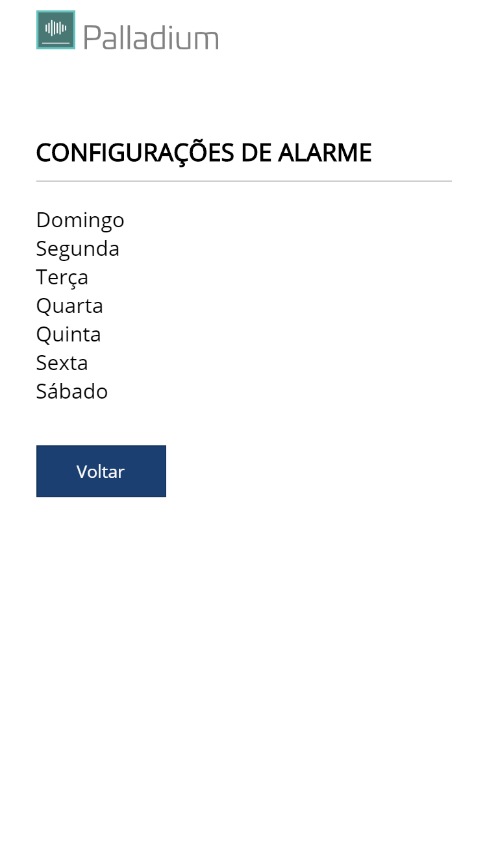
This function allows the configuration of the noise levels for each day of the week. Click on the desired day of the week to start the process.
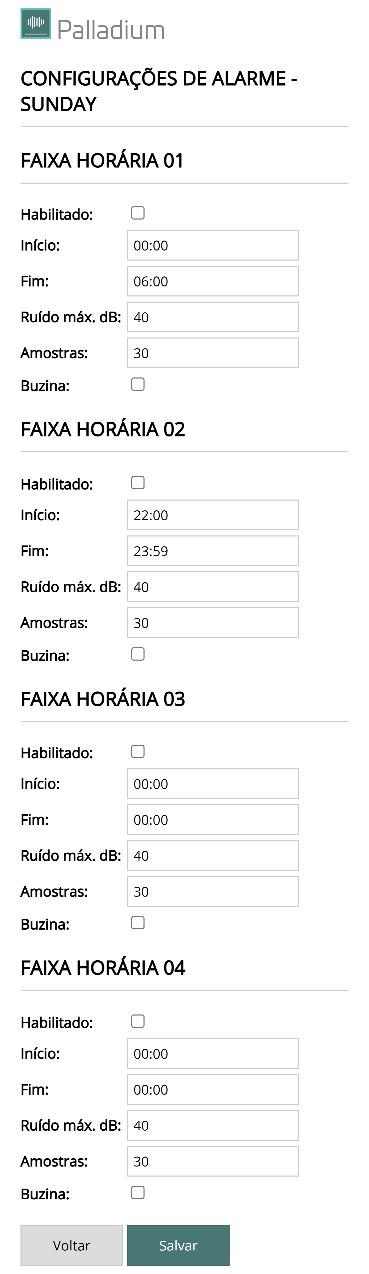
Up to 4 time ranges can be configured per day of the week. Each time range has the following fields:
| Field | Description |
|---|---|
| Habilitado (Enabled) | Whether there will be any type of control in that time range. |
| Início (Start) | Start time of the time range. |
| Fim (End) | End time of the time range. |
| Ruído max. dB (Max. noise dB) | Maximum acceptable noise level, in decibels. |
| Amostras (Samples) | Maximum time, in seconds, for which noise above the limit will be tolerated. Enter a value between 1 and 60. |
| Buzina (Horn) | Whether the horn should sound in a situation of noise above the tolerated level. |
Info
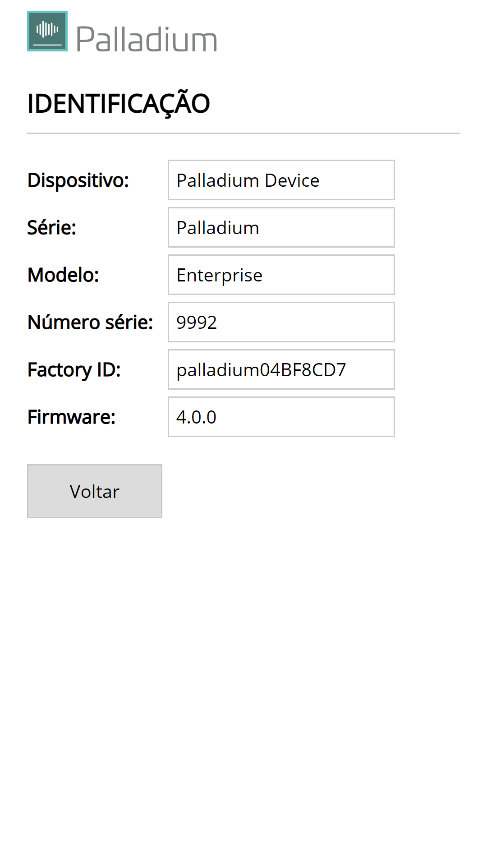
On this page you can see technical information about Palladium:
| Field | Description |
|---|---|
| Dispositivo (Device) | Device type. |
| Série (Series) | Device series. |
| Modelo (Model) | Device model. |
| Número de série (Serial number) | Manufacturing serial number. |
| Factory Id | Factory identification. |
| Firmware | Firmware identification. |
Upgrade
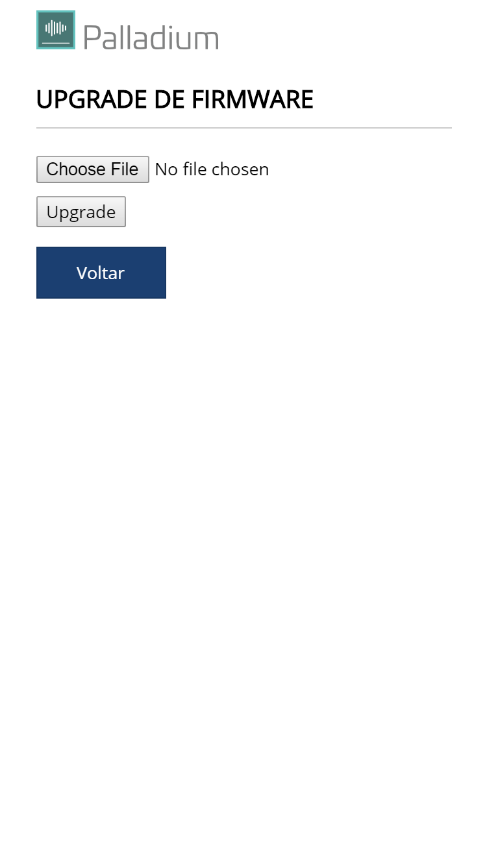
Palladium allows its firmware to be updated. This function lets you send a new version to the device when necessary.
Click the Escolher arquivo (Choose file) button, locate the file with the new version and click the Upgrade button to start the process. At the end of the update, the device restarts automatically.
Devices with firmware version 2.x.x or earlier cannot be updated with firmware versions 4.0.0 or later. Contact Iongrade for information about the firmware update.
Reboot
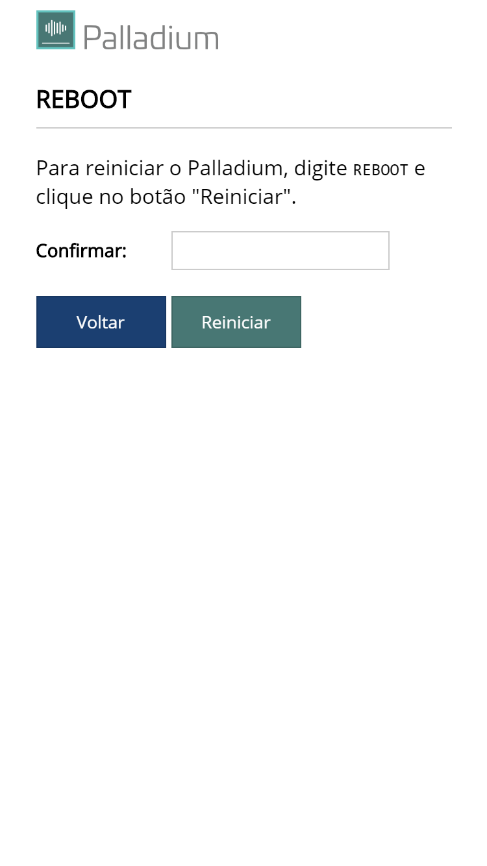
On this page you can restart Palladium remotely.
Type REBOOT in uppercase letters in the confirmation field and click the Reiniciar (Restart) button.
Next Steps
- Installation Manual — power supply, enabling the Wi-Fi network with the front button, bargraph, LED and operating modes.