Scandium — Installation and Configuration
Scandium has been discontinued and is no longer sold for new projects. This documentation remains available to support existing installations. For new projects or replacements, contact the Iongrade sales team.
This manual guides the designer or installer through the installation and configuration of the Scandium beacon monitoring antenna.
Power Supply
The Scandium antenna is powered by 5 VDC. Power the equipment with a regulated, properly sized power supply before starting the configuration.
| Specification | Value |
|---|---|
| Supply voltage | 5 VDC |
Starting the Configuration
Scandium is configured through a web browser. To start the configuration, follow the steps below:
- Put Scandium into configuration mode;
- Connect to the Scandium Wi-Fi network;
- Point your browser to Scandium.
Activating Configuration Mode
To put Scandium into configuration mode, power up the equipment and then bring a magnet close to the signaling LED. The device automatically switches to configuration mode and the LED starts blinking in a fast cycle.
Scandium has no mode button. Configuration mode is activated exclusively by bringing a magnet close to the signaling LED.
In this mode, Scandium activates a Wi-Fi access point (AP mode) and starts accepting client connections.
Connecting to the Scandium Wi-Fi Network
The Wi-Fi access point created by Scandium has a unique name (SSID) for each device. This name is formed by the word scandium followed by a device identification code — for example, scandium3FEA87B2. To access the configuration, you must be connected to that network.
Connecting the Browser to Scandium
Once connected to the Scandium Wi-Fi network, point your browser to the address 192.168.4.1. Scandium will ask for a user name and password to start the session.
| Field | Default value |
|---|---|
| User | admin |
| Password | scandiumpwd |
Login
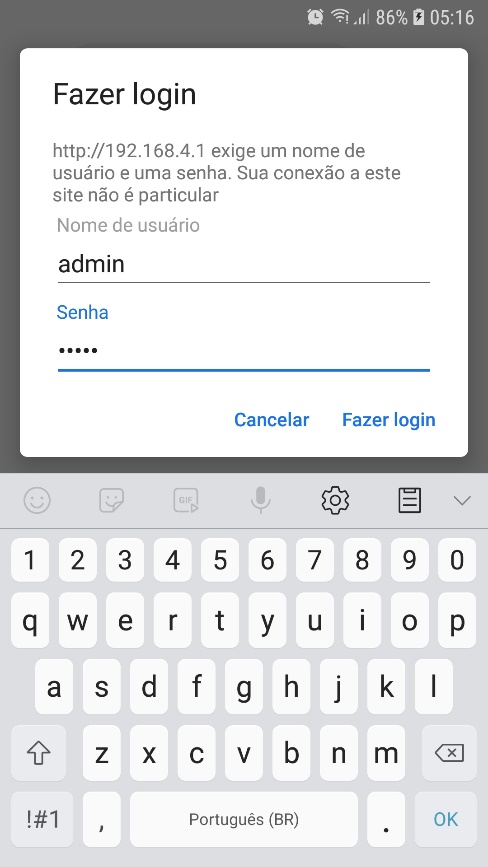
When you connect the browser to Scandium, you are asked for the user name and password, as shown on the login screen. The default values are admin / scandiumpwd.
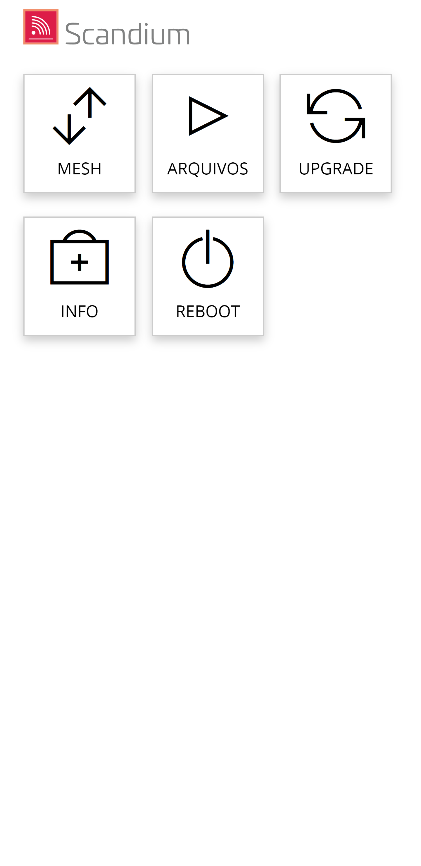
The initial configuration screen presents the following options:
| Option | Function |
|---|---|
| Mesh | Access to the mesh network configuration function |
| Arquivos (Files) | Access to the file handling functions |
| Upgrade | Access to the firmware update screen |
| Info | Access to general information about the device |
| Reboot | Restarts the equipment |
Mesh Network
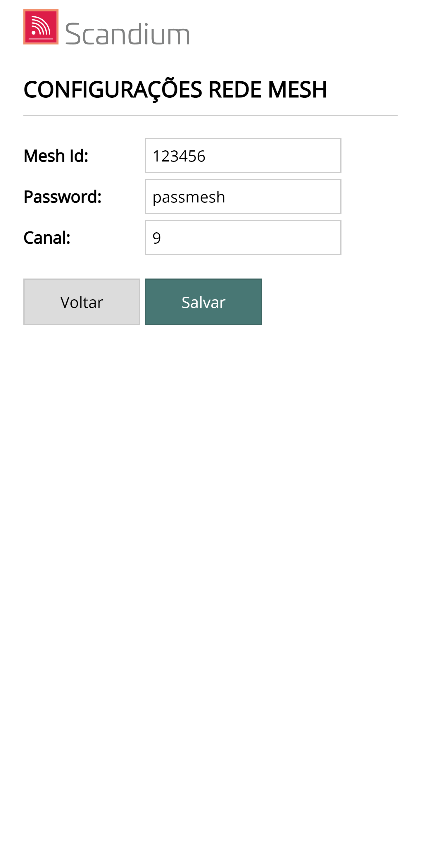
Use this screen to enter the data and access parameters of the mesh network Scandium will connect to. These parameters allow Scandium to join the mesh network formed by the Kalium gateway and by the other Scandium antennas on the network.
On all devices that will be part of the network, these parameters must be exactly the same. Make the necessary changes and click Salvar (Save) to confirm.
Files
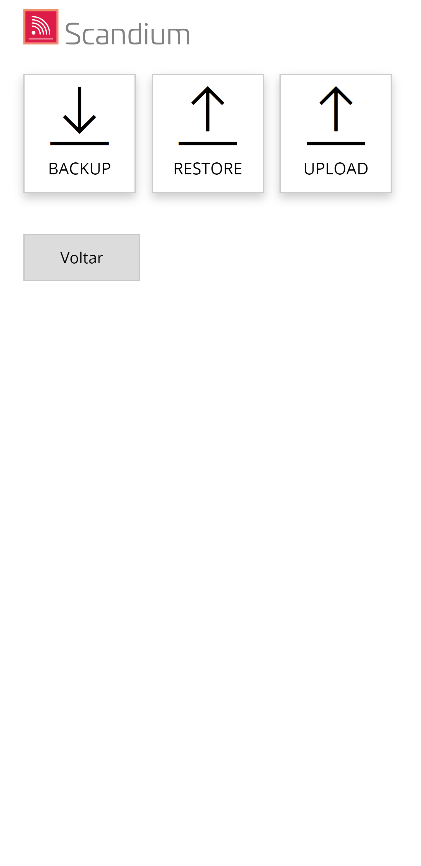
This screen gives access to the following file handling functions:
| Function | Description |
|---|---|
| Backup | Creates and downloads a file with all Scandium configuration data |
| Restore | Uploads a backup file with the Scandium settings |
| Upload | Allows sending a file to Scandium |
Backup
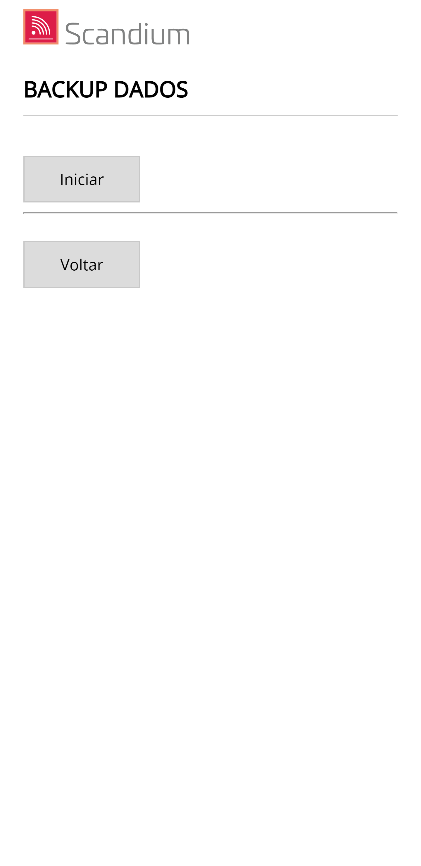
Use this screen to download a file with all Scandium configuration data.
Click the Iniciar (Start) button to download the file. This file can be used in the Restore function whenever you need to restore the Scandium configuration data. Click Voltar (Back) to return to the previous menu.
Restore
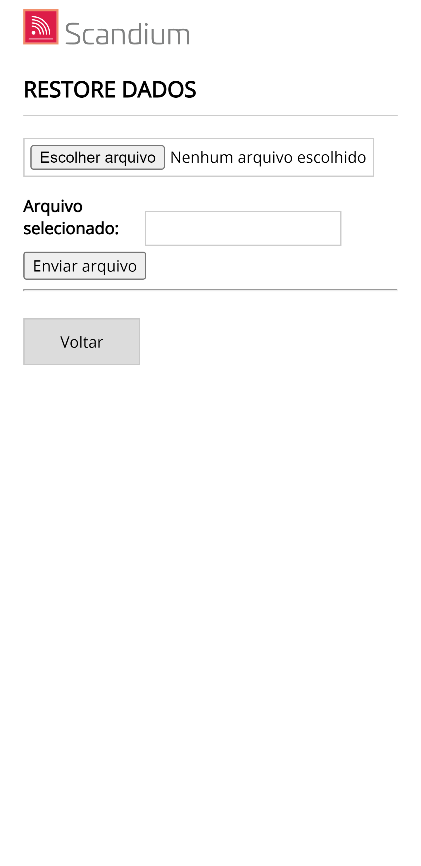
Use this screen to upload a file with the Scandium configuration data. The file must be in the proper format, as created by the Backup function.
Click the Escolher arquivo (Choose file) button to select the file to send and then click Enviar arquivo (Send file) to start the transfer. Click Voltar (Back) to return to the previous menu.
Upload
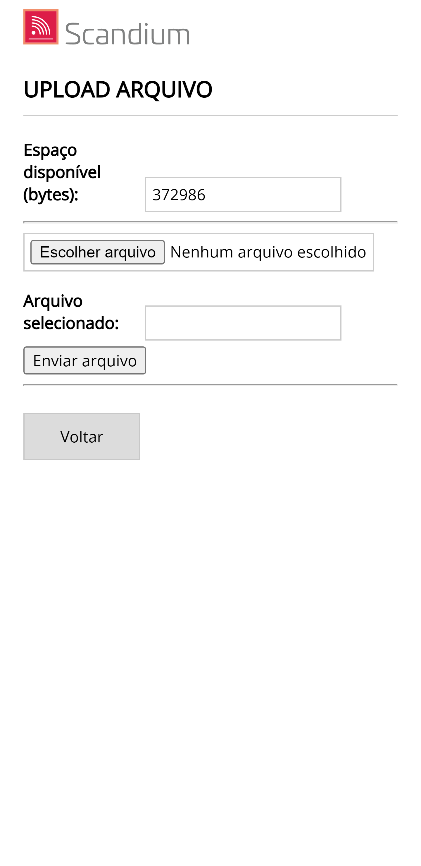
Use this screen to send a specific file to Scandium. Files must be in the proper format to be sent. The screen shows the space currently available in the Scandium memory.
Click the Escolher arquivo (Choose file) button to select the file to send and then click Enviar arquivo (Send file) to start the transfer. Click Voltar (Back) to return to the previous menu.
Upgrade
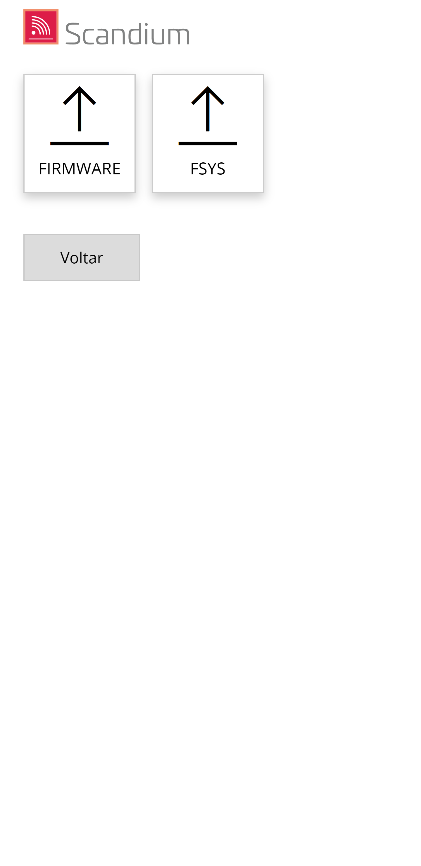
This function lets you send a new firmware version to the equipment when needed.
There are two types of update that can be performed:
| Type | Description |
|---|---|
| FIRMWARE | Update of the executable code |
| FSYS | Update of the file system |
There are situations in which both updates are required. Choose the update type by clicking the specific button, or click Voltar (Back) to return to the initial menu.
FIRMWARE Upgrade
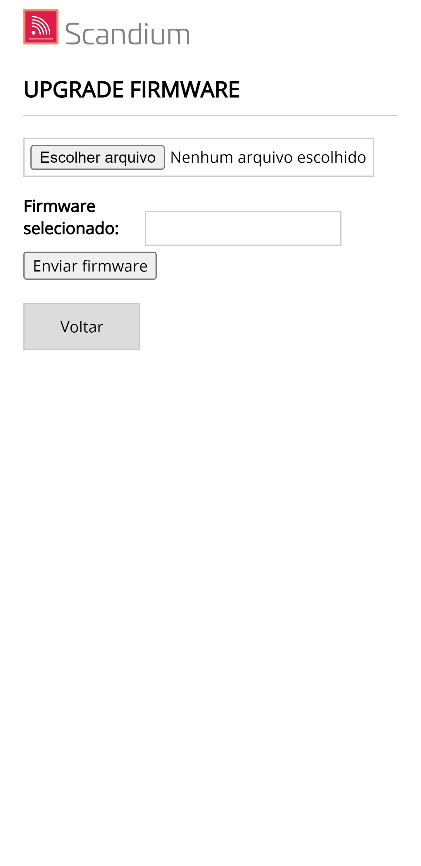
On this screen you can select a file with a new firmware version to update the device.
When you click Escolher arquivo (Choose file), a window opens so you can select the file. Then click the Enviar novo firmware (Send new firmware) button to start the upload.
At the end of the update, the equipment restarts automatically. Since it returns to normal operating mode, the access point is disabled. To go back to configuration mode, repeat the procedure in Activating Configuration Mode.
FSYS Upgrade
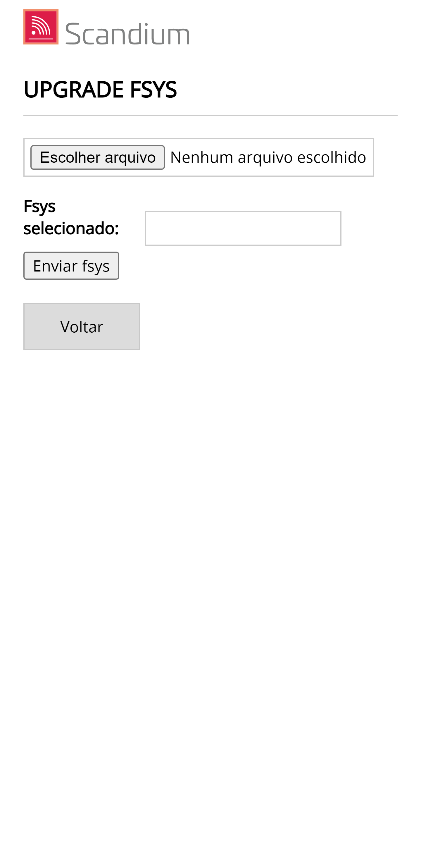
On this screen you can select a file with a new file system version to update the device.
When you click Escolher arquivo (Choose file), a window opens so you can select the file. Then click the Enviar novo fsys (Send new fsys) button to start the upload.
At the end of the update, the equipment restarts automatically and the access point is disabled. To go back to configuration mode, repeat the procedure in Activating Configuration Mode.
Info
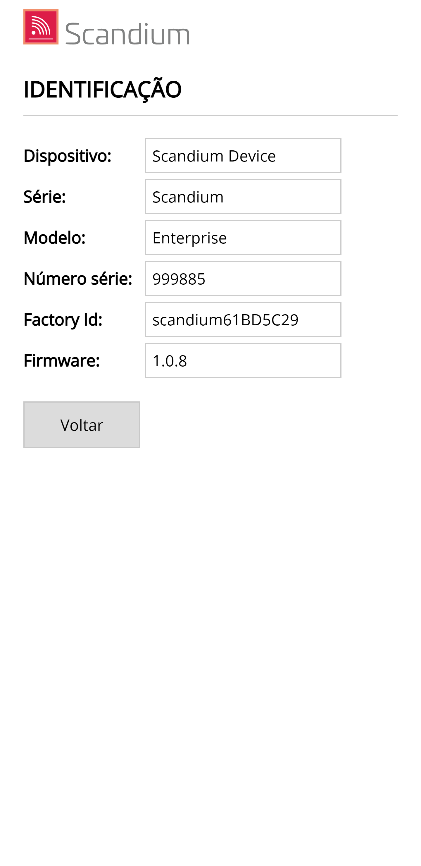
This page shows technical information about the equipment.
| Field | Description |
|---|---|
| Dispositivo (Device) | Device type |
| Série (Series) | Production series |
| Modelo (Model) | Production model |
| Número de série (Serial number) | Manufacturing serial number |
| Factory ID | Factory identification code |
| Firmware | Firmware version |
Click Voltar (Back) to return to the previous menu.
Reboot
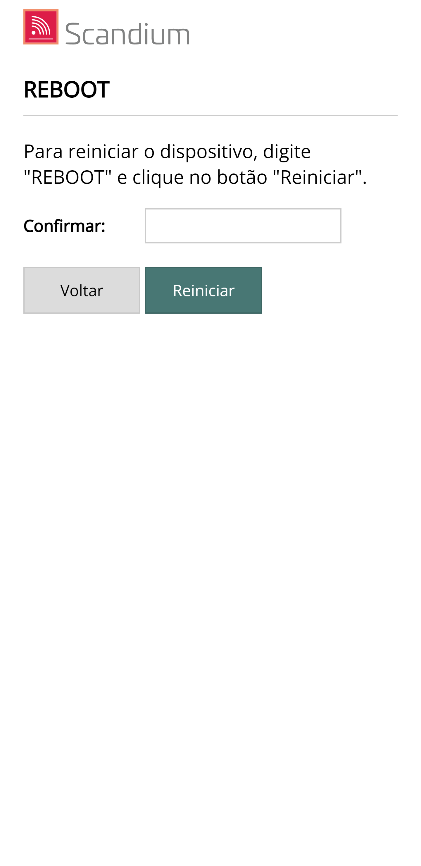
Use this function to restart the equipment.
To restart, type REBOOT in uppercase in the confirmation field and click the Reiniciar (Restart) button.
Next Steps
- Scandium Overview — the antenna's role in the beacon mesh system
- Kalium Overview — complete system architecture