Operation and Configuration - Selenium Gateway
This manual brings together the operation and configuration common to the three Selenium variants (AS, TK and KB). Since all three share the same board and the same gateway base firmware, the configuration mode, the essential connections and most of the web server screens are identical. What differs per variant (elevator protocol and exclusive screens) is detailed on the specific pages, linked at the end.
The board is the Titanium controller configured as a gateway. See the Selenium Overview and the Titanium Controller for platform details.
Connections
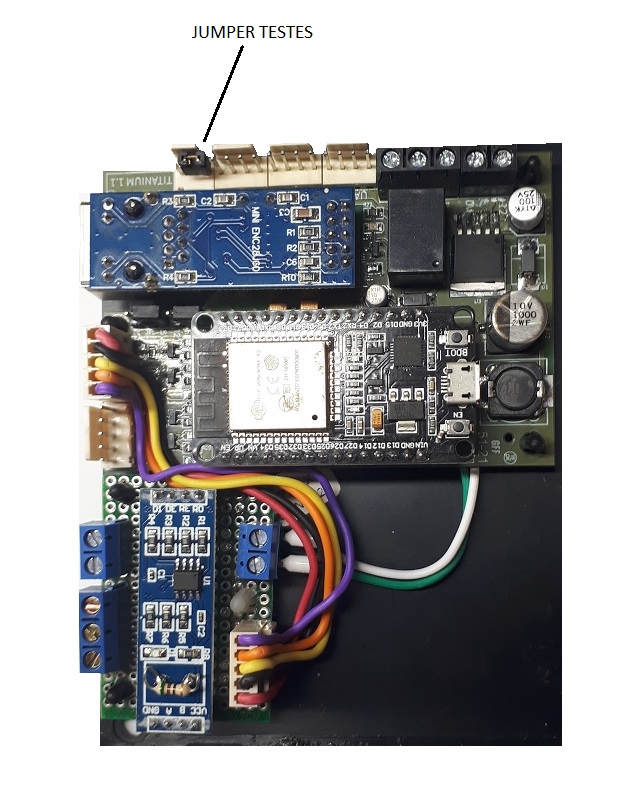
The electrical connections are made on the gateway's terminal blocks:
- 12 VDC power supply — external source;
- RJ45 Ethernet network cable (when communication is wired);
- Display (optional);
- Communication with the elevator system — the terminal/cable varies according to the variant (TCP/IP, MODBUS RS485 or RS232 for the RUBIDIUM stations). See the variant page.
The status relay — which reports the state of the communication with the elevator server (communication OK keeps the relay off; in case of failure the relay turns on) — exists only in the AS variant. The TK and KB variants do not have this terminal. See the variant page.
STATUS LED
In normal operation, the STATUS LED reports the general state of the equipment. Every three seconds a series of quick blinks is started; when all the blinks in the cycle are counted, the situation is normal. The meaning of each blink is:
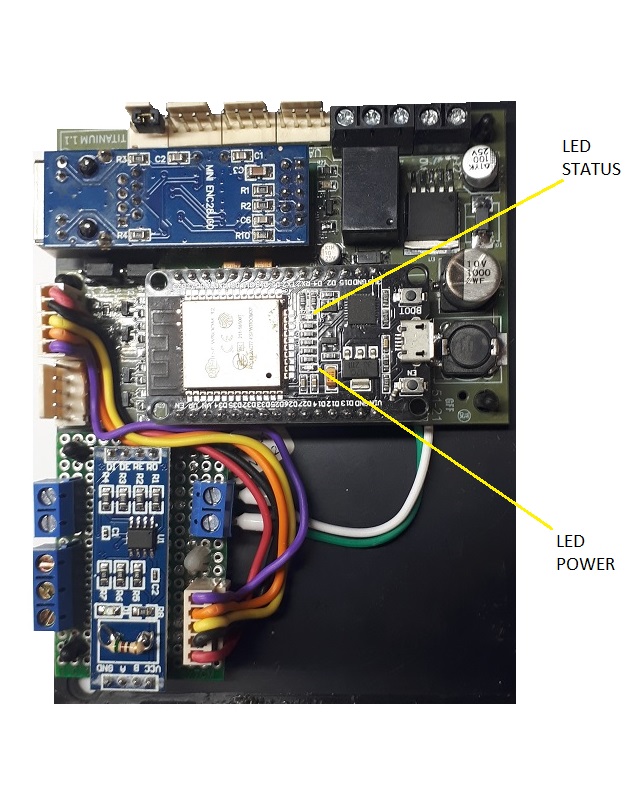
| Blink | Meaning |
|---|---|
| 1 | The gateway is in operation mode |
| 2 | Connection to the network (Ethernet or WiFi) is OK |
| 3 | Connection to the system Broker (MQTT) is OK |
| 4 | Communication with the system server is OK |
Blinks 3 and 4 should only be considered when the gateway is operating connected to a broker through the MQTT connection.
The number of blinks per cycle may vary according to the variant — Selenium TK, for example, adds a 5th blink for the MODBUS connection to the elevator gateway. See the variant page.
Checking these conditions through the STATUS LED is a great help during installation and maintenance, for locating communication faults.
TESTS Jumper
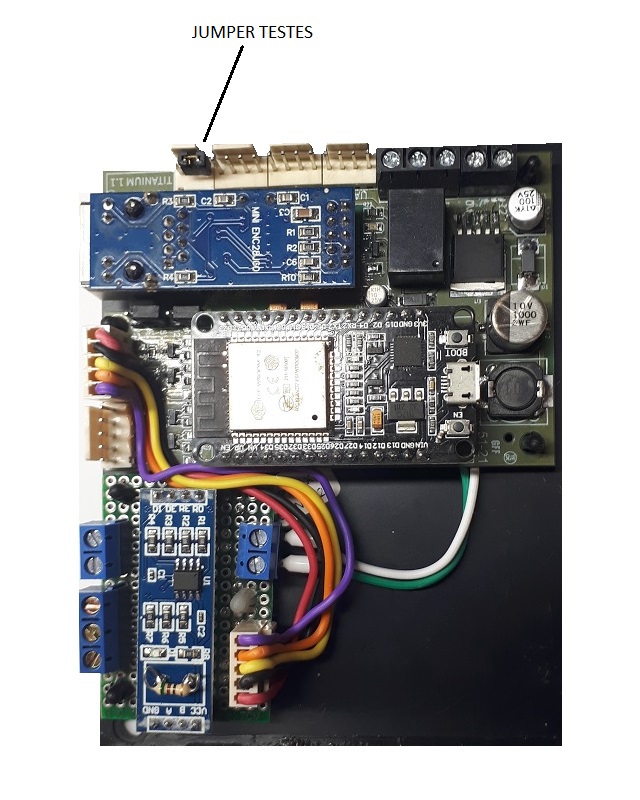
The gateway has a TESTES (Tests) jumper to activate test mode. When this jumper is installed, the gateway enters normal operation but keeps the HTTP server active, allowing access to the test screens.
Use a browser (Chrome, for example) to access the service; the access user and password are the same as for the configuration (see Accessing the Configuration).
The HTTP service should be activated only during installation and maintenance of the system. For security reasons, it is not advisable to keep the service active during normal operation.
Accessing the Configuration
Selenium is configured through a browser. To start the configuration:
- Put the gateway in Configuration mode;
- Connect to the gateway's WiFi network;
- Point the browser to the gateway.
Activating Configuration mode
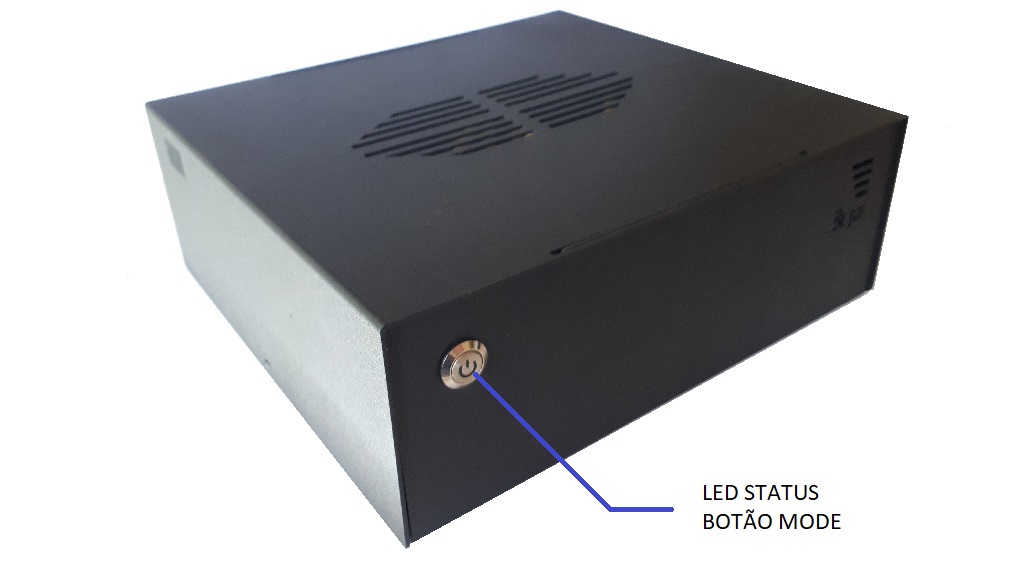
When powered on, the gateway enters normal operation. To activate configuration mode, turn on the equipment, wait for it to enter normal operation and then press the module's BOOT button, holding it down for 6 seconds. The gateway will restart, entering Configuration mode.
In this mode, the STATUS LED keeps blinking rapidly, indicating that the mode is active, and the gateway activates a WiFi network access point (AP mode), starting to accept client connections.
Connecting to the gateway's WiFi network
The WiFi network point created by the gateway has a unique name (SSID) exclusive to each gateway, made up of the word selenium followed by an equipment identification code (e.g.: selenium7512208F, selenium89C0CF6A). To access the configuration you must be connected to this network.
Connecting the browser to the gateway
Once connected to the gateway's WiFi network, point the browser to the address 192.168.4.1. The gateway will ask for a user identification and password. The default values are:
- User:
admin - Password:
seleniumpwd
Main Menu
The initial configuration screen presents the following options:
- Comunic (Comm) — network communication parameter configuration functions.
- Horário (Time) — configuration functions for the gateway's internal clock.
- Elevador (Elevator) — configuration functions for the integration with the elevator system (variant specific).
- Testes — test functions for the elevators (variant specific).
- Arquivos (Files) — file functions (backup/restore/upload).
- Upgrade — access to the firmware update screen.
- Info — access to general information about the gateway.
- Reboot — restarts the equipment.
The Elevador and Testes screens depend on the protocol of each variant. They are described on the variant specific configuration pages.
The menu above applies to the AS and TK variants. On Selenium KB the menu is different: there are no Elevador or Testes items, and Horário and UARTS are grouped under a Hardware item. Thus, the KB menu is: Comunic, Hardware (containing Horário and UARTS), Arquivos, Upgrade, Info and Reboot.
Communication
The Comunic menu gives access to the network configuration screens:
- Conexão (Connection) — defines the type of media used to connect the gateway to the communication network when in operation.
- WiFi — WiFi network parameters, in case the gateway will use a wireless connection.
- Ethernet — wired network parameters (RJ45 connector).
The Comunic menu also includes the MQTT parameters screen (broker, Facility ID, TLS, Device ID, etc.), used for communication with the server. The MQTT / Accelero Cloud configuration is documented separately and is not detailed here.
Connection
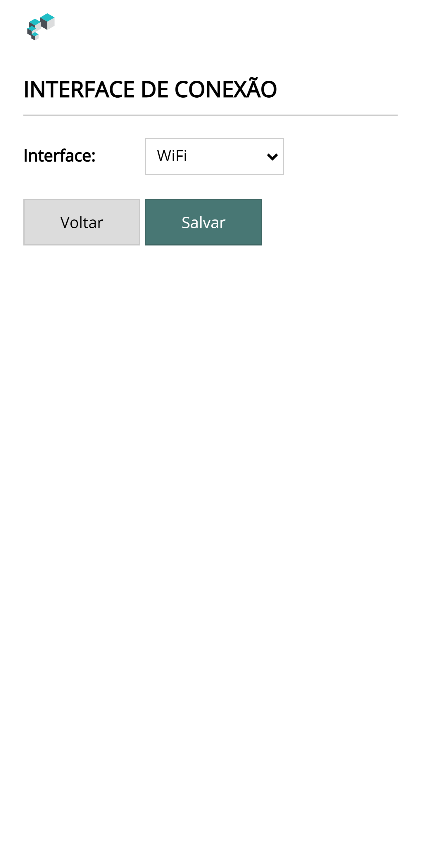
On this screen you define the type of media the gateway will use to connect to the communication network when in operation mode. The options are:
- WiFi (Wireless)
- Ethernet (RJ45)
Make the necessary changes and click Salvar (Save) to confirm.
WiFi
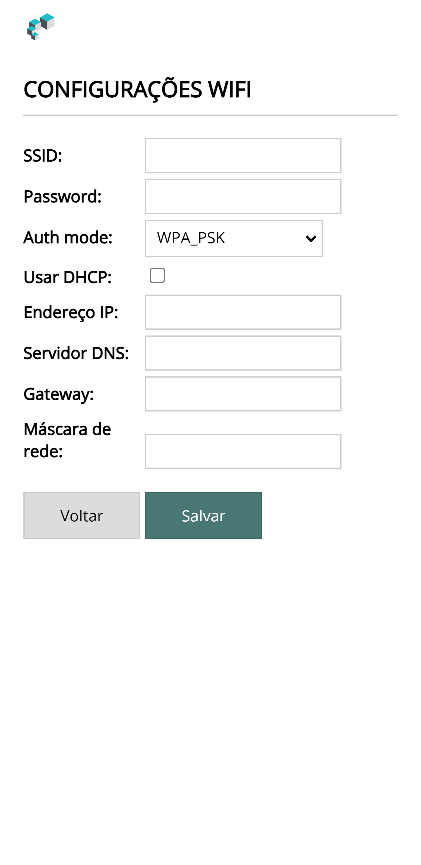
Use this screen to enter the data and access parameters for the WiFi network that will be used in operation mode.
Make the necessary changes and click Salvar to confirm.
Ethernet
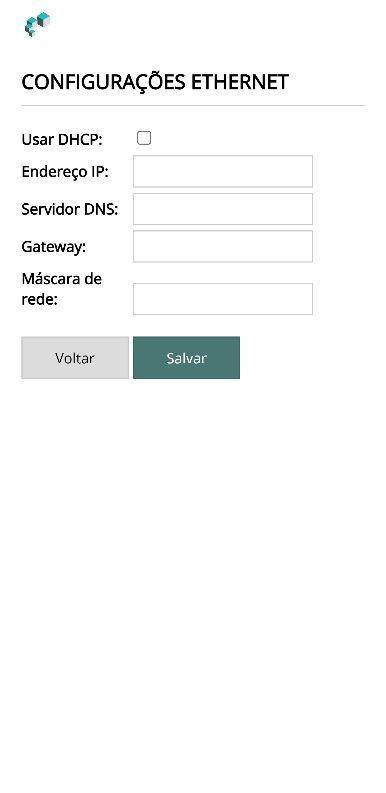
Use this screen to enter the data and access parameters for the Ethernet network (RJ45) that will be used in operation mode.
Make the necessary changes and click Salvar to confirm.
Time
On the AS and TK variants, Horário is an item on the main menu. On Selenium KB, this screen is accessed through the Hardware submenu (which groups Horário and UARTS), and not directly from the main menu.
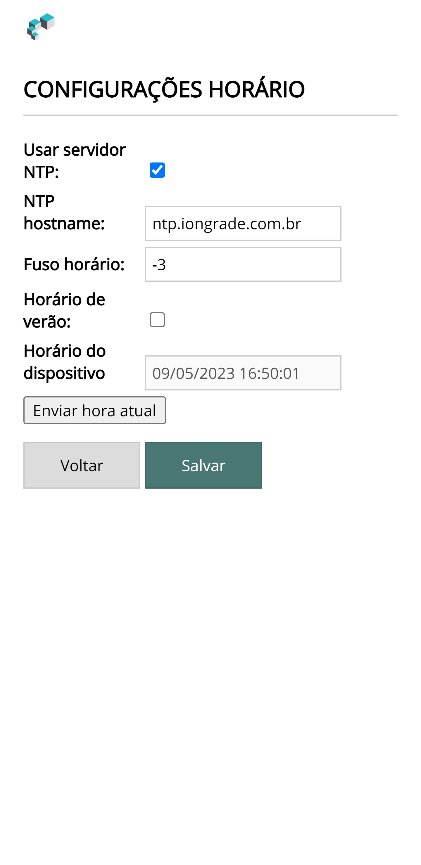
On this screen you can set the gateway to keep its internal clock synchronized with an external date/time server (NTP Server):
| Field | Description |
|---|---|
| Use NTP server | When checked, the gateway uses an NTP server to adjust its local clock automatically. |
| NTP hostname | URL of the NTP server. |
| Time zone | Time zone of the location where the gateway is installed. |
| Daylight saving time | Automatically adjusts for daylight saving time. |
| Device time | Current date and time of the gateway. |
| Send local time | Sends the date/time from your computer to the gateway. |
Make the necessary changes and click Salvar to confirm.
Files
The Arquivos menu gives access to the screens:
- Backup — creates and downloads a file with all the gateway's configuration data.
- Restore — sends a backup file to restore the settings.
- Upload — sends a specific file to the gateway.
Backup
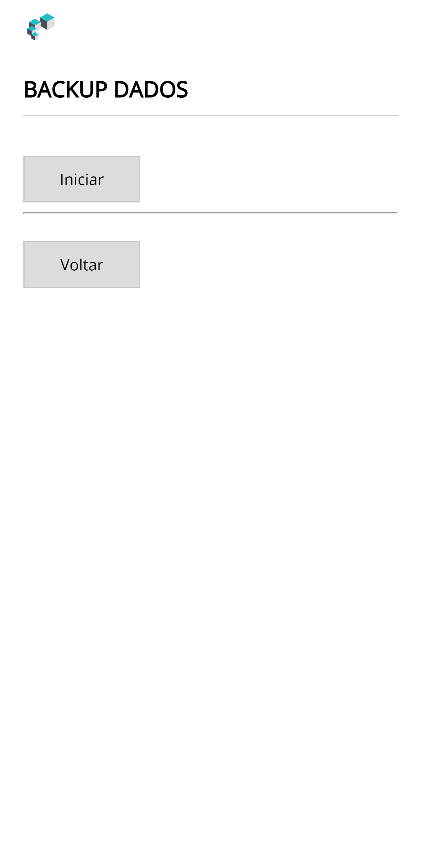
Use this screen to download a file with all the gateway's configuration data.
Click Iniciar (Start) to download the file. A window will open asking where to save it. This file can be used in the Restore function when you want to restore the configuration. Click Voltar (Back) to return to the previous menu.
Restore
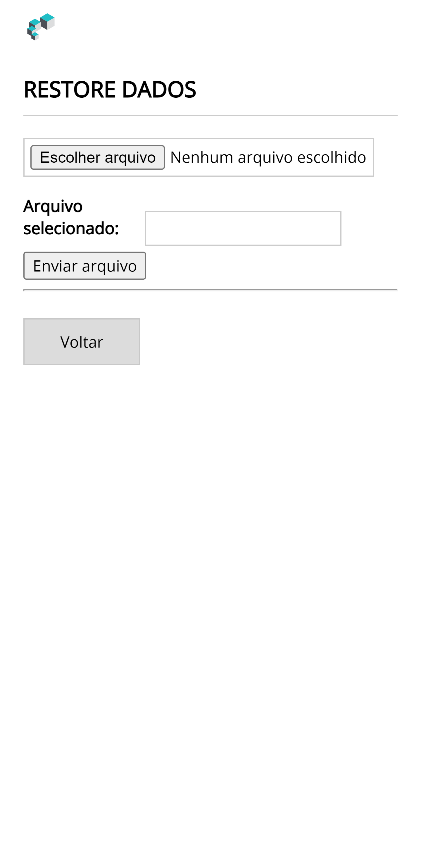
Use this screen to send a file with the gateway's configuration data. The file must be in the proper format, as created by the Backup function.
Click Escolher arquivo (Choose file) to select it and Enviar arquivo (Send file) to start the transfer. Click Voltar to return to the previous menu.
Upload
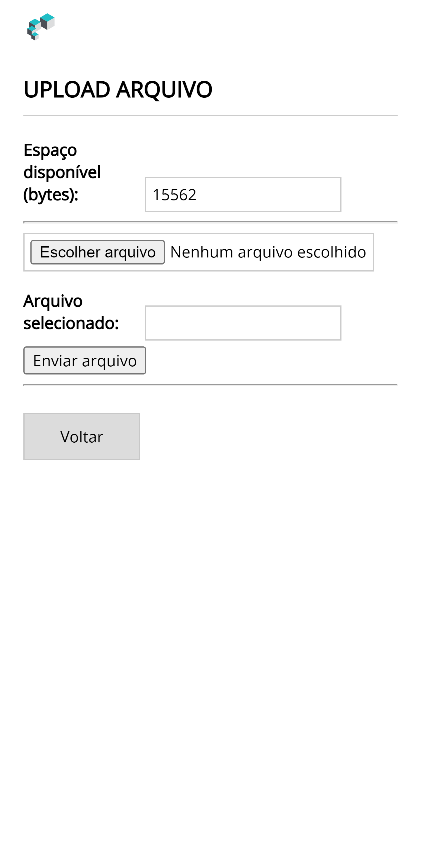
Use this screen to send a specific file to the gateway. The files must be in the proper format. The screen shows the space currently available in the gateway's memory.
Click Escolher arquivo to select it and Enviar arquivo to start the transfer. Click Voltar to return to the previous menu.
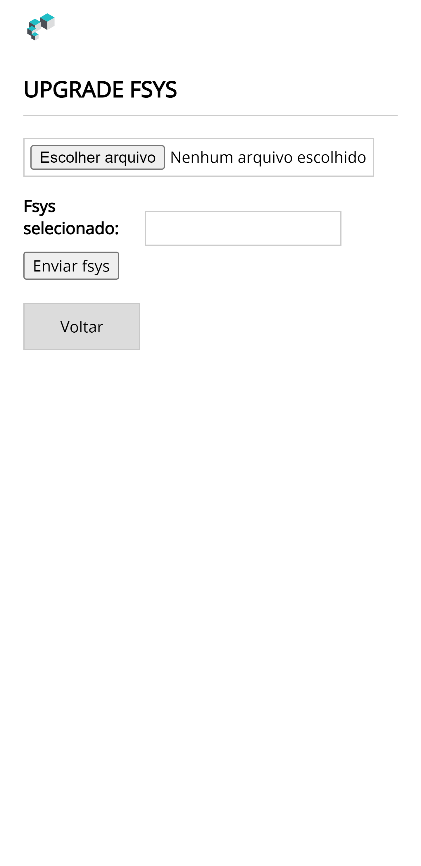
Upgrade
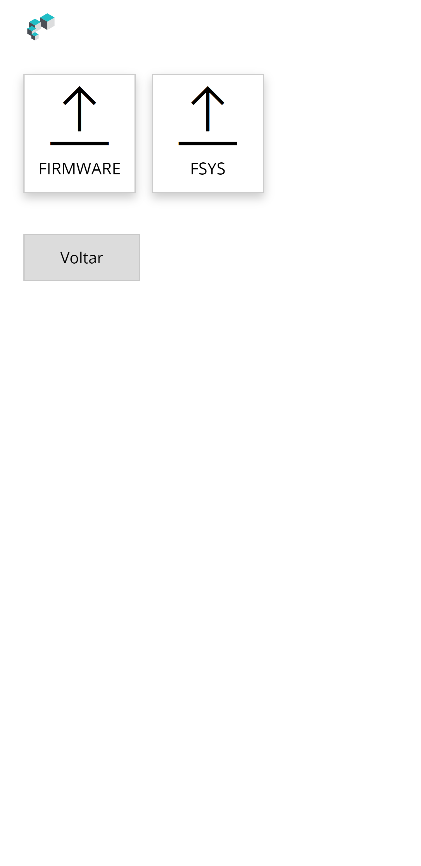
This function allows you to send a new firmware version to the equipment when necessary. There are two types of update:
- FIRMWARE — update of the executable code.
- FSYS — update of the file system.
In some situations it is necessary to perform both updates. Choose the type by clicking the specific button or click Voltar to return to the initial menu.
FIRMWARE Upgrade — select the file with the new firmware version and click Enviar novo firmware (Send new firmware).
FSYS Upgrade — select the file with the new file system (FSYS) version and click Enviar novo fsys (Send new fsys).
At the end of the update, the equipment will be restarted automatically. Since it will go back to running in normal operation mode, the Access Point will be deactivated. To return to configuration mode, repeat the procedure described in Accessing the Configuration.
Info
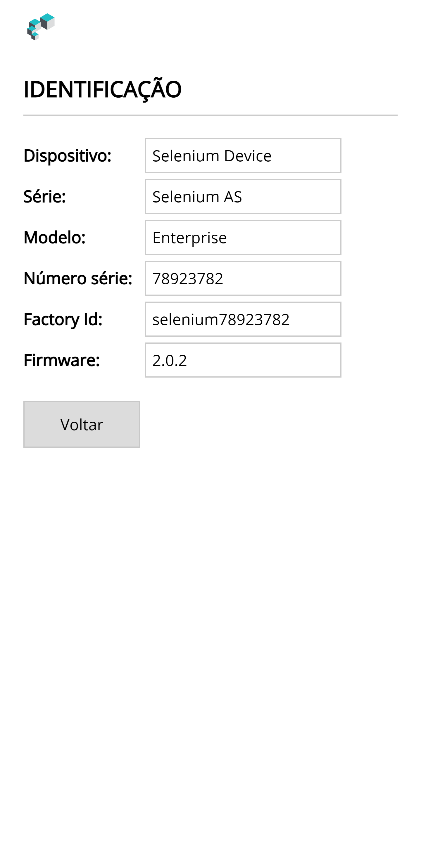
This page presents technical information about the gateway:
| Field | Description |
|---|---|
| Device | Device type. |
| Series | Device series. |
| Model | Device model. |
| Serial number | Manufacturing serial number. |
| Factory ID | Factory identification. |
| Firmware | Firmware version. |
Reboot
On this page you can restart Selenium remotely.
Type REBOOT in uppercase letters in the confirmation field and click the Reiniciar (Restart) button.
Tests
The gateway has a Testes screen for sending commands directly to the elevator system, useful during installation and maintenance.
The commands on the Testes screen do not work with the gateway in configuration mode. For the commands to be sent, the gateway must be in operation mode with the HTTP server active (see TESTS Jumper).
The fields on the Testes screen (terminal, origin, destination, template, etc.) depend on the protocol of each variant. They are described on the variant specific configuration pages.
Variant specific configuration
The integration with the elevator system — Elevador and Testes screens and protocol parameters — is specific to each variant:
- Selenium AS — Atlas Schindler — TCP/IP integration with a main and a backup server.
- Selenium TK — ThyssenKrupp — MODBUS RS485 integration.
- Selenium KB — Button control — RUBIDIUM stations via RS232 and association of relays with floors.
Next Steps
- Selenium Overview — what it is, variants and specifications.