Elevator Button Panel Control
Button panel control lets Accelero release, for each identified person, only the buttons of the floors they are allowed to use. Identification happens through a reader installed inside the cabin — facial, proximity, or biometric — and the release is done electrically, acting on the circuit of the button panel buttons through the Cobalt I/O module.
The great advantage of this mode is that it is agnostic to the elevator manufacturer: because the actuation is electrical, at the button contact, the elevator does not need to offer any integration interface, nor does it depend on the control panel or the manufacturer's software.
This feature depends on the Elevators module enabled in the license. See Licensing.
Accelero integrates elevators in two distinct ways, which solve different problems:
| Button panel (this page) | Advance call | |
|---|---|---|
| What it does | Releases the buttons of the allowed floors | Calls the elevator and sends the user to a floor |
| How it acts | Electrical contact on the button | Command to the elevator manufacturer's system |
| Does it depend on the elevator? | No — works with any elevator | Yes — requires an elevator with an integration interface |
| Floors per access | Several | Only one (the destination floor) |
| Hardware | Cobalt module | Selenium AS (Atlas Schindler) or Selenium TK (ThyssenKrupp) gateway |
Both use the same license module and the same floor registration, and they can coexist in the same installation.
How it works
Cobalt does not talk to the elevator and does not decide the access: Accelero is what decides. The module only performs the electrical actuation of the buttons that Accelero authorized.
[Person]
   │  identification (facial / proximity / biometrics)
   ▼
[Reader in the cabin] ──Wiegand or ABATrack──> [Main Cobalt]
                                                  │
                                             MQTT │ (authorization + floor list)
                                                  ▼
                                            [Accelero]
                                                  │
        ┌─────────────────────────────────────────┘
        ▼
[Main Cobalt] ──RS-485──> [Subordinates 1, 2, and 3]
        │                              │
        ▼ 12 Vdc output                ▼
   [External relay] ──dry contact──> [Floor button on the panel]
The flow of a passage is as follows:
- The person identifies themselves at the reader installed inside the cabin.
- Accelero evaluates the access rules normally (valid identifier, category, time range, registration validity).
- Once access is authorized, Accelero resolves which floors that person can use and sends the list along with the authorization response.
- The Main board identifies which relays correspond to those floors and drives them — directly, if they are its own relays, or forwarding the command to the Subordinates via RS-485.
- Each output provides 12 Vdc to energize the coil of an external relay, whose dry contact closes the circuit of the corresponding button.
- The released buttons stay active for the configured actuation time; once the time ends, they return to the blocked state.
The board output is a 12 Vdc digital output, which serves to drive an external relay. The dry contact is the contact of that relay, and it is the one connected to the elevator button circuit. In the panels assembled by Iongrade (the QD line) the relays already come installed and wired.
Capacity and expansion
Each board offers 16 outputs (one floor per output) and one input dedicated to emergency. Expansion is done through RS-485, connecting up to 3 Subordinate boards to the Main one:
| Model | Boards | Floors |
|---|---|---|
| QD16 | 1 (Main) | up to 16 |
| QD32 | 2 (Main + 1 Subordinate) | up to 32 |
| QD48 | 3 (Main + 2 Subordinates) | up to 48 |
| QD64 | 4 (Main + 3 Subordinates) | up to 64 |
The Subordinates are not registered in Accelero and do not receive floor configuration. All the registration, the relay mapping, and the actuation time are done on the Main board, which commands the others through the RS-485 bus.
Emergency input
The Main board has a dedicated input that, when triggered, releases all elevator buttons regardless of any permission. It is intended for integration with the fire alarm panel or with a manual emergency command, ensuring the evacuation of the building. See the Installation Manual for the electrical wiring.
Prerequisites
Before starting the configuration in Accelero:
- Elevators module enabled in the license.
- Accelero version 2.16.9-HF3 or higher.
- Cobalt module installed, powered, and with communication (Wi-Fi or Ethernet) and MQTT already configured — see Installation Manual and Operation Manual.
- Cabin reader connected to the READER interface of the board (Wiegand or ABATrack).
- External relays wired to the button panel buttons, with the map of which relay corresponds to which floor.
Configuration in Accelero
The configuration has six steps: register the floors, register the Gateway, register the Controller with its channel, map the relays, release floors per person and, if applicable, handle visitors.
1. Register the floors
Navigation path: Settings > Elevator - Floors
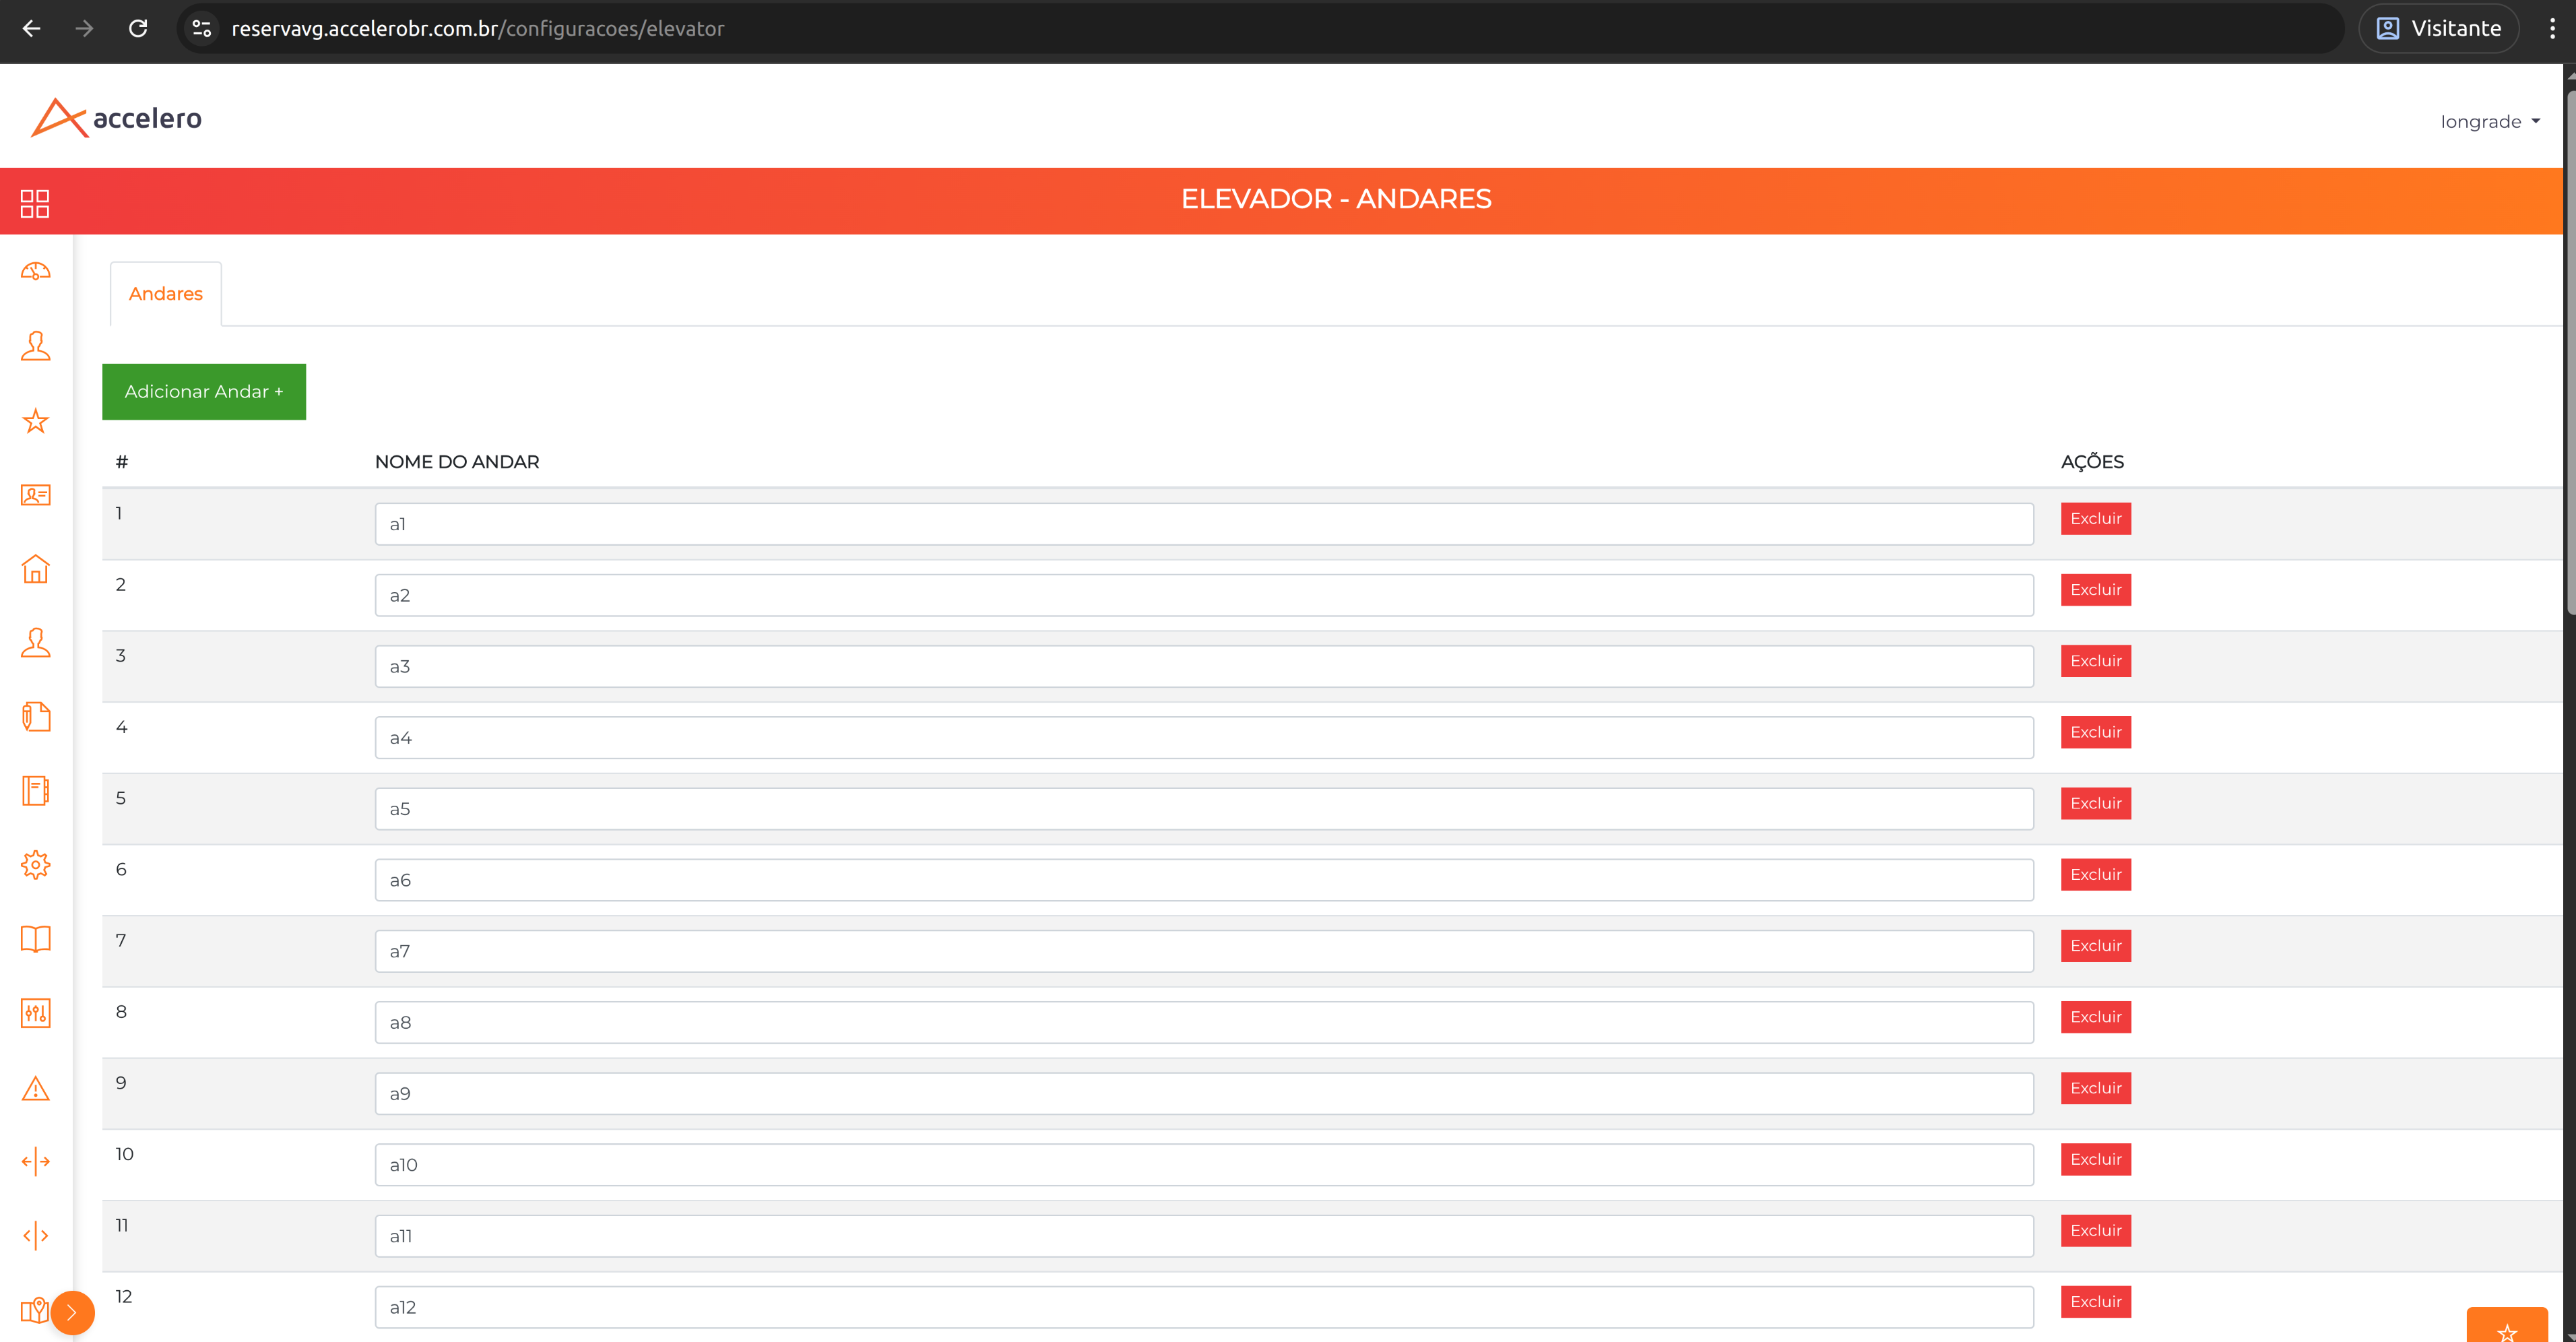
This is the master list of the system's floors. The names registered here are the ones that will appear for selection in the person and company registrations.
- Click Add Floor.
- Enter the Floor Name.
- Repeat floor by floor and tower by tower.
- Click Save.
Register all floors of the property, not only the ones the module serves — the registration is common to all elevator integrations.
Use short names without spaces. For a 5-floor building with two blocks, register a1, a2, a3, a4, a5, b1, b2, b3, b4, b5. The floor name is the key that ties the Accelero registration to the board's relay mapping — if the two are not identical, the button is not released.
2. Register the Gateway
Navigation path: Advanced > System > Integration - Elevators
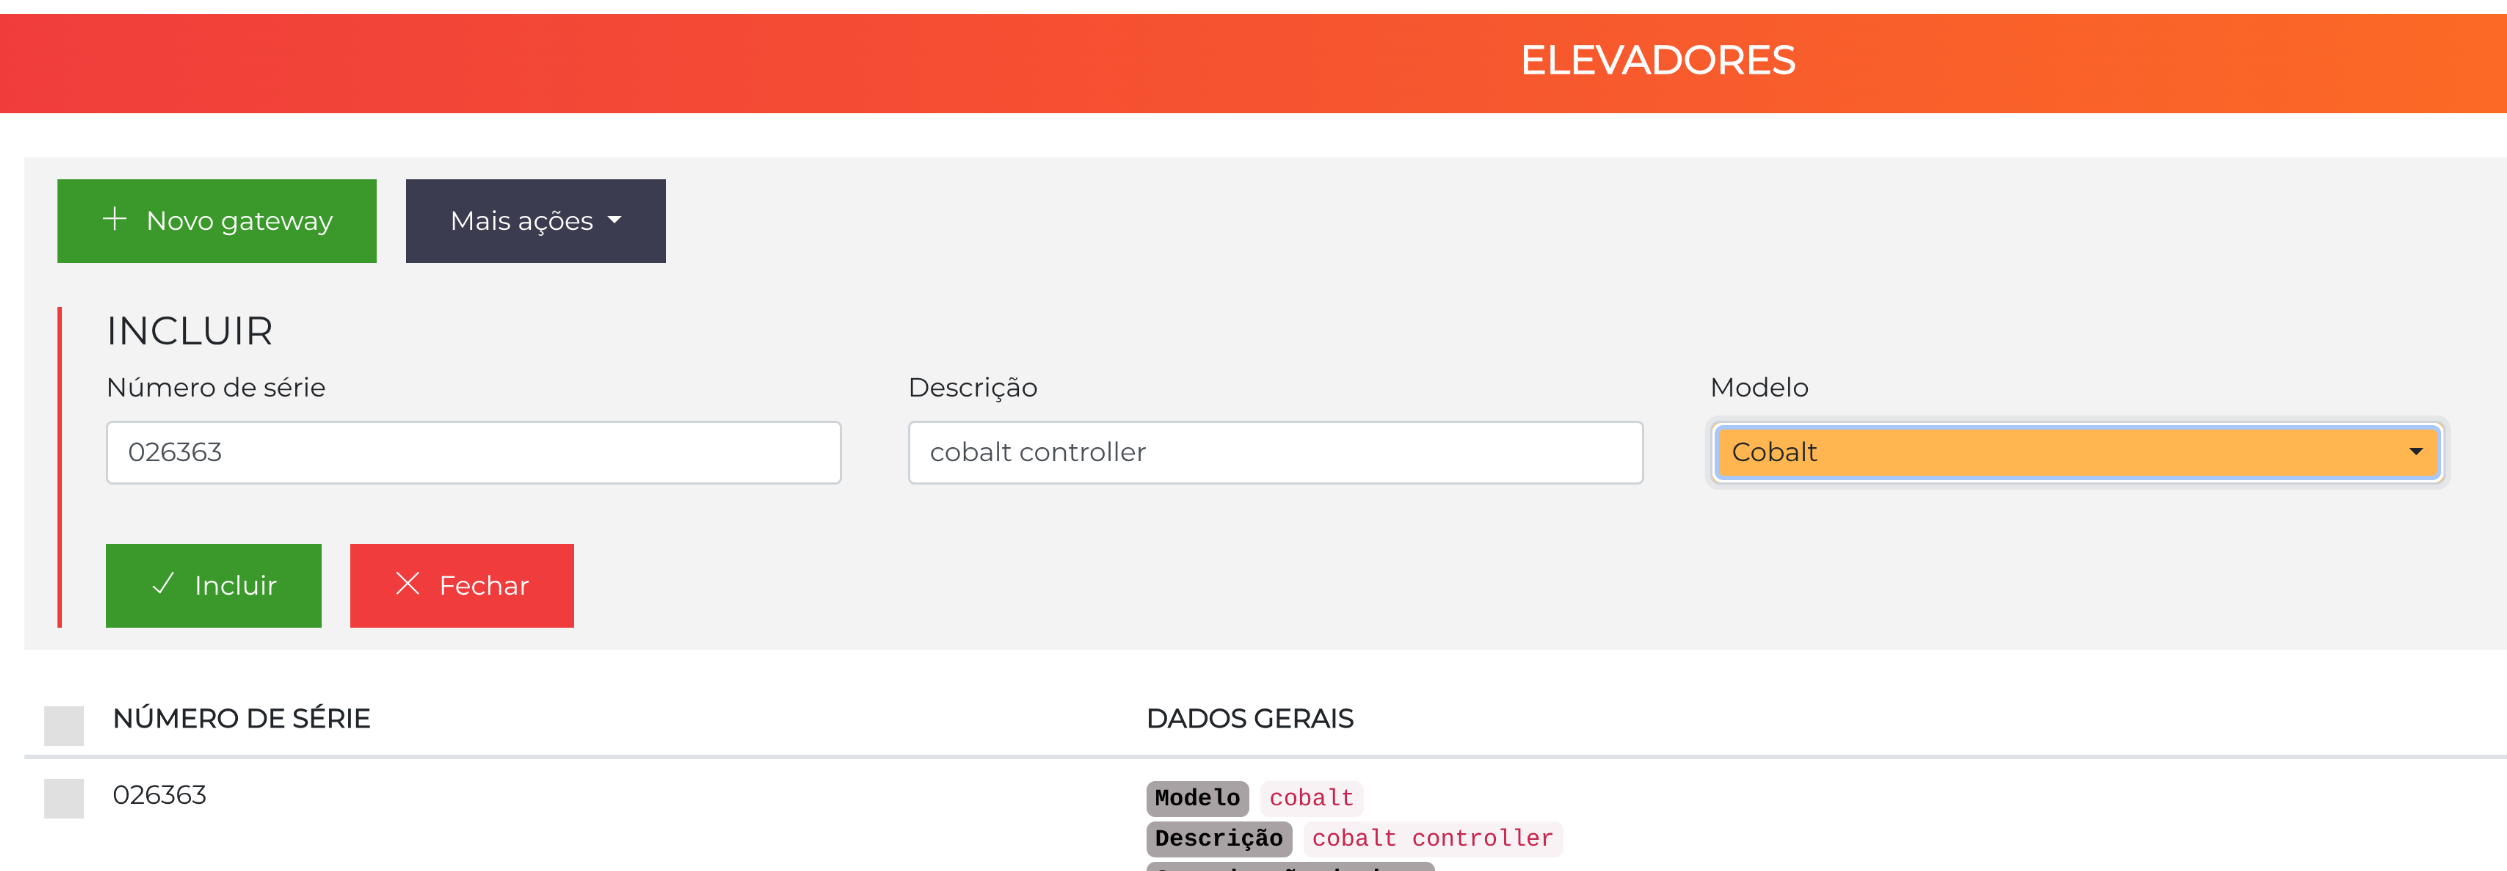
- Click New Gateway.
- Fill in the fields according to the table.
- Click Add.
| Field | Description |
|---|---|
| Serial number | Only the digits of the module's serial number (e.g., 026363). |
| Description | Identification of the gateway (e.g., Social Elevator Tower A). |
| Model | Select Cobalt. |
On this screen, Gateway is just the name of Accelero's registration entity for elevator devices — it holds both the advance call gateways and the button panel modules. It is not a characteristic of the Cobalt hardware, which is an I/O module.
3. Register the Controller and the channel
Navigation path: Settings > Controllers
Cobalt is registered twice, with different roles: as a Gateway (previous step, which identifies it as the destination of the elevator commands) and as a Controller (here, which enables it to read identifiers and receive the people database).
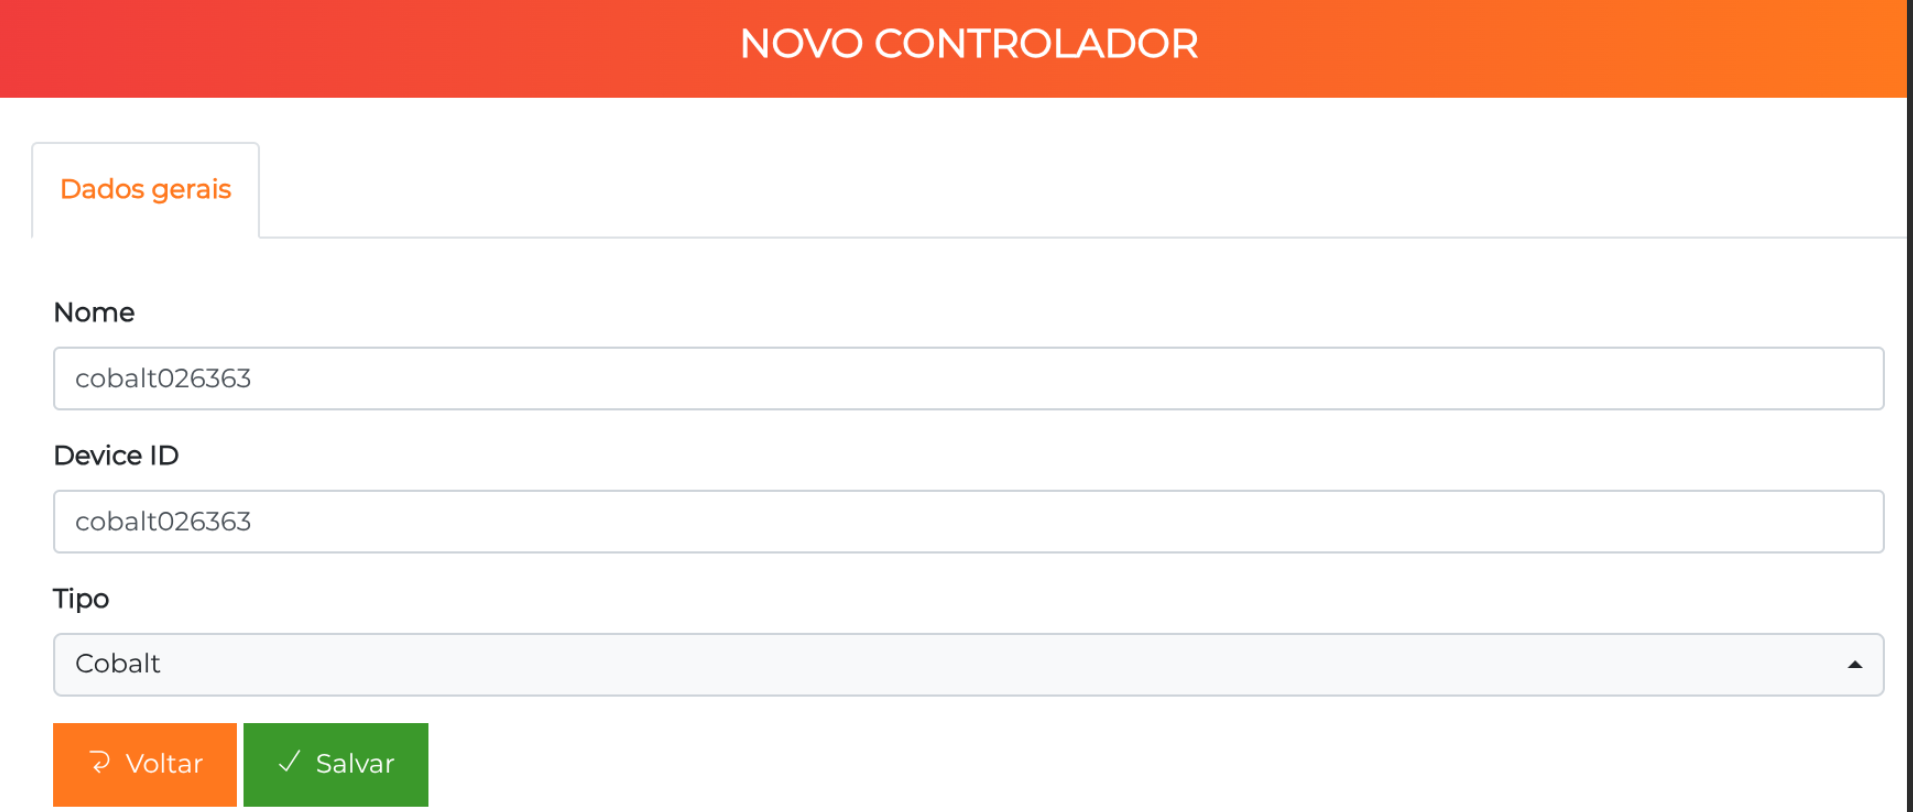
- Click New Controller and fill in:
| Field | Description |
|---|---|
| Name | Controller name followed by the serial number (e.g., cobalt026363). |
| Device ID | The same value as the Name field. |
| Type | Select Cobalt. |
- Save and find the controller in the list; click the pencil icon to edit.
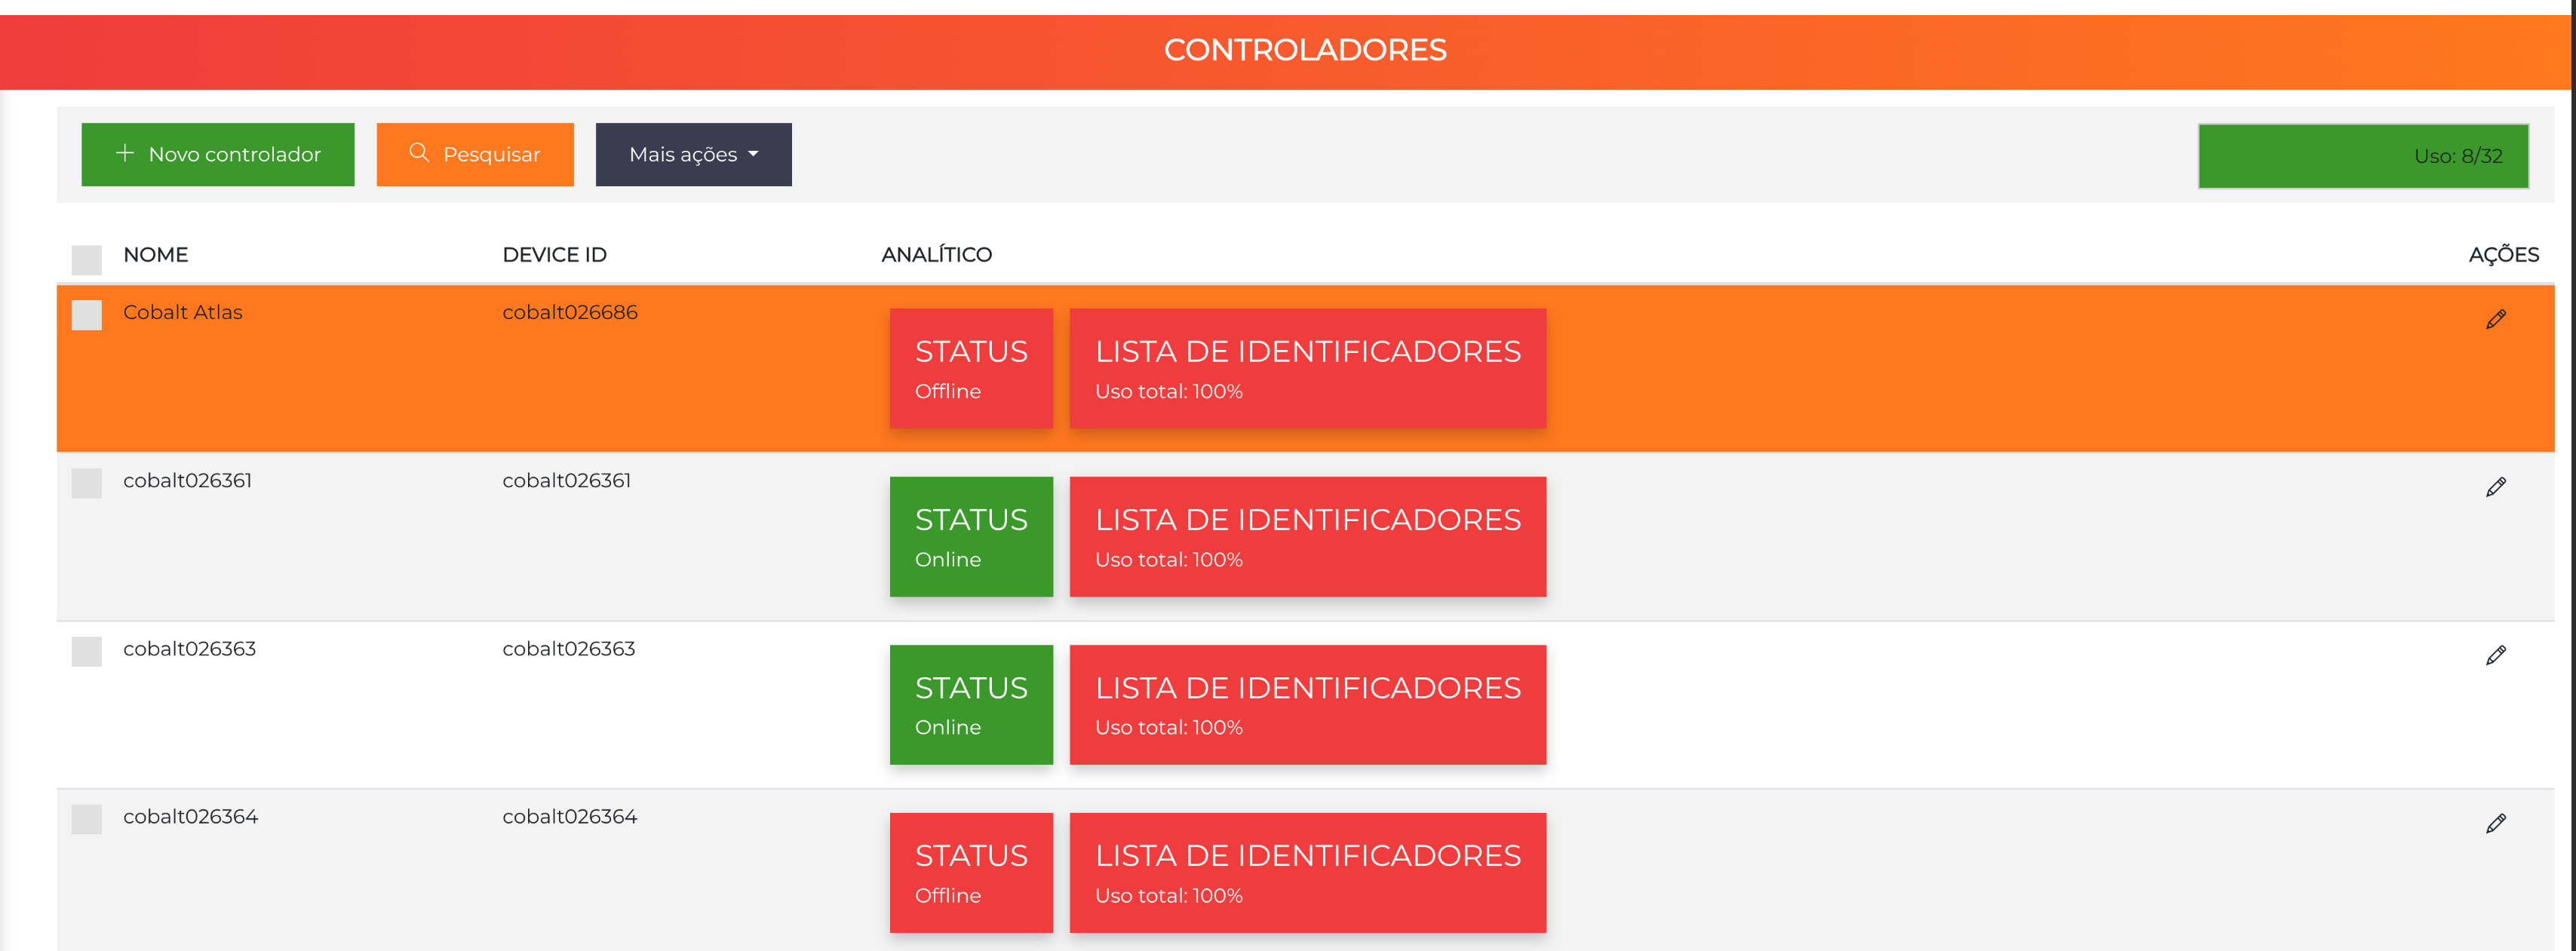
- On the Channels tab, click Add to include Channel 1 — the channel represents the reader installed in the cabin.
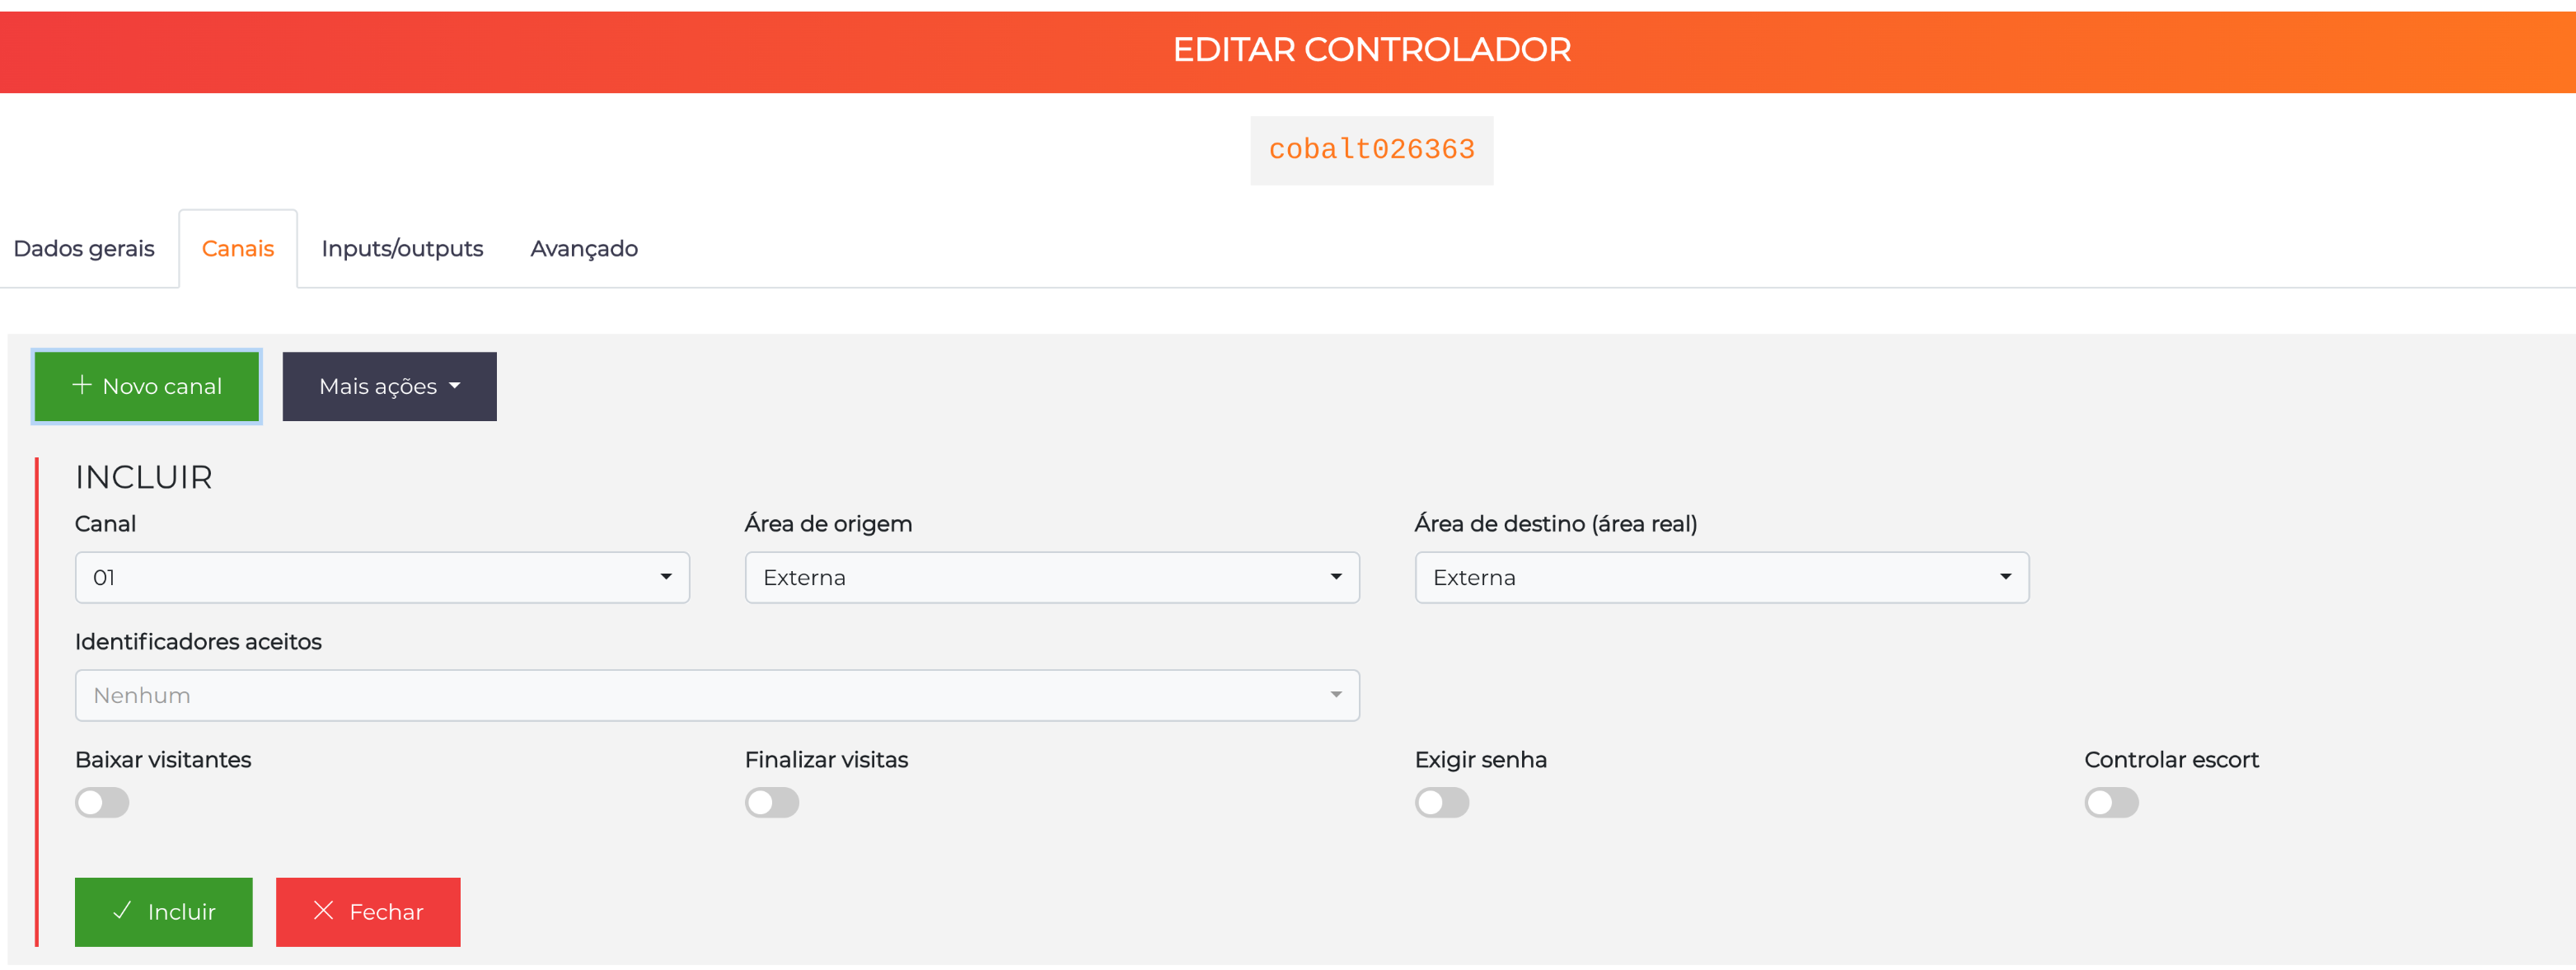
- Edit the newly created channel, enable Elevator Integration, and select the Gateway registered in step 2.

Without the Elevator Integration option enabled and a Gateway selected, access is authorized normally, but no floor is released — the button panel stays blocked. This is the most common configuration mistake.
The Access delay for advance call and Origin floor fields, shown on that same form, apply only to the advance call and have no effect on button panel control.
4. Map relays and floors
Navigation path: Settings > Controllers > [Cobalt Controller] > Relays
This is where the system learns which relay drives which floor. The mapping can be done remotely from Accelero, without physical access to the board.
Relay configuration screen of the Cobalt controller in Accelero, showing the Relay time field, the table of relays 1 to 16 of the main Controller, and the Subordinate 1, 2, and 3 sections with their respective activation switches.
The screen is divided into four blocks:
| Block | Relays | Note |
|---|---|---|
| Main controller | 1 to 16 | Always active. It also contains the Relay time field. |
| Subordinate 1 | 17 to 32 | Enable the activation switch. |
| Subordinate 2 | 33 to 48 | Enable the activation switch. |
| Subordinate 3 | 49 to 64 | Enable the activation switch. |
For each relay in use, enter in the Floor field the name of the corresponding floor, exactly as registered in step 1. Activate only the subordinates that are physically installed.
The Relay time field defines how long the buttons stay released after the identification.
The configured time applies to all relays, of the Main board and of all Subordinates — it is not possible to set different times per floor.
The same mapping can also be done directly on the module, through the embedded web server (Hardware > Andares — Floors), which is useful during installation. See the Cobalt Operation Manual. Remote configuration requires the module to be online and communicating over MQTT.
5. Release floors per person
Navigation path: People > All
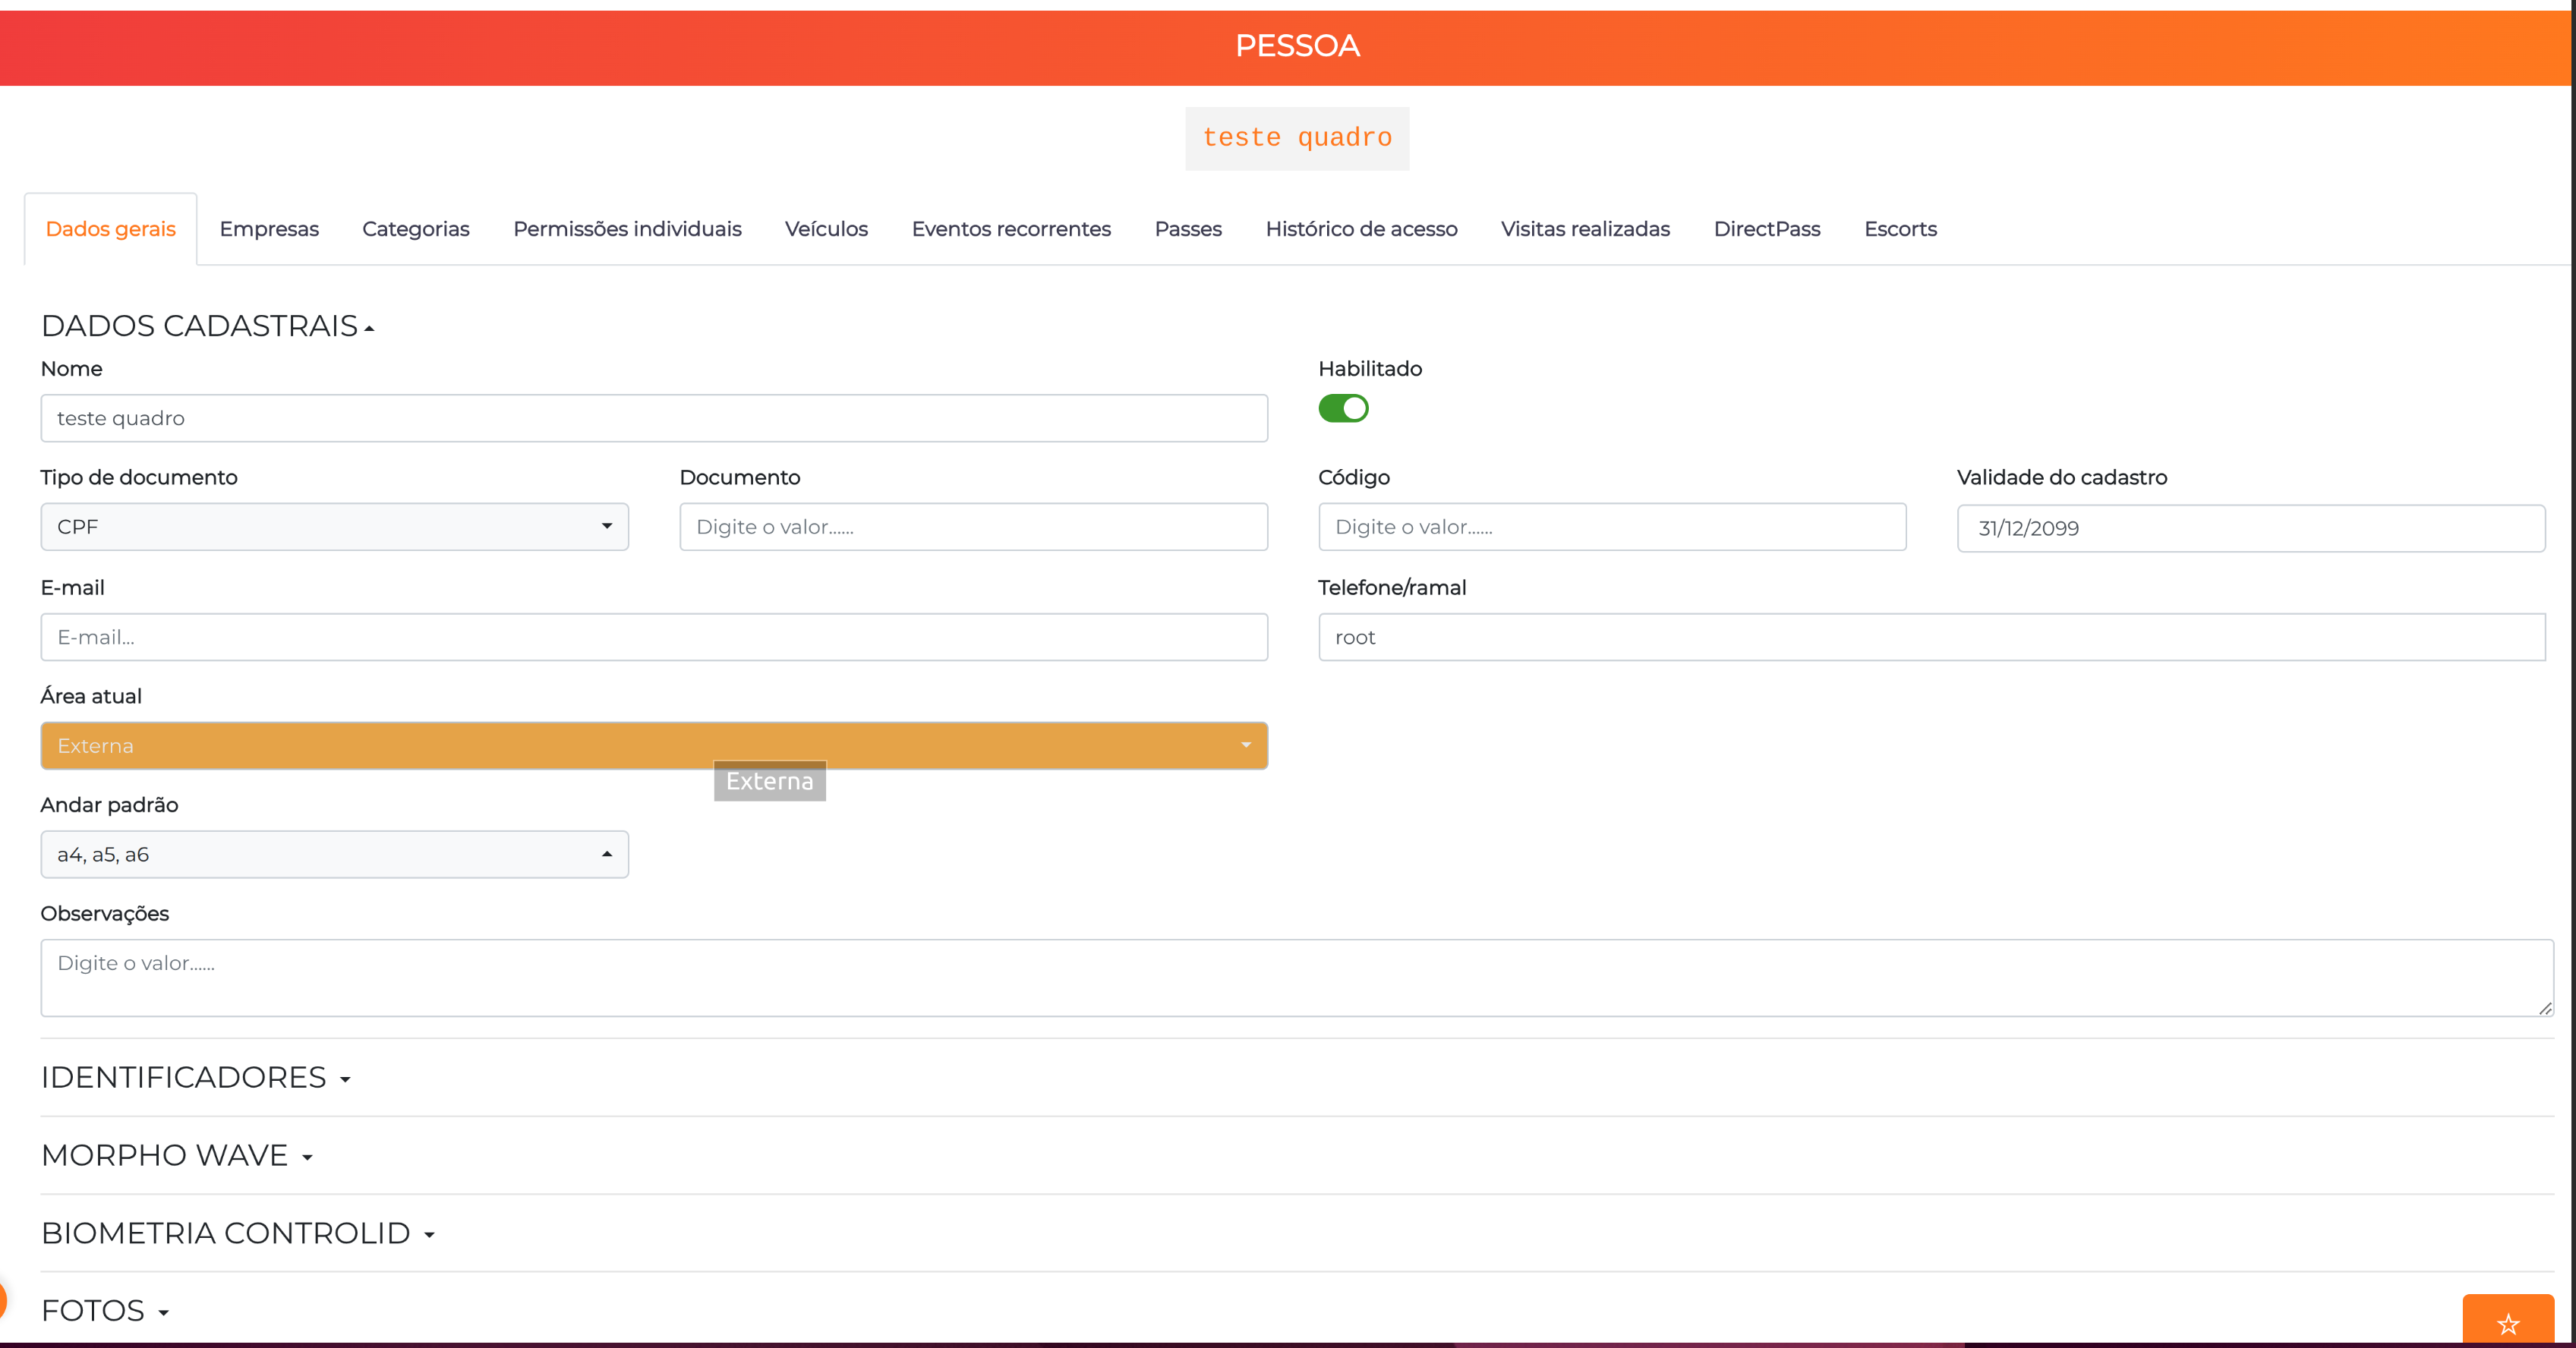
- Find the person and click the pencil icon (or click New Person).
- In the Default floor field, select all the floors they can access — the field accepts multiple selection and lists the floors registered in step 1.
- Save the registration.
For floor control to work, the person must have at least one registered identifier and be linked to a category.
6. Visitors
Navigation path: Visitors > New Event
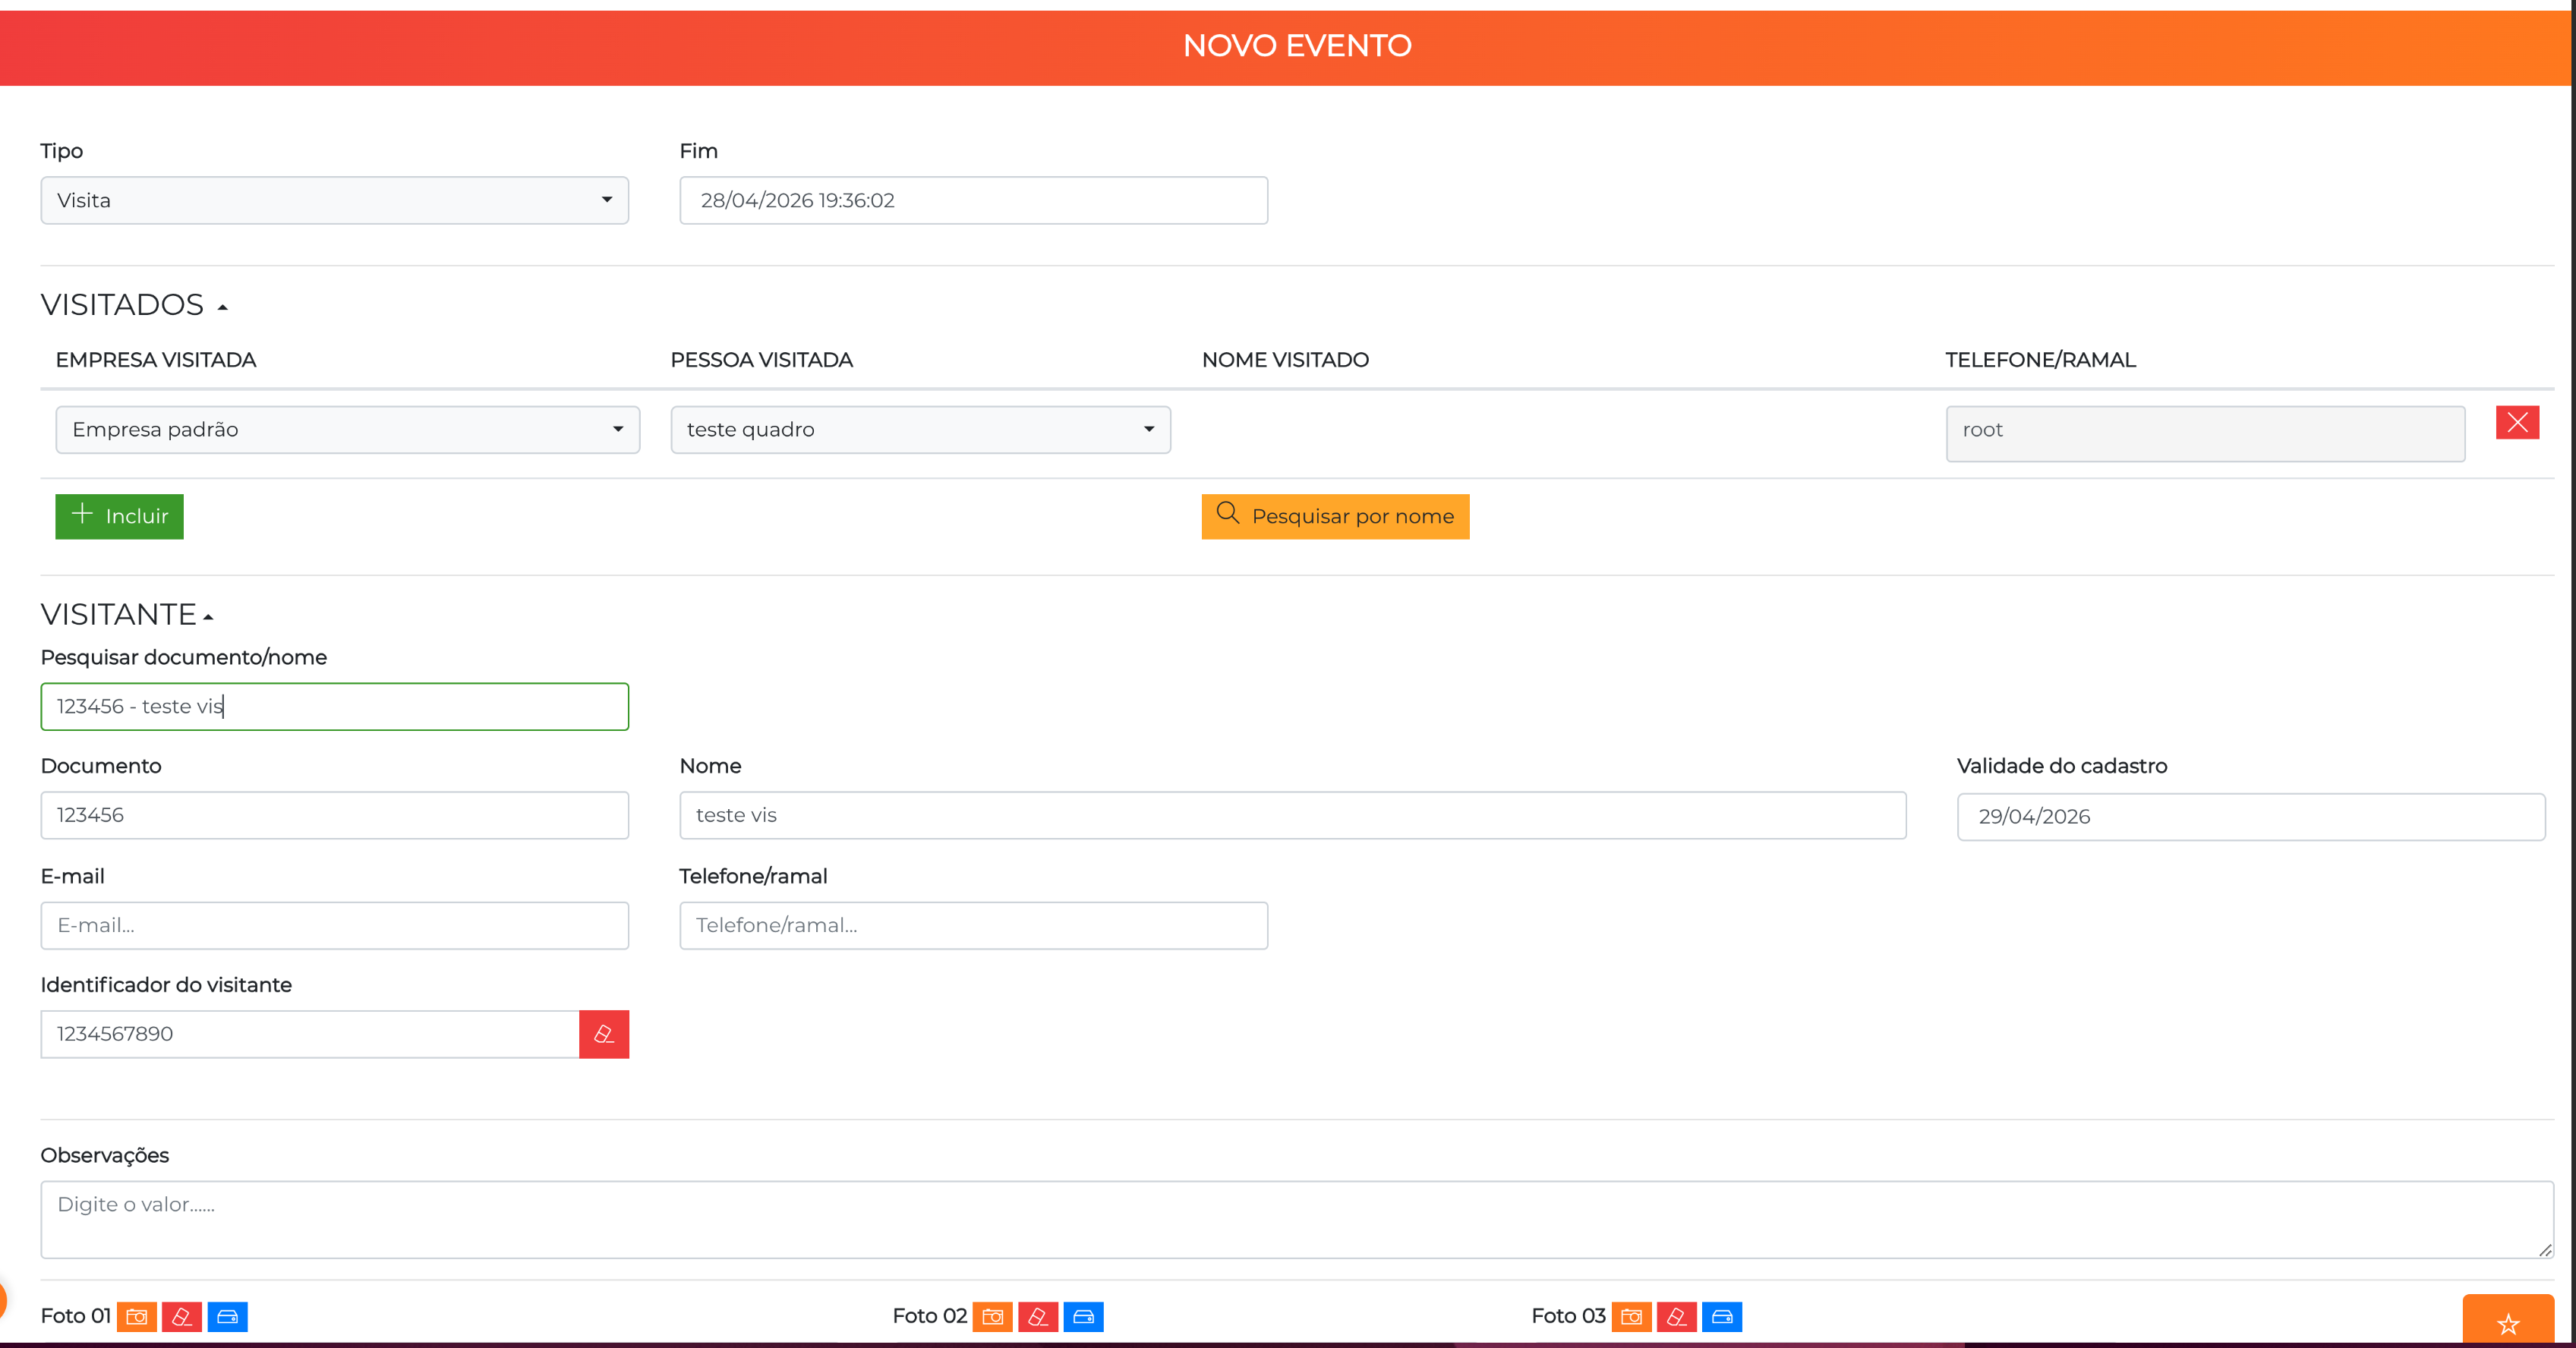
Visitors do not receive floors in their own registration. When presenting the identifier in the cabin, the visitor automatically receives the floor defined in the Floor field of the company linked to the visit event — usually the company of the person being visited.
For this to work, the Floor field must be filled in the company registration, under Settings > Companies.
If the company linked to the event does not have the Floor field filled in, the visitor gets access authorized but no button released. When registering a new company in a building with button panel control, filling in the floor is mandatory.
How Accelero decides which floors to release
The rule is resolved on each passage, after access has already been authorized:
| Situation | Source of the floors |
|---|---|
| Access linked to a visit event | Floor field of the company linked to the event |
| Other people | Default floor field of the person's registration |
| Access by vehicle | Default floor associated with the vehicle |
Floor resolution happens after the access authorization and never blocks it. A person with no floors configured will have the access logged normally, only with no button released.
Floor release is not filtered by area, category, profile, or time range: the floor is a property of the person's (or the company's) registration, not an access rule. Time ranges keep controlling whether the person can use the elevator at that moment, but not which floors they receive at each time.
Synchronization with the module
Whenever a person is created, changed, or deleted, Accelero sends the module — over MQTT — an update with the person's identifier and their floor list. This keeps the board's local database up to date and allows the release to keep working even in case of a momentary loss of communication with the server.
Use cases
Mixed use: residential and short-term rental. In a building that combines permanent residents and short-term rental apartments, each guest receives only the floor of the reserved unit in their registration. Once the stay ends, the registration is disabled or has the floor removed, and access to that floor ends without any key exchange or hardware reprogramming. Permanent residents keep their permanent floors, and the lobby and the garage remain released for everyone.
Multi-company corporate building. Each company occupies one or more floors and the Floor field of its registration defines where its visitors can go. Employees receive their own company's floors plus the common-use ones (auditorium, cafeteria), without one company being able to circulate on another's floor.
Restricted areas in a single building. Floors such as data center, executive offices, pharmacy, or supply room stay outside the default floor of most people and are granted individually to those who need them, keeping the rest of the building free to circulate.
Hospitality and coworking. The floor is assigned at check-in, along with the issuance of the identifier, and revoked at check-out.
Limits and precautions
- One relay per floor. Each floor consumes one output; the limit of 64 floors is also the limit of controllable buttons per set of boards.
- Names must match exactly. The floor name in the Accelero registration and in the relay mapping must be identical, including uppercase and lowercase.
- Many floors per person. Each person's floor list is stored in a field of limited size. In buildings with many floors, prefer short names (
12instead ofFloor 12) to avoid truncation — especially when the module operates with the identifier database stored locally. - Reader on a single channel. Floor release is resolved on single-channel accesses. Channels configured in bidirectional mode (entry and exit at the same point) do not produce a button panel release.
- A single actuation time for all relays and all boards.
Monitoring
The access performed in the cabin is logged normally in Events, like any other passage, allowing you to audit who used the elevator and when.
The system does not generate a record per released or denied floor. The access event proves the identification in the cabin, but it does not relate which buttons were enabled on that passage. The Elevator advance call failure incident also does not apply to this mode — it belongs to the advance call.
To check whether the module is communicating, follow the gateway status in Advanced > System > Integration - Elevators.
Best practices
- Standardize the floor naming before you start, considering towers, basements, and mezzanines (
a1,b1,sub1,mez). Renaming later requires redoing the relay mapping and reviewing registrations. - Document the relay ↔ floor map and keep a copy next to the panel. It is the reference for any future maintenance.
- Leave the lobby and the common-use floors in everyone's default floor, so as not to generate unnecessary support calls.
- Test the emergency input at the installation handover and periodically: it is what guarantees the evacuation.
- Reserve free outputs when sizing the panel, anticipating future floors.
- Review registrations on turnover. In short-term rental use, removing the floor must be part of the guest checkout procedure.
Troubleshooting
| Symptom | Possible causes |
|---|---|
| Access authorized, but no button is released | Channel without Elevator Integration enabled or without a Gateway selected; person without a Default floor; company without a Floor (visitors). |
| A specific floor does not release | Floor name diverging between the registration and the relay mapping; relay not mapped; corresponding subordinate not activated. |
| No floor of the Subordinate works | Subordinate switch disabled in the mapping; RS-485 bus with A/B polarity reversed; RS-485 ID not configured on the subordinate board. |
| All buttons are always released | Emergency input triggered or shorted. |
| Button releases for insufficient time | Increase the Relay time — remembering that the adjustment is global. |
| Registration changes do not reach the module | Module offline or MQTT misconfigured; check the gateway status and the board's MQTT credentials. |
| Visitor without floors | Floor field not filled in the registration of the company linked to the event. |
Next Steps
- Cobalt I/O Module — hardware specifications, installation, and operation
- Elevator Integration — advance call with manufacturer gateways
- People — registration and Default floor field
- Companies — registration and Floor field
- Controllers — registration of controllers and channels