Photo
Overview
Step for capturing the visitor's photo, used for facial recognition at the access point. The "Choose your photo" screen shows the current photo and lets you change it; during capture, a framing guide (face outline) helps position the face, and a best practices screen gathers tips for a good photo.
What you see
Screen "Best practices for taking your photo" (tips):
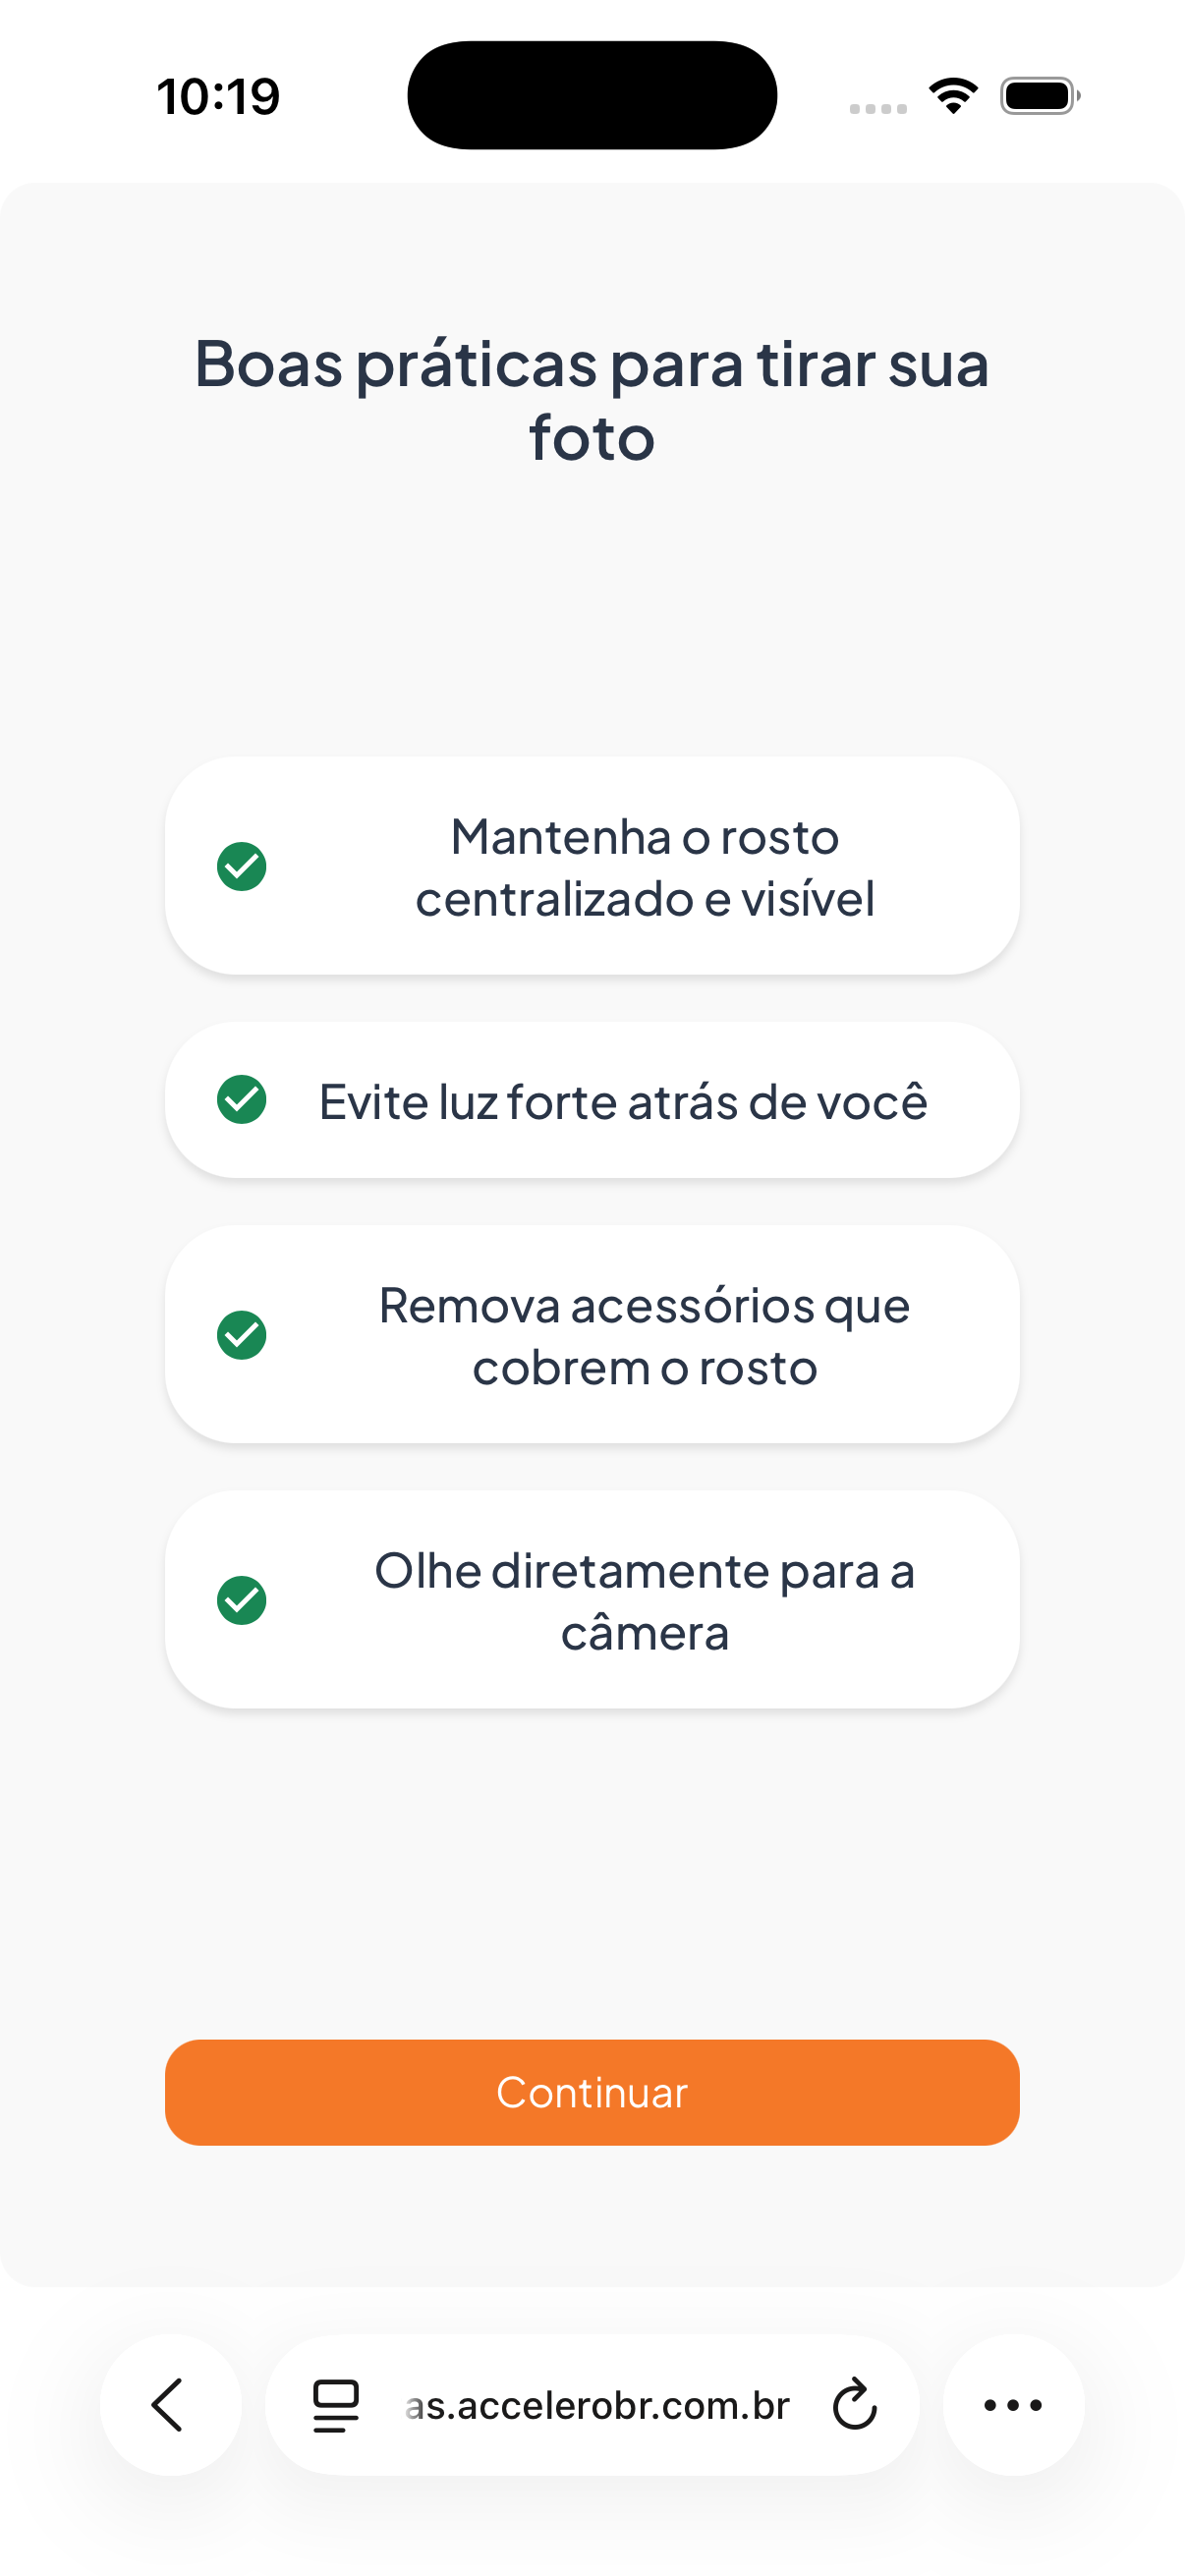
- Keep your face centered and visible
- Avoid strong light behind you
- Remove accessories that cover the face
- Look directly at the camera
- Button Continue.
Capture screen:
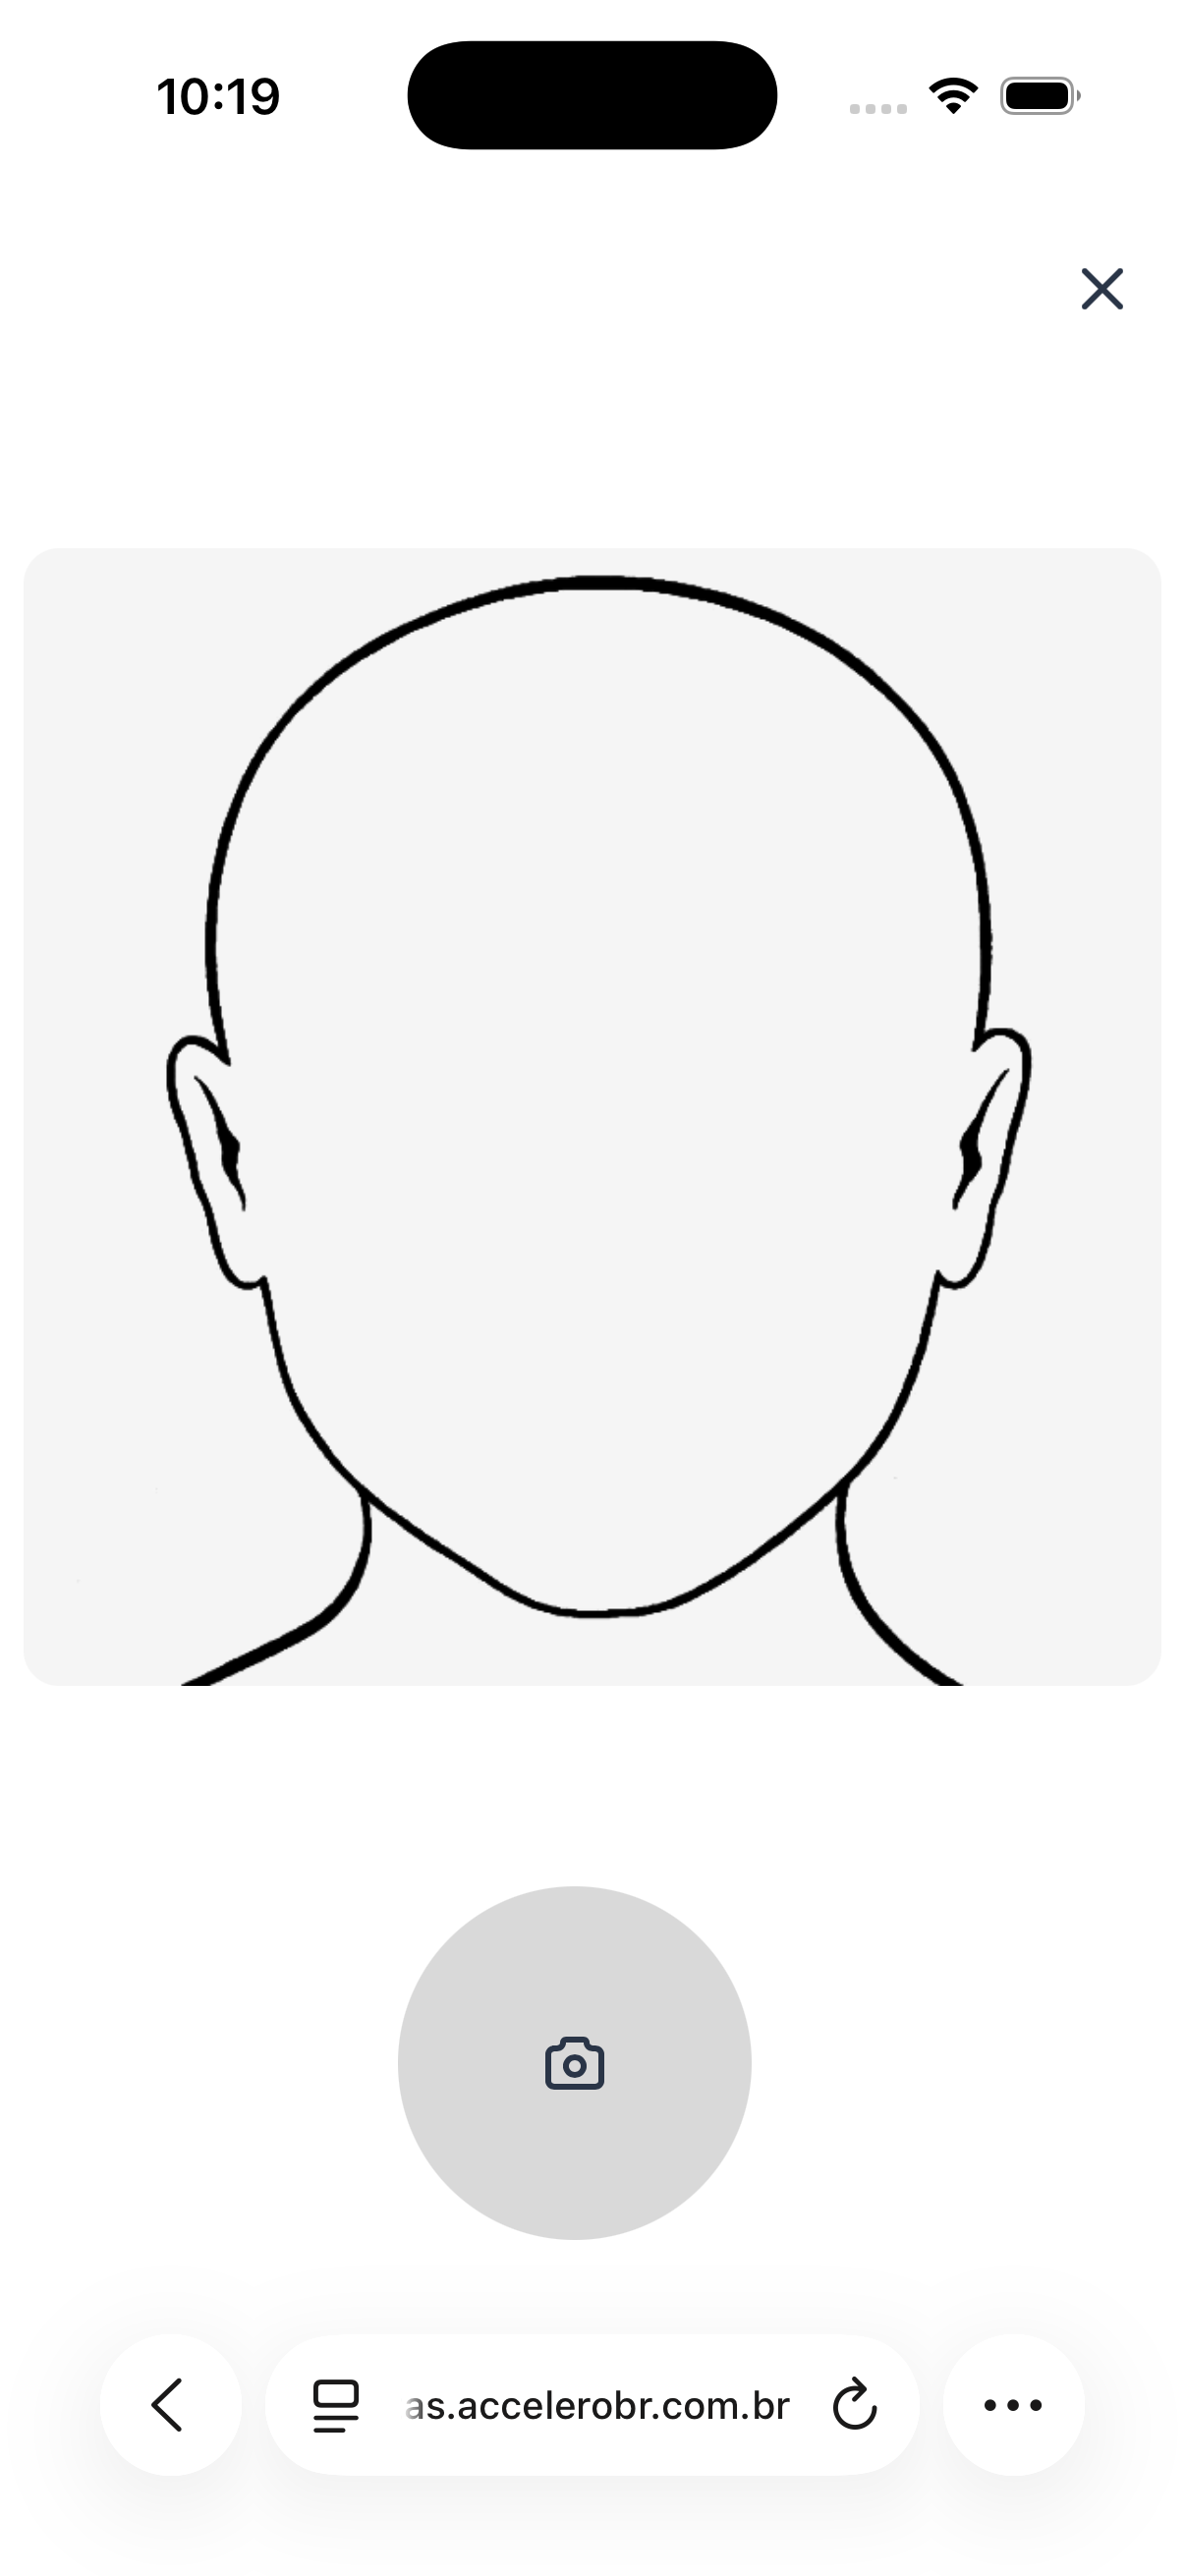
- Framing guide with the outline of a centered face.
- Circular camera button to take the photo.
- Button X to close the camera.
Screen "Choose your photo":
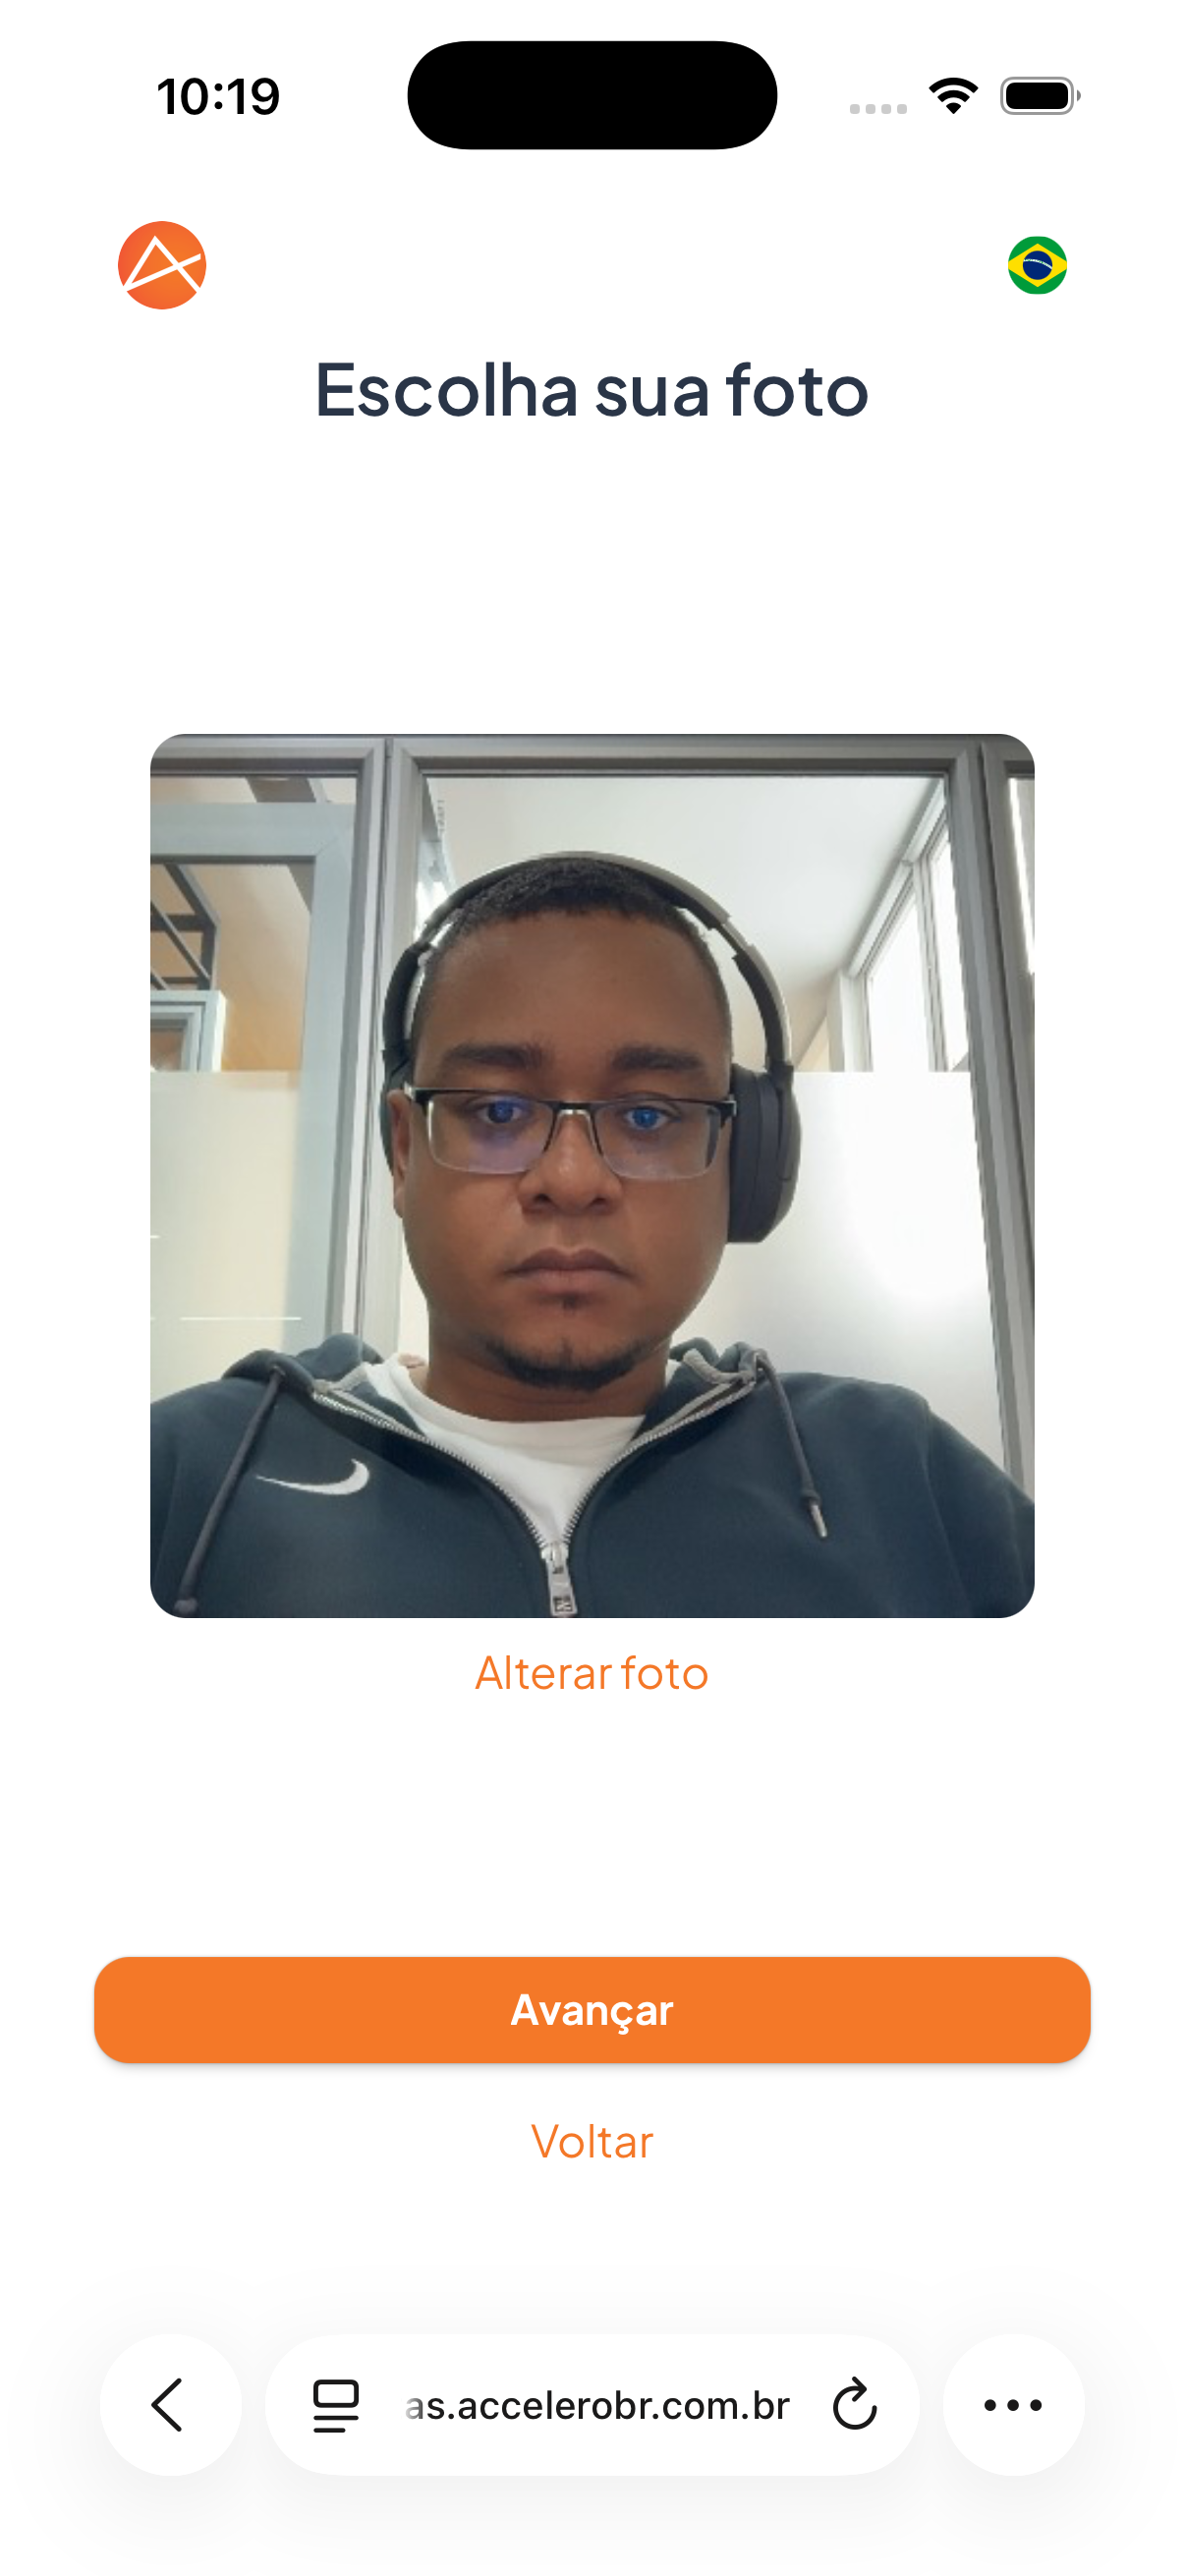
- Preview of the captured photo.
- Link Change photo.
- Button Next and link Back.
Step by step
- Read the Best practices for taking your photo and tap Continue.
- Position your face inside the framing outline and tap the camera button.
- Check the photo in Choose your photo. If it is not good, tap Change photo to retake it.
- Tap Next.
Tips
- Keep your face centered and visible inside the guide.
- Avoid strong light behind you (backlight).
- Remove caps, sunglasses, or other accessories that cover the face.
- Look directly at the camera.
For you
Your photo is used for facial recognition at the entrance. Take it in a well-lit place, with your face centered and looking at the camera. If the photo does not turn out well, use Change photo before moving on.